How To Add Drawer Runners To Old Dressers
We may receive a commission on purchases made from links.
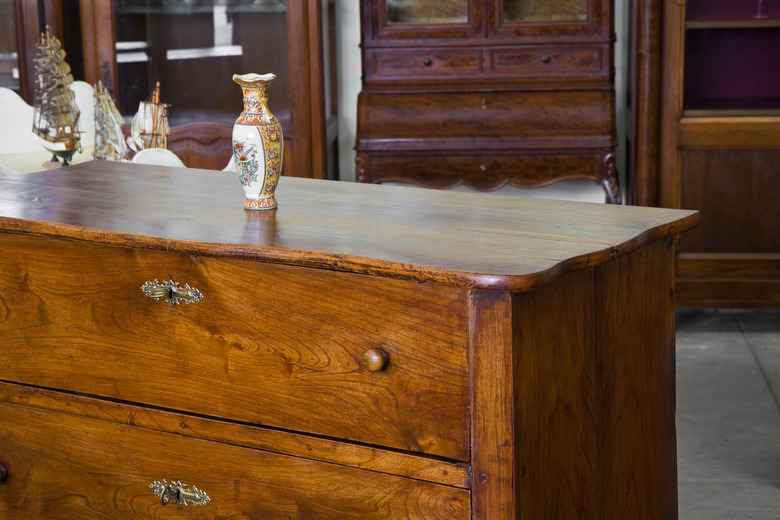
Older dressers typically used wooden runners that wear out from use over the years, but that's no reason to give up on that old dresser — it's probably built better than a new one. This type of runner is basic and not that difficult to make, repair, and install. If you want to update it to a metal runner, it's a relatively simple procedure.
Examine the Runners
Examine the Runners
Most dressers have a thin plywood back. The runners are supported by horizontal braces or stretchers on the inside. Remove the back from the dresser to facilitate a repair job. The plywood is held in place by screws or nails; remove these and lift off the back to reveal the braces.
Before you get too enthusiastic about replacing an old runner, confirm that it needs to be replaced. It might be that the runner is loose. A few surgically placed screws should secure it. If a runner is split or cracked, remove the screws or nails holding it in place. Inject glue into the cracks or splits and apply clamps. Let the glue dry overnight, then reinstall the runner. Check the runners on the drawer too, and repair them as needed.
Tip
Lubricate wooden runners with wax to keep them moving smoothly.
Installing New Wooden Runners
Wooden runners install with screws or nails from the front and back. It's advisable to reinstall them with screws.
- Cut the new runner to length, and drill some pilot holes.
- Fit the runner on the drawer, and place the drawer back into the dresser.
- Have an assistant hold the drawer in place while you mark the locations of the runner from the back, or if possible, screw it on. This ensures that it's in the right place.
- Gently remove the drawer and reinforce the runner with more screws.
Tip
Look for old screw holes, faded wood, or stain marks to indicate where the old runner was positioned.
Adding Metal Drawer Runners
Adding Metal Drawer Runners
If you decide to update older wooden runners with modern metal runners (a.k.a. slides), there are three types: under-mount, side-mount and center-mount (or bottom-mount). Under-mount runners are the best choice for older dressers. They fasten to the side of the drawer box and have a ledge that fits under the bottom edge of each side of the box.
Under-Mount
- More adaptable to older dressers
- Wide tolerance for installation
- Affordable
- Supports a moderate amount of weight
Side-Mount
- Requires close tolerance between drawer and dresser
- Requires flush-mounted jambs; most dressers don't have these
- High weight capacity
- More expensive than other types of runners
- Harder to install than center-mount
Center-Mount
- Somewhat flimsy, allowing drawers to move from side to side
- Won't support as much weight as other runners
- Inexpensive
Installing Under-Mount Runners
1. Measure for Length
Choose your runner by first measuring from the front, horizontal support to the horizontal support in the back. Metal runners are available in different lengths, so choose one that's long enough. Screws for runners are included in the kit.
2. Install the Drawer Runners
Metal runners (slides) are sold in pairs. The slides are stamped "CR," "CL," "DR" and "DL," for cabinet right/left and drawer right/left. Screw the slide marked "DR" to the bottom, right side of the drawer. The "DL" slide goes on the left side.
3. Install the Dresser Runners
Measure for the locations of the two runners, and transfer these dimensions to the horizontal support on the front of the dresser. Screw the slide marked "CR" to the right side. Screw the slide marked "CL" to the left side. Use the oval-shaped holes in the slides. The oval-shaped holes allow you to adjust the slide later.
Tip
The letter "C" stands for cabinet but in this case means dresser.
4. Secure the Slide Backs
Insert the drawer into the dresser, matching the rollers on the drawer slides with the slots on the dresser slides. Screw the back of the slides to the supports from the back of the dresser, using the oval-shaped holes in the slides.
5. Adjust as Needed
Slide the drawer in and out of the dresser. If it sticks, rubs or is hard to move, loosen the screws in the oval-shaped holes, tap them in the direction needed, and test the drawer. When it moves smoothly, remove the drawer, and install screws in the remaining holes.