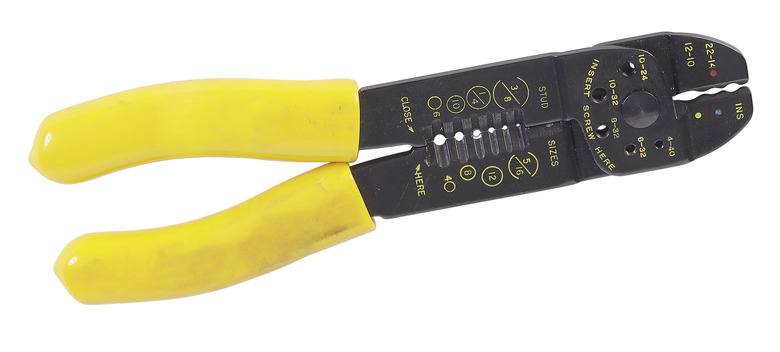
How Do I Adjust Pex Crimpers?
Things Needed
-
Metal crimp sleeves
-
PEX fitting
-
PEX tubing
-
Crimp gauge
-
Hex wrench, supplied with crimp tool
-
Steel rule
Tip
Lubricate the crimp tool after you make the adjustments to extend tool life.
Warning
Adjusting the handle width wider than the specified amount will result in damage to the tool.
Connecting cross-linked polyethylene, or PEX, to metal fittings and plumbing fixtures requires a crimped sleeve. The crimped sleeve slides over the PEX pipe. A PEX crimp tool crimps the band to seal the connection. A PEX crimp tool comes set from the factory to provide the proper crimp. The crimp tool loses tension after numerous uses. When a test performed with a PEX crimp gauge shows a loose crimp, the crimp tool requires an adjustment to ensure a properly installed crimp sleeve.
Step 1
Slide a metal crimp sleeve over one end of a piece of PEX tubing. Push a PEX fitting into the end of the PEX tubing containing the metal crimp sleeve. Push the crimp sleeve 1/4 inch from the end of the tubing. Open the jaws of the crimp tool. Slide the open jaws over the metal crimp sleeve. Pull the handles of the tool together to crimp the sleeve.
Step 2
Slide the properly-sized crimp gauge over the crimped sleeve. If the crimped sleeve does not fit snug in the gauge opening, the crimp tool requires adjustment.
Step 3
Turn the lower locking screw counter-clockwise two revolutions with the hex wrench supplied with the crimping tool.
Step 4
Close the jaws of the crimp tool until you feel resistance.
Step 5
Set the crimp tool on top of a steel rule. Turn the adjustment screw with the hex wrench until the distance between the handles is between 7 and 8 1/2 inches for a small crimp tool or 13 inches for a large crimp tool.
Step 6
Turn the locking screw clockwise with the hex wrench to lock the crimp tool adjustment.
Step 7
Crimp another metal sleeve. Test the crimp with the crimp gauge. Repeat the adjustment procedure until the crimped sleeve fits snug into the crimp gauge.
