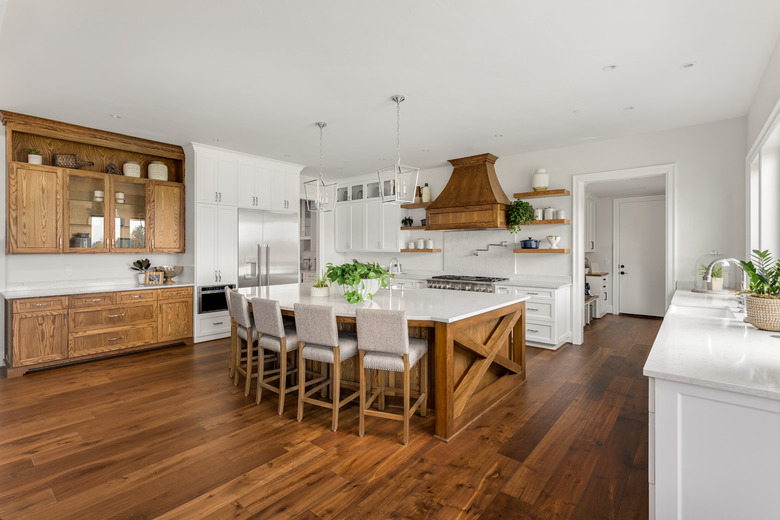
How To Restain Kitchen Cabinets From A Dark Stain To A Lighter Color
We may receive a commission on purchases made from links.
A dingy kitchen can be quickly brightened and overhauled by simply changing up the cabinets. Doors that are stained a dark, outdated shade can be lightened up by stripping off the old finish and applying the new, light-hued stain.
Changing the kitchen cabinets from dark to light can be a tedious process. However, the entire project from start to finish is not too difficult for the average "do-it-yourselfer."
Preparing Cabinets to Stain
Preparing Cabinets to Stain
Before you begin to restain kitchen cabinets, put a few things in place and gather tools to ensure that the process goes smoothly. A drill will make taking down cabinet doors, handles and drawer pulls faster and easier, although a screwdriver works just as well.
Gather extra brushes, soft clothes for errant drips or spills and tarps to lay over counters and flooring. Have a flat, covered surface at a comfortable height for laying down cabinet doors to stain or make minor repairs.
Clean all of the cabinets with warm, sudsy water the day before to allow for drying time. It's easier to clean the cabinets while they are still attached. Wipe down with a clean, damp rag to remove any soapy residue.
Remove Cabinets and Drawers
Remove Cabinets and Drawers
Start with the cabinet doors above the countertops and attached to the walls. Remove the screws from the hinges from the bottom and hold the door in place as you remove the screws from the hinge at the top of the inside of the cabinet door and pull it free from the bank of cabinets.
By organizing the little bits and parts as you go, it will be less of a hassle to replace all of the cabinet doors and matching hardware. As you remove doors, label each with a letter along with corresponding hardware. Write the letter on the inside of the corresponding cabinet in pencil or another marker that is easy to erase or wipe clean.
Have bowls or plastic sleeves available and labeled to place the screws, hinges and hardware. Older cabinets can often be slightly warped or misshapen due to time and wear. The hinges and screws from surrounding cabinets may not fit snugly when returned to a different door or drawer of the cabinetry. Soak really dirty or greasy hardware in soapy water in the bowls or plastic bags to remove dirt lodged in the crevices.
Sanding Cabinets Before Restaining
Sanding Cabinets Before Restaining
If the cabinets have a waxy or thick finish, then House Beautiful recommends apply a stripping agent, such as turpentine, over the surfaces. Follow the instructions on the stripping agent to remove that first layer of tacky finish. This can reveal divots and deep scratches, which will need to be filled with a wood filler.
Get into the grooves and along the sides before sanding the entire cabinet surface. Sand the cabinets, one at a time, with 100-grit paper, then move on to 180-grit and finally work a 220-grit sandpaper over the surfaces.
Restaining Kitchen Cabinets
Restaining Kitchen Cabinets
Once you have raw wood, apply a bit of the stain you like on an unseen edge to make sure it is the right light shade. Stain can take some time to cure and look darker after it is applied. Smooth the stain on in soft strokes starting at the top and moving along with the grain of the wood. HGTV recommends two to three coats of stain per piece.
