Blanco Drop In Sink Installation Instructions
We may receive a commission on purchases made from links.
Installing a Blanco drop-in sink is not quite as simple as dropping it into place, but the process is straightforward nonetheless. A drop-in sink has an overhang on the surface of the countertop. Proper drop-in sink installation requires caulk designed especially for kitchens and bathrooms to get a good seal between the sink and countertop to prevent water from seeping under the rim of the sink.
Trace the Position of Sink
1. Position the Sink Template
Your Blanco drop-in sink should come with a paper template. Place the sink template on the counter in the center of the sink base cabinet. Use a tape measure to ensure that there is equal space between the front and back of the counter and the sides of the sink base around the template.
2. Trace the Sink Template
Tape the template into position. Trace the template with a pencil and remove the template.
Cut Hole in Countertop
1. Add Support Under Countertop
Place pieces of 2x4 lumber under the sink vertically to support the countertop while cutting.
2. Drill a Starting Hole
Cut a conventional particleboard countertop using a jigsaw. Drill a hole inside the traced line for the sink 2 inches from the edge of the traced line with a 1/2-inch drill bit. (If the countertop is made of material that cannot be cut with a jigsaw, use the appropriate cutting tool for the countertop material.)
3. Cut Around the Outline
Insert the blade of your jigsaw into the hole and cut from the drilled hole on an angle to the edge of the template line. Continue to cut around the template line until the hole for the sink is cut out of the countertop.
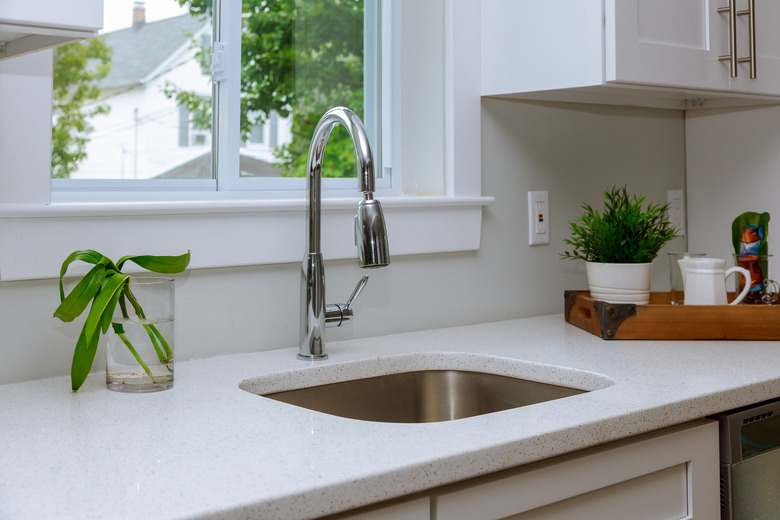
Installing a Blanco Drop-in Sink
1. Position Blanco Drop-in Sink
Place the Blanco drop-in sink in the cut out area and trim the area if needed so the sink fits into the countertop.
2. Add Masking Tape Around Edges
Apply masking tape on the countertop around the edges of the sink. Do not overlap the masking tape on the sink. Remove the sink by grasping the drain holes and lifting the sink out of the countertop.
3. Install Faucet Fixtures
Attach fixtures such as your faucet while the sink is out of the countertop to make the task easier to complete.
Prepare to Reinsert Blanco Sink
1. Attach Sink Mounting Clips
Attach mounting clips to the edges of the sink and space them evenly around the sink.
2. Apply Caulk to Perimeter
Squeeze caulk around the perimeter of the opening for the sink, between the edge of the cut out section and the masking tape.
3. Position Sink in Countertop
Place the sink in position in the countertop.
Tighten Mounting Clips
1. Turn Mounting Clips
Position the mounting clips below the countertop by turning the clips. Tighten them until they are snug, but not tight, to the countertop by turning the screws in the clips.
2. Tighten Mounting Clips
Tighten clips until snug and then re-tighten following the same pattern after they are in position. Tighten opposite clips rather than working around in a circle. For example, tighten a clip in the front and then the opposite diagonal clip in the back of the sink. This prevents shifting of the sink while it's being secured into position.
3. Remove Masking Tape
Remove the masking tape from the countertop.