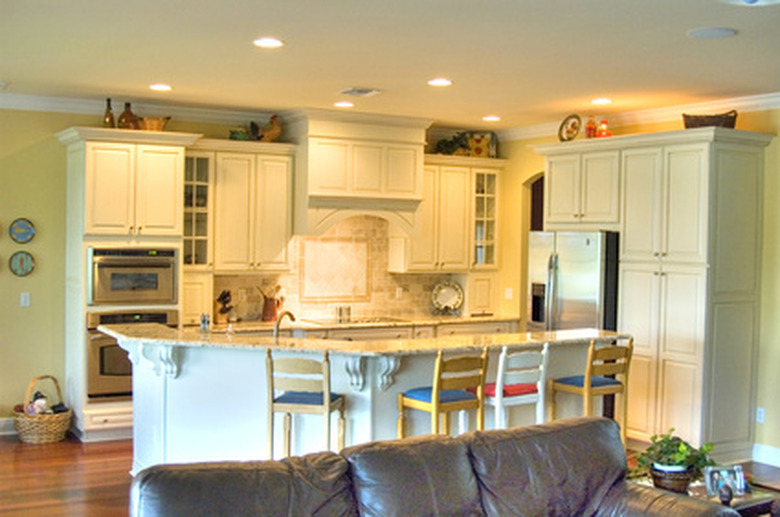
How To Upgrade Existing Cabinets With IKEA Kitchen Hardware
Things Needed
-
Tape measure
-
IKEA catalog
-
Drill bits and motor
-
Screwdriver bit
IKEA is well-known for its low-cost "do-it-yourself" type of furniture and cabinets, but many homeowners may not realize that they can purchase new IKEA drawer boxes, hinges and other hardware to upgrade their existing kitchen cabinets. The hardware that IKEA sells along with its kitchen line of cabinets is actually fairly high-quality material that many custom cabinet installers use in high-end kitchens. By carefully selecting and purchasing IKEA cabinet hardware and cabinet fronts, you can effectively upgrade your cabinets to look like almost any available IKEA kitchen-cabinet styles. Following some general guidelines (along with a willingness do some homework at the local IKEA store) can result in a low-cost and high-quality kitchen-cabinet upgrade.
Step 1
Use a tape measure to determine what size cabinets you have. Almost all kitchen cabinets are constructed to modular width dimensions. The outside width dimension of each cabinet is normally either 12, 15, 18, 20, 24, 30 or 36 inches wide.
Step 2
Choose a front style for your cabinet doors and drawers. Consult an IKEA kitchen catalog or the IKEA website to determine what styles are available in the sizes that match your cabinets. Some styles may not be available in all sizes, so it's important to compare your kitchen-cabinet sizes to the ones available in the catalog.
Step 3
Order the drawer fronts, drawer boxes and hardware. Many people may not know that ordering an IKEA kitchen is a done part-by-part. It can be an involved process, but the upside is that you can order only the specific parts that you need. In other words, you can order just the drawer boxes and cabinet fronts without actually ordering new cabinets. Be sure to order drawer/door handles, hinges, hinge dampers, drawer boxes, drawer fronts and cabinet fronts.
Step 4
Remove your old kitchen cabinet doors and drawers. You may decide to temporarily remove any adjustable shelves that are in the cabinets to ease the installation of the new cabinet doors.
Step 5
Remove any hinges or other hardware, such as magnetic catches, from the cabinets. The idea is to leave only the cabinet box in place to allow installation of new cabinet doors and drawer boxes.
Step 6
Install the new hinges. IKEA cabinet hinges are high-quality Austrian "clip" type hinges with cam-lock mounts that fit into recessed cups predrilled in the cabinet fronts. Snap the hinges into the door-cup locations, then hold the doors up to your existing cabinets to mark the hinge locations. Drill pilot holes for the hinges. Install the hinges per the IKEA instructions, as if your cabinets came from the IKEA factory.
Step 7
Install the drawer boxes. Assemble the IKEA drawer boxes according to the accompanying instructions. Once assembled, the drawer-box kit will consist of a drawer box and two sliding rails. Screw the rails into your existing cabinets according to the IKEA instructions. You will need to mark and pre-drill pilot holes for the screws.
Step 8
Install the drawer fronts on the drawer boxes. Screw the mounting tabs onto the drawer fronts. Snap the fronts into the drawer box according to the accompanying instructions.
Step 9
Install the door and drawer handles. Make yourself a template out of cardboard to locate the mounting holes once you have decided exactly where you want to mount the handles. Drill the screw holes and mount all of the handles.
Step 10
Make final adjustments to the hinges and drawer fronts to make everything straight. All IKEA kitchen hardware is adjustable, which is key to a successful installation. Congratulations! You have IKEA-upgraded cabinets.
