How To Anchor A Kitchen Island
We may receive a commission on purchases made from links.
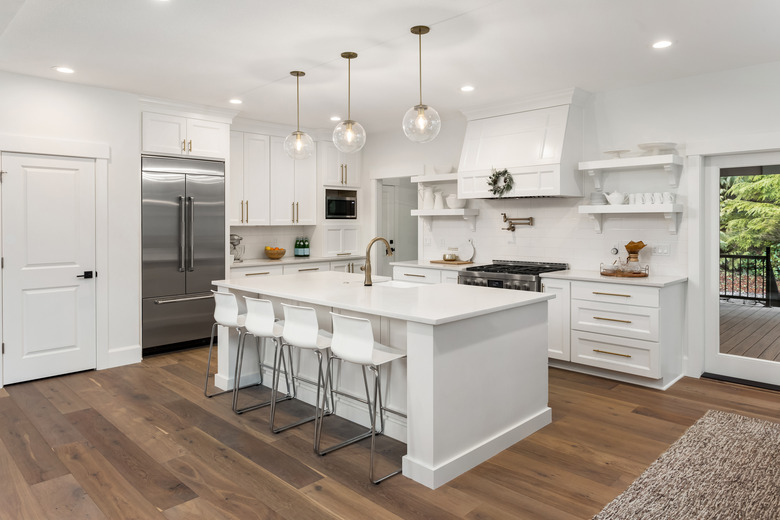
Adding an island instantly boosts your kitchen storage and work space, making it a more beautiful and functional place. You can get a freestanding kitchen cart, but anchoring cabinets to make an island makes it seem more permanent and keeps it from shifting while you're cooking. When you anchor a kitchen island to the floor, you want a secure attachment that makes the island stable.
Anchor a Kitchen Island
Anchor a Kitchen Island
Cabinets installed along the walls in the kitchen are easier to install because you can screw them directly to the studs in the walls. Islands make installation a little more difficult since you have to secure them to the floor only. You don't have the security of wall studs for attaching the sides.
One way to achieve that secure installation is by adding wood cleats to the floor so you can screw your cabinets to them. According to Wood Magazine, wood cleats are simply 2 x 2 boards cut to length and screwed to a stable surface — in this case, the floor — on all four sides. The cabinet fits over the cleats to keep it from moving.
Position the Kitchen Island
Position the Kitchen Island
Before anything else, you need to know exactly where you're going to install the island. You want to leave enough room on all sides to easily accommodate foot traffic. According to Laurysen Kitchens, you should leave a minimum of 42 inches between cabinets and the island, but increasing that to 48 inches is better for multiple people in the kitchen or people with wheelchairs or disabilities. If you have a dining counter on one side of the island, leave at least 60 inches between the edge of the counter and the wall or cabinets behind it to allow room for the chairs.
Once you're sure of the location, mark the outline on the floor. You can trace it with a washable marker, or you can use painter's tape if you don't want to leave marks on your flooring. This line or tape marks the outer edge of the cabinet and serves as your guide for installing the wood cleats.
Measure for Wood Cleats
Measure for Wood Cleats
Looking at the bottom of the kitchen island base, measure the thickness of the cabinet walls so you know how far to come in when you install the cleats. The cabinets need to fit over the cleats, so you need to install the wood pieces far enough in from the marked outer edges to make that happen. Also note any other boards or cabinet walls on the base, especially if you connect multiple cabinets to create a larger island. All cleats need to be located so they won't interfere with the cabinet structure.
Measure in from the marked exterior of the island based on the thickness of the cabinet to determine the location of the cleats. For example, if the cabinets are 1/2 inch thick, measure in 1/2 inch from the outline you marked when you positioned the island. Outline each piece of wood on the floor for easy installation when you're ready. You'll get the most secure hold if you place cleats on all four sides of the island, so mark the locations of all four pieces of wood.
Install the Wood Cleats
Install the Wood Cleats
Drill pilot holes in the wood cleats before installing them. Place the cleats back on the floor and drill pilot holes into the floor using the holes you created in the cleats as a guide. Screw each cleat securely to the floor.
If you're installing the island on the subfloor before you put new flooring in your kitchen, you may need to add a flooring block below the cleats to raise the island cabinet off the subfloor. The flooring block leaves enough clearance to install your flooring over the subfloor with the cabinets at the correct height, leaving room for tile or hardwood.
Attach the Cabinets
Attach the Cabinets
At this point, you can wash off the marker or remove the painter's tape that you used to mark the outline of the cabinet. The installed cleats will now serve as your guide for where to install the cabinet. Have someone help you lift the island base and place it over the cleats. If you measure accurately, the cabinet should fit snugly over the boards.
The cleats and the weight of the cabinets should keep the island in place, but you can screw the island base to the cleats if you want even more stability. Finish the kitchen island installation by adding any trim pieces or other finishing pieces on the island.