How To Grout Beveled Tile
Beveled wall tiles give a softer and more textural look which is why beveled subway tile will never go out of style. Whether you are installing a beveled tile backsplash or redoing a bathroom, the basic installation techniques are the same for any other tile. The cushiony shape of beveled tiles can make them slightly more challenging to grout neatly, but with with a little extra attention to detail you can have a professional-looking result in no time.
 Andrew Howe/Photodisc/GettyImages
Prepare the Grout
Prepare the Grout
Pour the dry mix into the bucket first and then add water based on the manufacturer's instructions,. Different grout brands and types require different amounts of water, so make sure you read the instructions and measure carefully. Grout that is too thin will not adhere properly and if it is too thick it may not cure completely. Use a margin trowel to blend the dry mix together with the water and let it sit for 10 minutes to activate the chemicals in the grout. Mix it one more time to ensure that the water is thoroughly incorporated.
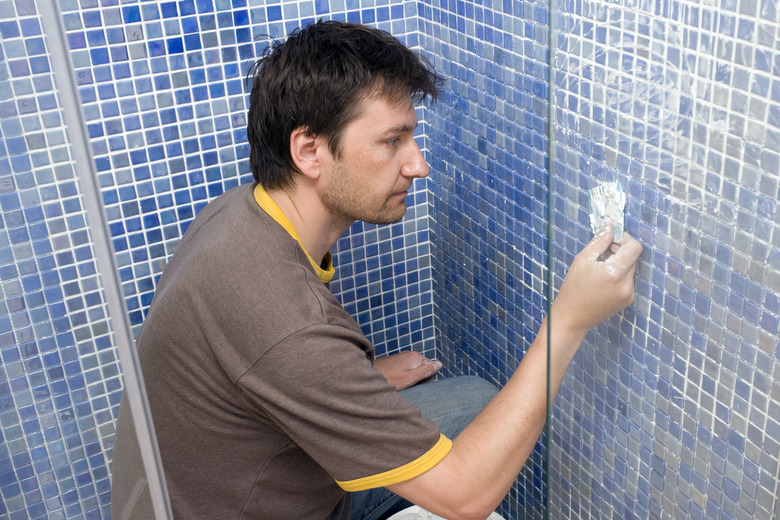
Grout the Beveled Edge Wall Tile
Grout the Beveled Edge Wall Tile
Hold the grout float at a roughly 45-degree angle while you apply gentle pressure to the float handle and work the grout into the joints between the tiles. Beveled tile is a little trickier to grout than flat tile, because the space between tiles is narrower at the bottom than the surface. A rigid grout float will not get the grout far enough down between the tiles to form a strong bond. A flexible tile float will help and don't be afraid to use your fingers in really tight spots. Pull the flexible grout float across the joints from multiple angles to ensure they are sufficiently full, and use a tile sponge to clean away excess grout as you go.
Cure the Grout and Clear the Haze
Cure the Grout and Clear the Haze
Let the grout cure for at least 20 minutes or however long the manufacturer recommends before cleaning the surface of the tile. Fill two buckets with water. Wet the sponge and wring it out so that it is barely damp. Run it over the tile to remove excess grout. A circular motion works better than long, straight strokes. Clean the sponge frequently by swishing it around in one bucket, and then dampen it in the other bucket. Empty and replace the water in the swishing bucket frequently.
Wash the Beveled Tile One Last Time
Wash the Beveled Tile One Last Time
Wait another 30 minutes before washing the tile one last time. Use the same two-bucket process as before. If the last of the grout haze resists a damp sponge, try a clean, dry, lint-free cloth. You can also purchase commercial tile-cleaning solutions for really stubborn haze. Let your beveled tile rest for 72 hours before using the room or walking on a newly-tiled floor.