How To Retack Siding
Things Needed
-
Hammer
-
Galvanized siding nails
-
Level
Tip
If the area to be repaired is small it is sometimes possible to bend the bottom lip of the upper row out enough to unsnap it from the top of the row below. This will allow you to get to the nails and add a few more nails without starting at the top and redoing the entire wall. Once you have added the extra nails you have to try to bend the bottom of the upper row and get it to snap back into the top of the row below. This can be difficult on shorter pieces because they don't have much room for bending and you may end up having to remove more above to allow for the snapping process.
Warning
Nailing siding over rotten wood is not a good idea since it merely covers up the problem. It also provides a place for moisture and possibly termites. Rotten wood should always be replaced before new siding is applied. Rotten wood can harbor termites and must be removed before they infest the entire house. To test the quality of the wood, poke it in several places with a screwdriver. Often wood will look fine from the outside but be soft and mushy on the inside. Termites stay away from the surface but can leave a paper thin layer of wood that looks fine until tested.
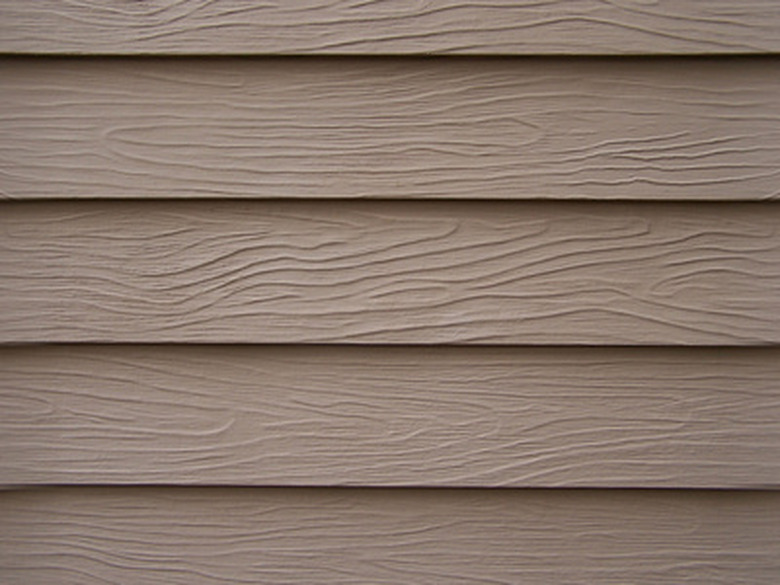
Vinyl siding is hung loosely to allow it to expand and contract in the sun. If it is sagging or has come loose from the outside of your house, you canmot just drive a few nails through the siding to reattach it. With vinyl siding, the nails are hidden by the row above and it is difficult to get to them. This article will explain how to properly attach siding whether it is a few nails that need to be replaced or a whole wall that needs attention.
Step 1
Determine the problem. Under normal circumstances, vinyl siding should not come loose if it was originally hung properly. If rotten wood is the cause, a few nails will not do the trick. This is a major repair job. The siding covering the rotten area must be removed and the rotten wood replaced before proceeding.
Step 2
Remove the siding in the reverse of how it was installed. Vinyl siding is installed from the bottom up. Each panel has a row of slotted holes at the top. Nails are spaced every 16-18 inches.
The uppermost layer may be behind a soffit or inside a J-channel.Once you get at the top row of nails, carefully use a hammer to pull them and work your way down.
Once you have removed the top nails, unsnap the top row of siding. Continue by removing the newly exposed nails, working your way down to the area that needs to be repaired.
Step 3
If there is no rotten wood visible, nail the loose portion of siding with at least one nail every 16-18 inches. Leave nails sticking out 1/8th inch from the wall so the siding can move as it expands and contracts. Put the nails closer together than 16 inches if the reason the siding is coming loose is because of texture or some other difficulty with the underlying material not holding nails properly.
Once the loose section is reattached, replace the section above by snapping the bottom of the upper row into the top of the lower row. Leave 1/4 inch space at each end so each panel is be able to slide back and forth a bit. Then nail the upper row across the top, remembering not to drive the nails tight. Drive the nails into fresh, solid material.
Step 4
Replace each row section by section, ensuring that the above row is firmly snapped into the row below. Use your level on each row to verify that the row is straight before nailing. Overlap the ends of each section properly. The top of each section is notched to show you how much should be overlapped. Stagger the seams so you do not have several courses with the seam ending in the same spot.
