How To Re-Side The Garage
Things Needed
-
Prybar
-
Hammer
-
Nails
-
Tape measure
-
Saw, table or circular
-
Ladder
-
Siding (varies)
Tip
You will need help on any garage siding project; it is at least a two-person job.
Putting new siding on a garage can be a challenging but rewarding task. Sometimes you have to replace siding because the old wood has rotted or become unsightly. Sometimes you may just want to convert to siding which requires less maintenance, like vinyl. Sometimes you just want to change the appearance of the garage, say from shingle to clapboard, and sometimes you just need to replace part of the old siding because of damage. No matter the reason, the techniques are similar.
Step 1
Choose a type of siding. You can use various types of wood — shingles, clapboard, planks, specialty tongue and groove. You can use fiber cement, which looks like wood but resists water, fire and insects. Or you can use vinyl, which is made to resemble wood surface but installs differently. Key elements to consider are water resistance, ease of installation, energy efficiency, appearance and durability. Examine samples at a building supply store and ask questions before deciding. You also will want to consider costs, both short term and long term, and maintenance requirements.
Step 2
Measure the length and height of your garage carefully to determine how much material you will need once you have chosen your siding. Don't forget to measure trim boards, which probably will need replacing too. Also check local building codes to make sure no permits are required; some residential areas (such as historic districts) also have restrictions on what kind of siding can be used.
Step 3
Remove old siding and trim. Assuming the old siding is wood, use a prybar to pull the old boards loose; sometimes you can just pull enough to reveal nail heads, which then can be pulled with the prybar or a hammer. Once siding boards are removed, check the sheathing and waterproofing paper or other material. Replace any damaged sheathing with plywood or oriented strand board (OSB). For a really good job, replace old waterproofing paper with a modern wrap such as Tyvek.
Step 4
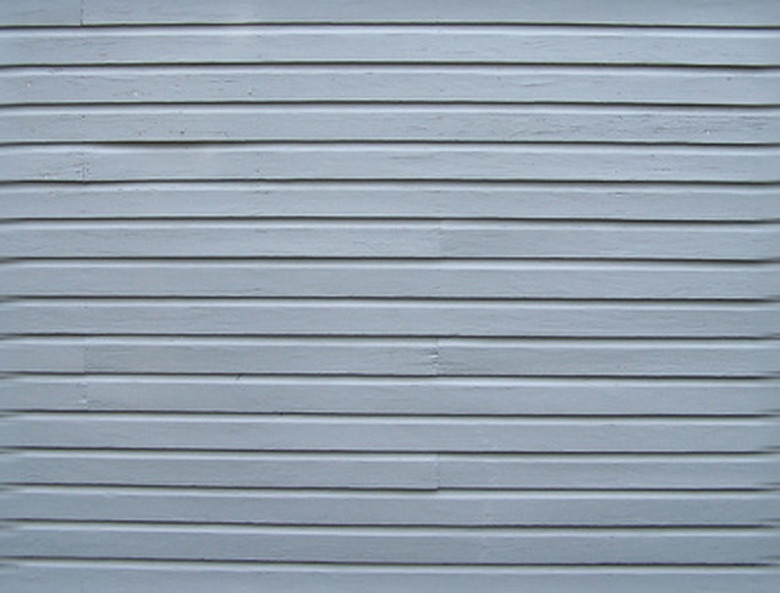
Install your new siding. If you are using wood or cement fiber, nail to studs, using a hammer and nails or a nail gun. Start at the bottom and work up, overlapping for water tightness. Tongue and groove or other interlocking wood will overlap seams automatically. Snap a level chalk line at the bottom for your start and check the level periodically as you go up. Stagger horizontal seams and cut planks to fit as needed with a table saw or circular saw. You will need help and ladders because most siding comes in 12-foot or longer pieces.
Step 5
Install vinyl siding according to the manufacturer's instructions. Vinyl siding fits into channels at corners and rooftops; end J-channel should be installed first. Siding pieces snap together, starting with a metal bottom strip, and are nailed in place through slots at the top of the siding pieces (nails should be placed in the center of those slots, to allow for expansion and contraction). Start with a level chalk line for the bottom starter strip and check the level periodically as you go up. Cut vinyl pieces to fit with a saw or snips.
Step 6
Finish your garage siding with trim. For wood and cement fiber siding, generally use 1 by 4 boards, overlapped at the corners. For vinyl, use special trim strips which should come with the siding.