How To Wire A Ruud Thermostat
The wiring for most thermostats, including everything from a Ruud Econet thermostat to a Rheem RHC TST412MDMS thermostat, is done in the same manner. Minor exceptions may exist, depending on the brand and what the specific unit was designed to do. Ruud manufactures many different series of thermostats that are designed to handle different types of climate control systems. These may utilize different wiring combinations. To properly install your thermostat, connect the color-coded wires into the appropriate terminal connectors. Following electrical safety procedures is essential before undertaking this sort of project.
Thermostat Wiring Safety Basics
Thermostat Wiring Safety Basics
If you have access to your thermostat's manufacturer instructions, read them before beginning any work on the unit. If anything doesn't make sense to you, ask for help before getting started. Let anyone else who is present know that you'll be working with electricity, and unplug all appliances on the circuit before you get started. You should also turn the power off via the circuit breaker box. Using high-voltage gloves and tools with insulated handles is another strategy for keeping yourself safe while working with wiring.
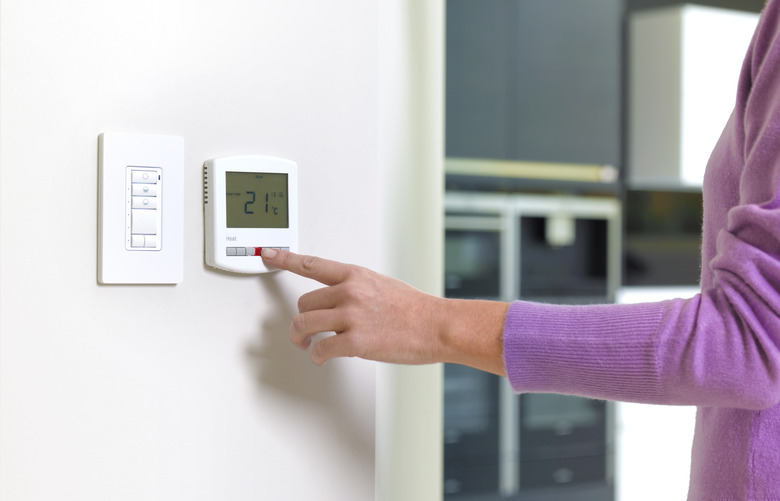
Thermostat Wiring Basics
Thermostat Wiring Basics
Turn off the power at the breaker box. Inspect the thermostat's terminal designations and identify each terminal. Follow the directions for your thermostat as provided by the manufacturer whenever possible.
You will need to determine which wires go to which terminals. Fortunately, these are usually color coded for ease of use. Then, you can run each thermostat wire from its respective HVAC unit to the thermostat. To accomplish this, you may need to drill a hole in the drywall, if there isn't already one there. Once you've pulled all the wires through, mount the thermostat wall plate to the wall, using drywall anchors to fasten it.
Thermostat Color Coding
Thermostat Color Coding
Next, attach the red wire into the terminal connection marked R. This leads from a transformer and provides power to the thermostat. You will likely also have a yellow wire, which should be connected into the Y terminal. This wire works to controls the air conditioning and runs to the compressor relay. A white wire should be connected to the W terminal. This wire goes straight to the furnace or other heating source and controls the heating system. The green wire needs to be connected to the G terminal. This wire controls the fan relay and powers the blower fan to circulate the air throughout the system. The black wire is attached to the C terminal. For this reason, it is also called the common wire. This terminal completes the 24-volt circuit necessary to power most hard-wired digital thermostats. The dark blue wire is attached to the Ruuds' B terminal for systems utilizing a heat pump. This powers a reversing valve when it is in heat mode.
This color code is not always perfect. For instance the blue and black wires may be reversed. It is always a good idea to check the wiring to the control panel in the heating or cooling appliance to reference which wires go where. Take notes and a picture of all wiring before disconnecting anything.