How To Make A Door Out Of 2x4s
Things Needed
-
Measuring tape
-
Circular saw
-
Miter saw
-
Nails or screws
-
Hammer
-
Wood glue
-
Drill with assorted wood boring bits
-
Chisel
-
Orbital, belt or hand sander
-
Sandpaper
-
Mounting hardware
-
Handle
-
Paint, stain or varnish
-
Paintbrush or roller
Tip
Always select dry, kiln-dried lumber so that the chance of warping is reduced.
Warning
Always use caution when working with power tools.
 Jupiterimages/Photos.com/Getty Images
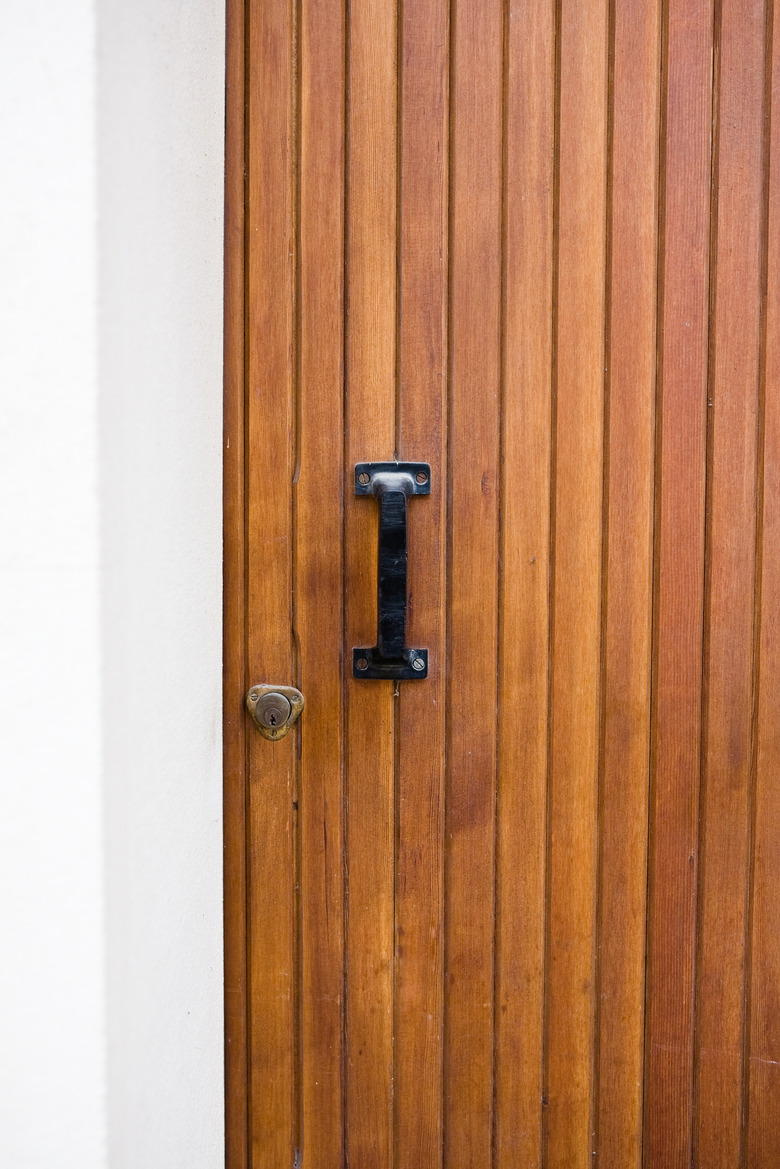
A door constructed entirely of 2-by-4s can be used for an interior entryway; however, 2-by-4s would not be a good choice for an exterior door because of their poor insulation value. Often, 2-by-4s are used for the interior framework of doors, and plywood or veneer panels are placed over the top of the frame. If the door must be used as an exterior entrance way, it should be made of treated 2-by-4s to resist rotting and warping from moisture exposure.
Preparation

Step 1
Determine the height and width of the desired door by measuring the doorway where it will be installed. Factor in additional room for the hinges and 1/8- to 1/4-inch for expansion due to changes in weather and humidity. Allow additional room if there is a threshold or carpeting under the door sill.
Step 2
Select the appropriate lumber. Choose pressure-treated lumber if the door will be used on the exterior. Common lengths of 2-by-4s are 8, 10 and 12 feet. Check each 2-by-4 individually for straightness.
Step 3
Check all of your tools. Make sure the drill bits are sharp and that all saw blades and guards are in place.
Door Construction

Step 1
Cut all lumber to size for upright pieces. At least one 2-by-4 may need to be ripped to size with a circular or table saw to achieve the appropriate width.
Step 2
Lay the upright panels side by side and measure for the cross-supports and battens. For a standard-sized door, plan on at least three cross-supports, one for the top, bottom and middle. Battens run at a diagonal and improve the stability of the door.
Step 3
Cut the cross-pieces and battens. Use a miter saw to make 45-degree angles where the pieces meet for a tighter fit.
Step 4
Assemble the door. Push the upright pieces tight together and make sure they are even at the top and bottom. Lay the first cross-support at either the top or bottom. Use wood glue and nails or pilot holes and screws to attach the pieces in place.
Step 5
Attach the other two cross-pieces at the opposite side and in the middle. Attach the battens next. Make sure there are no loose sections.
Door Finishing and Mounting

Step 1
Sand the door and all parts to the desired smoothness. For a door that will be stained or varnished, use successively fine grits of sandpaper to achieve a smooth finish. Start with a coarse grit, such as a 60, and work your way up to a 400 grit from intermediate grits, such as 100 and 200. For a painted door, a rougher finish is fine.
Step 2
Apply the paint or finish of choice to the door. Wait the recommended time for the door to dry, based on the paint or varnish manufacturer's instructions, before attaching the mounting hardware.
Step 3
Test-fit the hinges and handle to the door before hanging it. A standard placement for hinges would be one about 6 to 12 inches from the top, 6 to 12 inches from the bottom and one in the center. Hold the door up to the frame and mark where the hinges and handle will attach to the frame and either the existing or new strike plate.
Step 4
Bore a hole in the frame for the doorknob assembly and chisel out the areas where the hinges will go if they are to be flush-mounted. Attach or replace the strike plate to the door jamb.
Step 5
 George Doyle/Stockbyte/Getty Images
Hang the door and tighten the hinge screws. Attach one screw to each of the three hinges. Go back and add the other screws and re-tighten them if necessary. Test the door's swing and adjust it if needed.