How To Lay Granite Tile With No Grout Lines
We may receive a commission on purchases made from links.
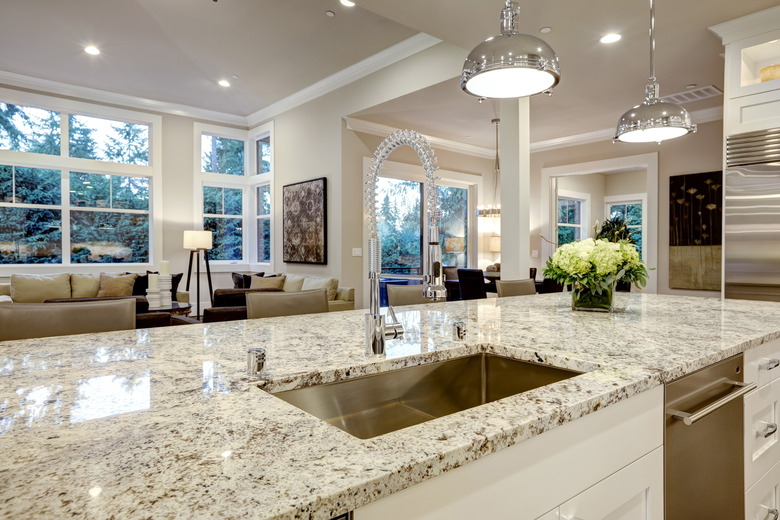
A seemingly seamless expanse of granite or tile is lovely to look at. Although it may look as if it has no grout to keep it firmly in place as traditional and small tiles do, a seamless tile installation still needs the security of a layer of grout. Beveling the granite tiles will minimize the amount of grout you need to complete the job. Granite tiles offer a slightly less expensive alternative to a giant and cumbersome slab of the popular decorative stone. It's easier to buy, transport, cut, and install the tiles, particularly if your project has a staff of one.
Make a Good Base
Make a Good Base
You will need to have a strong piece of plywood that's at least 3/4 inch thick. The base should be sturdy and durable enough to hold the weight of the tiles but not too bulky or heavy to add weight to the structure holding up the entire shelving and countertop unit.
A lightweight cement board tile-backer should be installed over the plywood. This helps prevent damage to the plywood from errant cracks or sealing issues that can occur over time.
When planning to install a granite tile countertop, you will need to be able to cut tiles for the front lip for a clean countertop look. The tiles need to be cut at 45-degree miters to give a crisp line to the lip of the countertop.
Tools and Calculations You'll Need
Tools and Calculations You'll Need
Figure out how many tiles you need by multiplying the length of the countertop by 2.5. Most countertops have a width of 24 inches. Make sure to add for the tiles you'll need to cover the front lip of the granite tile countertop. Have extra on hand for the breakage factor. Don't forget to subtract for the sink, stove top, or other built-ins you will have on the countertop.
You'll also need a 25-pound bag of thinset mortar and at least a 5-pound bag of unsanded grout for the tile joints. Unsanded grout is best for the small grout lines that will be less than 1/8 inch. Fiberglass mesh tape, a 1/4-inch notched trowel, a putty knife, a margin trowel, and a grout float round out the list.
For cutting, have a honing stone available to soften edges. Plastic spacers are needed to support any backsplash tiles. No grout tile or rectified tiles are cut at an angle so that they may not need grout because they are cut to an accuracy of 0.2 millimeters and don't have the unaligned look. You'll need a diamond tile saw, tile mitering jig, and C clamps to bevel the tiles.
Use epoxy to grout the small spaces in a countertop that may get overlooked. Use black epoxy grout for granite that is dark and white for lighter granite tiles.
Beveling the Tiles
Beveling the Tiles
To bevel the tiles, first make sure that your mitering jig is set up and the clamps are secure for an even cut every time. Cut a couple of practice pieces just short of the factory microbevel to ensure that your angles are exact and the tiles line up seamlessly. Adjust the miter jig if necessary. Do a dry layout of the tile so that you can easily see which pieces need a custom bevel cut, such as countertop ends and pieces that meet the sink. Keep in mind that corner tiles will need miter cuts on the two edges that meet the corner.
Marking cut lines with masking tape can help your visibility while using the saw. Once you've made consistent bevel cuts for your front edges, interior tiles, and custom tiles that might run to the sink, you know your mitering jig will deliver uniform results for the rest of your tile countertop layout.
Granite Tile Countertop Installation
Granite Tile Countertop Installation
Once the plywood and backing are down, lay the tile where you like it with each tile barely touching. Grout the tiles with the unsanded grout and use the notched float in a diagonal swipe to get the grout neatly between the tiles. Buff out any excess grout with a damp sponge. Let it dry overnight and give it a good cleaning with a dry, soft towel until it is gleaming. Remember to routinely seal your granite to maintain its appearance. The frequency will depend on its porosity level.