Can You Stain Pine Stair Treads?
Things Needed
-
Sanding respirator mask
-
120-grit sandpaper
-
Sanding block
-
180-grit sandpaper
-
220-grit sandpaper
-
Lint-free rags
-
Denatured alcohol
-
Stainable wood putty
-
Putty knife
-
Wood conditioner
-
Paintbrush
-
Wood stain
-
Sponge
Tip
Practice staining pine boards before you attempt to stain your pine stair treads.
Warning
Use stains only in a well-ventilated area away from open flame and sparks.
Rags soaked with oil-based stains may cause fires as a result of spontaneous combustion. Discard them in an airtight metal canister filled with water.
 Jupiterimages/Photos.com/Getty Images
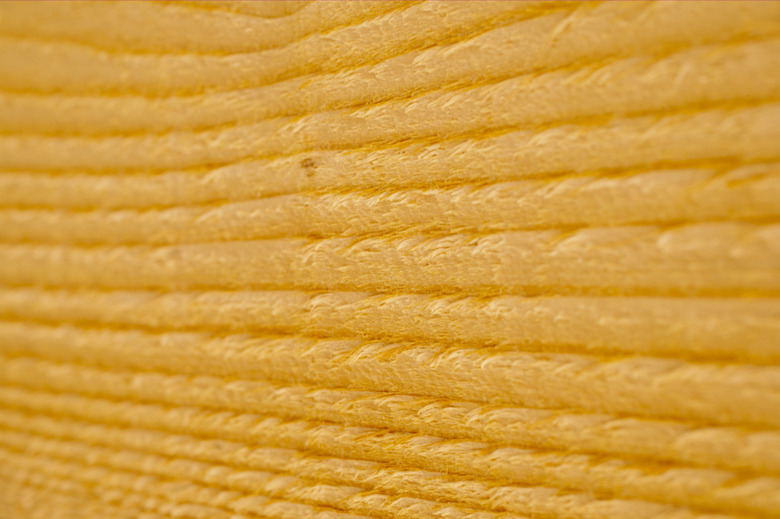
It's possible to stain pine stair treads, but it takes more prep work to get good results with pine than it does with harder woods. The main problem is that pine tends to soak up stain unevenly, resulting in a blotchy, unnatural appearance. To get the wood ready for staining, you need to hand-sand each tread thoroughly. If you plan to use a liquid stain on pine, you must apply a wood conditioner to the sanded wood before staining. Gel stain doesn't require wood conditioner, so it may be a better choice if you wish to save time.
Liquid Stain
Step 1
Put on a sanding respirator mask. Sand the treads with 120-grit sandpaper on a sanding block. Wipe away the sanding dust with a rag soaked in denatured alcohol. Repeat these steps with 180-grit sandpaper and then with 220-grit sandpaper.
Step 2
Fill holes and cracks with wood putty. Remove excess putty with a putty knife. Allow the putty to dry according to the manufacturer's specifications. Sand the filled areas with 220-grit sandpaper. Wipe away the dust with a rag soaked in denatured alcohol. Repeat this step if the holes and cracks are still visible.
Step 3
Apply a thin, even coat of wood conditioner with a paintbrush. Allow it to soak into the wood for the length of time specified by the manufacturer.
Step 4
Mix the stain thoroughly. Dip a lint-free rag into the stain and rub it across the tread, starting at one end and following the grain.
Step 5
Let the stain sit for the length of time specified by the manufacturer. Wipe off the excess stain with a clean lint-free rag and allow the wood to dry completely. Apply an additional coat if you prefer a darker stain.
Gel Stain
Step 1
Put on a sanding respirator mask. Sand the treads with 120-grit sandpaper on a sanding block. Wipe away the sanding dust with a rag soaked in denatured alcohol. Repeat these steps with 180-grit sandpaper and then with 220-grit sandpaper.
Step 2
Fill holes and cracks with wood putty. Remove excess putty with a putty knife. Allow the putty to dry according to the manufacturer's specifications. Sand the filled areas with 220-grit sandpaper. Wipe away the dust with a rag soaked in denatured alcohol. Repeat this step if holes and cracks are still visible.
Step 3
Dip a sponge in the gel stain and apply it to the tread, following the grain. Let the stain sit for the length of time specified by the manufacturer. Smooth and remove the excess stain with a clean paintbrush. Allow the wood to dry thoroughly. Apply an additional coat if you prefer a darker stain.
References
- Home Improvement 1-2-3; Home Depot
- Wood Finishing 101: The Step-by-Step Guide; Bob Flexner