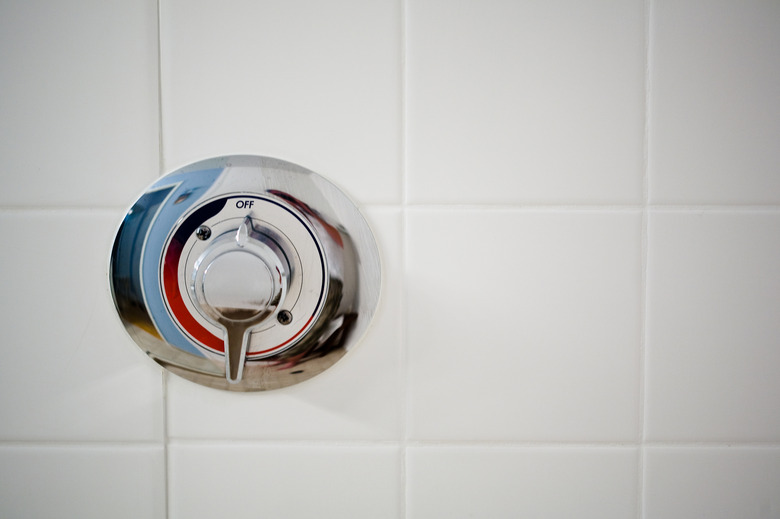
How To Install A Tuscany Shower Faucet
We may receive a commission on purchases made from links.
Installing a Tuscany shower faucet is an easy do-it-yourself project provided you already have a suitable shower valve installed. If you don't have a compatible valve installed already, Tuscany shower faucets come with one. It needs to be mounted to a wooden beam behind the shower and connected to the shower, the hot and cold water supply lines and the tub spout.
Because replacing a shower valve may require removing drywall or the tub surround, it's best to call a licensed plumber to assist with that step of the installation. Then, you're ready to assemble your Tuscany shower faucet trim in a DIY fashion.
Preparing for Shower Faucet Installation
Preparing for Shower Faucet Installation
Before you begin installing your Tuscany shower faucet, turn off the hot and cold water supply lines leading to the shower. Sometimes, these valves are enclosed behind drywall with no access panel. In this case, it's often easier to just shut off your home's main water supply.
Place a thick towel over the shower drain to prevent any faucet parts or tools from falling down the drain. Tools you'll need include Teflon tape, tongue-andgroove pliers and a Phillips screwdriver. Your Tuscany shower faucet should come with an appropriate-sized hex wrench, which will be used to tighten the shower faucet handle.
Installing Tuscany Shower Faucet Handle
Installing Tuscany Shower Faucet Handle
If the shower valve has a protective cover in place, twist this counterclockwise to remove it. Remove the large bonnet nut (also called a lock nut) on the cartridge cover by twisting it counterclockwise. Hold the cartridge so the word "hot" appears on the left, push it into the valve body and twist it slightly to the right to lock it in place. If your Tuscany faucet comes with a large O-ring, slide it onto the valve body so that it sits well past the threads and then thread the bonnet nut back into place to secure the cartridge, tightening it with the channel locks.
Next, place the decorative cartridge cover cap over the cartridge as far as it will go. Line up the screw holes on the escutcheon with those on the shower valve and then thread in the screws with a Philips screwdriver.
Slide the shower faucet handle over the square end of the cartridge, which sticks out from the valve. Push the setscrew in place under the handle and use the provided hex key to twist this screw clockwise until the handle is secure. For the final finishing touch, push the decorative cover into place over the setscrew.
Adjusting Hot Water Stop
Adjusting Hot Water Stop
Some Tuscany shower faucets come with a pressure-balancing valve, which helps prevent sudden water temperature changes. You'll see a red cap on the cartridge if yours does have a valve. Adjust it immediately after placing the cartridge into the cartridge cover and before replacing the bonnet nut.
Remove the red cap and turn the cartridge further to the left to allow more hot water to enter the valve or turn it to the right for less hot water. Reattach the red cap to preserve your adjustment and then secure the cartridge in place with the bonnet nut. Open your water supply valves and allow the water to run out of the shower with the cartridge turned all the way to the left.
Test the water with a thermometer to gauge whether any further adjustments are needed. Do not allow the shower water to exceed 110 degrees Fahrenheit, or scalding may occur.
