How To Remove Jet Tubs
We may receive a commission on purchases made from links.
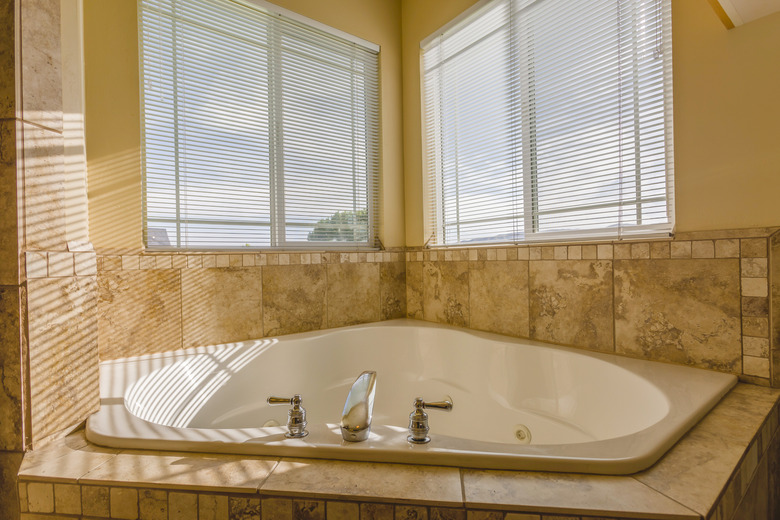
Removing a jetted tub during a bathroom remodel or home renovation is a significant undertaking, but you do not need a plumber to do it. This do-it-yourself project can be finished in one day with thoughtful preparation and some help from a friend or family member. However, you will need proper safety equipment and some basic plumbing know-how to tackle this project.
Need your jetted tub removed? Here's how to do it:
1. Prepare the Area
1. Prepare the Area
To complete this tub-removal project, you will need to secure some basic safety gear, especially safety glasses. In addition, make sure to turn off the house's main water shutoff and the power to your bathroom.
Then you can begin the removal process. Start by removing the showerhead, curtain rod, and anything else that could get in the way of tub removal. The drain at the bottom of the tub should be removed next using a screwdriver. Then remove the tub's fixtures using a screwdriver.
After this, the access panel should be taken off. These panels are usually found on the side of the tub. Grip the access panel under its lip with your fingers and pull the bottom toward you. This should make the pressure plugs pop off, allowing you to get your hands on the sides. Work around the sides, pull it out by its upper lip, and set it aside.
2. Disconnect the Plumbing and Motor
2. Disconnect the Plumbing and Motor
Once the access panel is off, you will need to disconnect the plumbing for the tub. This is done with an adjustable wrench. Remove all the lock nuts that connect the overflow pipes, drain, and waste pipe.
You will need to turn the power off to the tub at the circuit breaker for your safety before proceeding any further. Then, look for the power source that is used for the tub's motor and disconnect it. You might be able to do this easily by unplugging it. Otherwise, find the power source and then carefully disconnect the wires.
3. Access the Tub Frame
3. Access the Tub Frame
Depending on how the bathroom is designed, you may have to remove some drywall if it is against the tub. First, use a stud finder to see if there are obstacles like electrical fixtures or pipes behind the drywall. These should be marked out with tape. Using a utility knife, cut out about 6 inches of drywall if there is any by the tub.
Next remove any nails that connect the tub flange to the studs. This is best done with a hammer. The tile and cement backer board that is around the tub's frame can then be taken off using a pry bar and hammer.
If there is a tub surround, you will likely need a super bar and a hammer for removal. With the super bar, hit the tub surround at the top until it loosens from the wall. Next, use a reciprocating saw to cut through the corners of the tub surround. It can be taken down in pieces.
4. Remove the Tub
4. Remove the Tub
You should seek assistance when removing the jetted tub, as it will be heavy and cumbersome. Use some scrap boards for leverage or other lifting tools, if possible, as well. If the tub is made out of fiberglass, you may need to use your reciprocating saw to cut it into smaller pieces. Otherwise, it may not fit through the doorway.
Once the tub is out, there will probably be unfinished areas of the wall and floor that are now exposed, so you may need to repair or patch these. This is something to seriously consider before starting the project in the first place, since it can add time, effort and cost to your renovation. Once these details have been addressed, your jetted tub can then be replaced with a standard bathtub, vintage free-standing tub or large, custom shower.