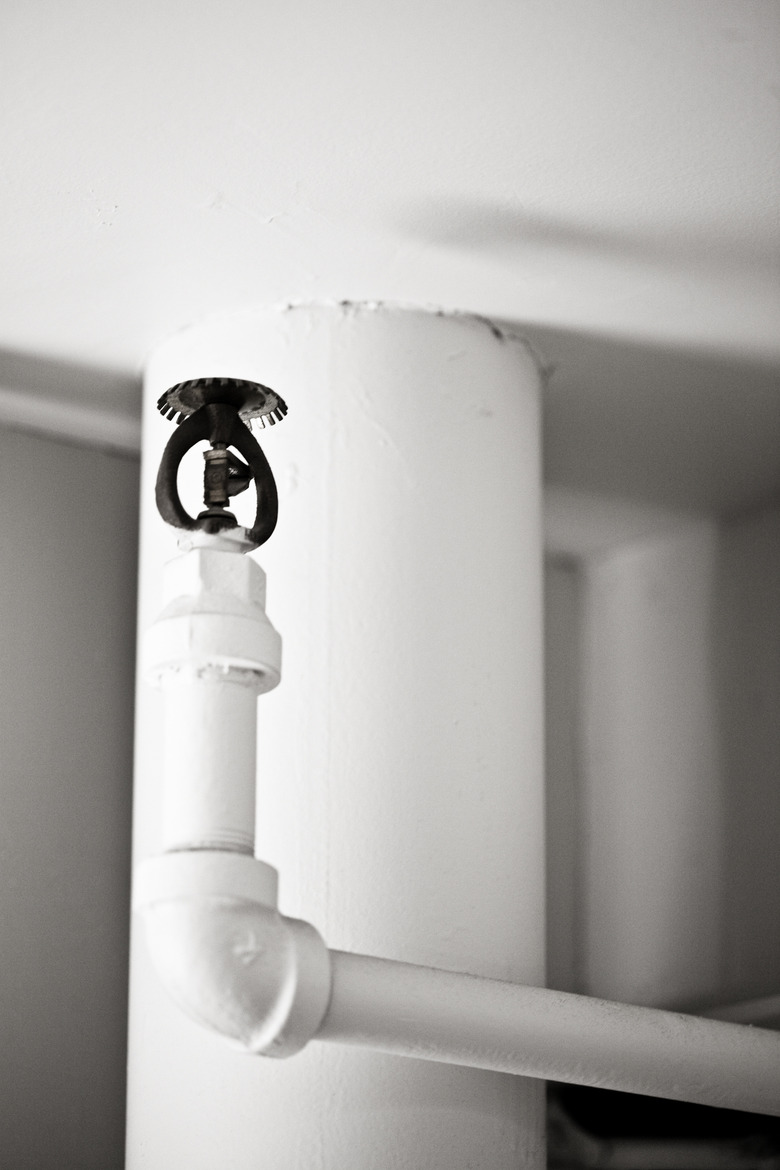
How To Bleed A Sprinkler System
Things Needed
-
A shovel
-
Socket wrench
-
A pair of pliers
-
Flat head screwdriver
-
Two buckets
-
Air compressor
Bleeding, or "winterizing" your home's sprinkler system is one way to protect your sprinkler system from freezing during winter. An easy way to do this is by draining the pipes and then blowing it out to dry with an air compressor. Compressed air blowing through your sprinkler system will prevent pipes from cracking and exploding. Here's an easy step-by-step process you can follow for bleeding your sprinkler system.
Step 1
Locate and turn off the main water valve for your sprinkler system by turning the valve in the clockwise direction until it is fully closed. You will find the main water valve outside your house near the control box of your sprinkler system.
Step 2
Locate the sprinkler head. Dig out around the sprinkler system an area 7inches in diameter with a shovel. Make sure you expose both the sprinkler head and riser that connects to a series of water pipes underground. Search for the brass vacuum breaker, which is usually located in front of the sprinkler valve manifold.
Step 3
Detach the sprinkler head from the main water line. Unscrew the screws holding the sprinkler head into the sprinkler system, using a flat head screwdriver. Firmly grip the sprinkler head, then turn it in a counterclockwise motion to loosen the head from the system, using a socket. Pull the sprinkler head out of the system using your hands. You can also use a pair of pliers, if necessary.
Step 4
Drain the main valve into a bucket by turning it clockwise with a socket wrench. Place another bucket either under the main line's drain or under its main shutoff valve as you turn open the drain knob. Leave the knob open until the water has completely stopped draining from the system.
Step 5
Connect the compressor to the vacuum breaker. Locate the two threaded bleed valves at the side of vacuum breaker, then remove their black caps at the bottom of the threads. Attach the compressor's universal connector to the exposed bleed valves. Ensure that the air compressor is in proper position before torquing.
Step 6
Turn on the air compressor at a pressure build-up of 40 t 80 psi, or pounds per square inch. Make sure you do not exceed more than the regulated 80 psi. Make sure all the bleeding valves in your sprinkler system are in their normal "Open" position. Activate the compressor and run it until the compressor completely drains the water from your sprinkler system. Close the valve and repeat this process one by one with all the valves in the system. (See References 3, Page – 107-111, and Page – 139-140)
Step 7
Switch off the main control on the control panel to ensure that the water does not go back into the pipes until you want to use the system again.
Warning
The air compressor has the tendency to elevate the air temperature within pipes. If the air temperature rises too high, it could melt the pipes. Keep a close eye on the air temperature during operation. Turn on and off the air compressor every two to three minutes to cool it down.
References
- Colorado State University Extension: Home Sprinkler Systems: Preparing Your Sprinkler System for Winter
- IrrigationTutorials.com: Winterizing Your Irrigation System
- Automatic Sprinkler Systems Handbook; Milosh T. Puchovsky and National Fire Protection Association
- Building Systems for Interior Designers; Corky Binggeli
