How To Divide Anthuriums
We may receive a commission on purchases made from links.
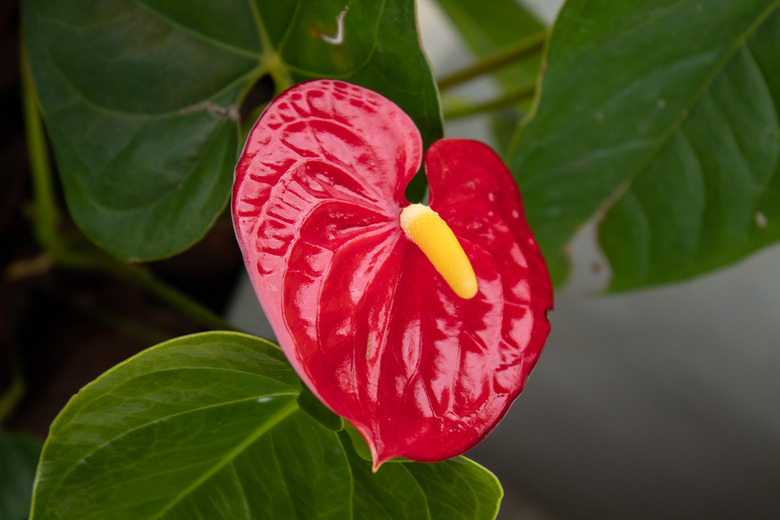
The vivid red, pink, yellow or white flowers of anthuriums (Anthurium spp.) and their glossy green foliage make these South American natives an attractive addition to your indoor garden. Although they're native to tropical rain forests, these plants are also perennials in U.S. Department of Agriculture plant hardiness zones 10 through 12. Many of the species are epiphytic evergreens. While easy to grow, when the plants start producing "babies" or their roots are crawling out of their pots, it's probably time to divide anthuriums.
Before You Start
Before You Start
Sterilize your cutting tools to prevent the spread of diseases and pests. Dip the blades into rubbing alcohol or a household cleaner like Lysol or Pine-Sol. Avoid chlorine bleach; it corrodes and pits the metal blades. Bleach is better used to sterilize flowerpots; mix one part bleach with nine parts water and soak the flowerpots for 15 minutes or more before rinsing thoroughly with fresh water.
Put on safety goggles, gloves and other safety gear. Anthurium contains calcium oxalate crystals, which can cause intense irritation of the mouth, tongue and throat if chewed or ingested. The sap can also cause itching, rashes and blistering, so these plants should be kept out of the reach of curious children or pets who like to nibble.
Spread newspapers over your work surface. Mix equal parts lava rock or perlite, orchid bark, and peat moss; or if your plants do better with a coarse mix, use equal parts orchid mix and cactus mix. Moisten the potting medium in a bucket so it's ready to use.
Separate the Babies
Separate the Babies
Check your plant for offsets, also known as babies, growing alongside the main stems. Gently tease the soil from between the parent plant and the offsets until you can see the connecting stems and roots. Use a sharp knife or pruners to sever the stems and roots to remove the offsets.
Fill small flowerpots one-third to one-half full with the potting mix and then nestle each offset into its own pot. Fill in around the roots until the offset is at the same level as it was when attached to the parent plant. Water thoroughly but wait to fertilize until the little plants are actively growing.
Repot and Divide Anthuriums
Repot and Divide Anthuriums
Mature anthuriums may outgrow their pots every couple of years. While spring is a good time to divide anthuriums, you can divide these tropical plants whenever you have time. Examine the plant before repotting and see if it has two or more distinct sections with both roots and foliage.
Slide the anthurium out of its flowerpot and carefully tease the potting mix away from the roots. Gently tug the sections apart, cutting where necessary to divide the plant. Snip off damaged or diseased roots and foliage.
Fill clean flowerpots with the moist potting mix one-third to one-half full and repot each section in its own pot. Add more potting mix until the plants are at the same level as they were previously. Water thoroughly until water runs from the bottom of the pot.
Care of Anthuriums
Care of Anthuriums
Place the newly potted anthuriums in a warm, brightly lit location but out of direct sunlight. A tray filled with pebbles and water under the flowerpots but not touching the pot bottoms helps keep the humidity high while the plants become established in their new homes. Water when the potting mix is dry to the touch. Mist weekly.
Fertilize two to three months after repotting and dividing the anthurium. Mix a high-phosphorus liquid fertilizer to one-quarter strength. Pour the fertilizer into the pot until it drains from the bottom. You can fertilize with a dilute solution as often as weekly as long as you follow it with a long drink of water.
Alternatively, fertilize with a slow-release 15-30-15 or 12-24-12 fertilizer every six months. Only use one-quarter of the recommended amount. Always water thoroughly after fertilizing to protect your plants' roots.
