Do You Have To Seal Cedar In A Bathroom?
We may receive a commission on purchases made from links.
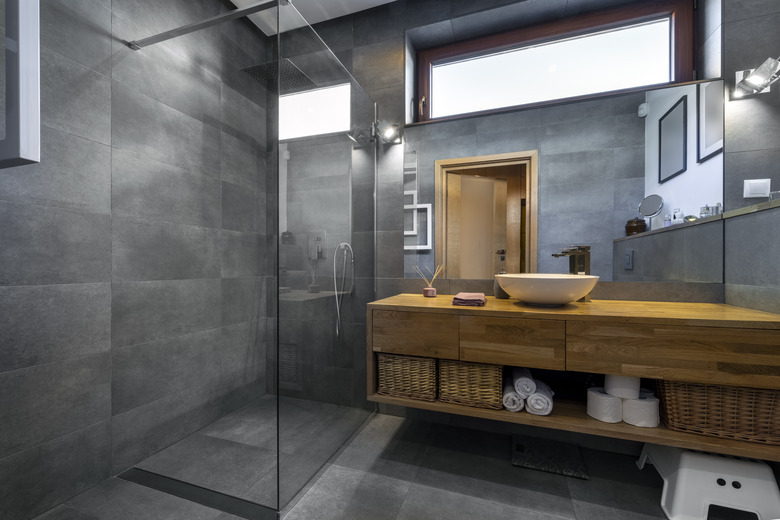
Cedar can be a stunning accent in a bathroom as it's known for its unique smell and beautiful grain. While it might be a tempting construction material to use, any wood in a bathroom is a risk.
Bathrooms are humid and damp, and moisture can be absorbed by wood paneling, causing it to fracture or even mold or decay. While it's more resistant to water and disease than other woods, even cedar is at risk of damage from water and humidity. Luckily, you can seal cedar using several different techniques and products that will help keep water out of the wood and lengthen its life.
Tip
You don't have to seal cedar in a bathroom, but doing so can lengthen its useful life.
Sealing Cedar in a Bathroom
Sealing Cedar in a Bathroom
Sealing cedar does trap its traditional scent inside the wood, but that's a small price to pay to be able to use cedar as paneling or siding. To properly seal cedar for waterproofing, the right sealant product is necessary. There are many adequate sealants on the market that will work.
Exterior sealants, made for wood on decks and in other areas that face direct rain, will be able to stand up against the shower; however, look for one that's rated for indoor/outdoor use because some outdoor sealants can release copious fumes. If sealing the cedar before installation, doing this process outdoors should provide adequate ventilation, but in a small space like a bathroom, you risk making yourself ill with the off-gases if the room doesn't have proper airflow.
Be sure the product chosen specifically mentions waterproofing, and read the manufacturer's instructions before applying. These sealants are usually epoxy-based products that soak into the wood and harden during the drying process.
Beginning With Sealant
Beginning With Sealant
Applying sealant is much like painting, in theory. While cedar paneling can be worked on and sealed before installation, the surface may need to be touched up after installation if there are any bumps, dents or holes where bare wood may be exposed.
Even the space around a screw or nail can be enough for moisture to get in and ruin the siding. The instructions will vary based on the type of sealant and the manufacturer, so be sure to read the label before moving forward. Keep ventilation going in the space while layers dry. The fumes from these kinds of products can make you feel dizzy or ill. Use of a respirator mask, safety glasses and gloves is recommended.
First, make sure the cedar surface is smooth. Some cedar comes ready to install and won't need sanding, but if the cedar panels seem rough, sand out any imperfections so there's a smooth surface ready to accept the sealant. Be sure the cedar surface is clean and dry. Protect the area as much as possible.
Applying the Sealant
Applying the Sealant
Using a brush, apply the sealant to the cedar, working from the bottom up to avoid visible drip marks. Normally, the manufacturer's instructions say to keep the layer at as standard of a thickness as you can. Cover all of the wood surfaces with sealant.
Follow the instructions on the label to determine when the sealant will be dry. Each product is different and will require a unique amount of time to finish.
If recommended, repeat as necessary with a second coat. Again, this depends on the type of sealant chosen and the manufacturer. Sometimes a varnish is added on top of the sealant; other times, one coat may be all that's necessary.