How To Replace RV Cabinets
Whether you're planning an extensive RV remodel or just need to replace damaged parts, new cabinets in your RV can make a big difference. Not only does it give the space a cosmetic update, it can also maximize the storage space you have for pans, kitchen utensils and food.
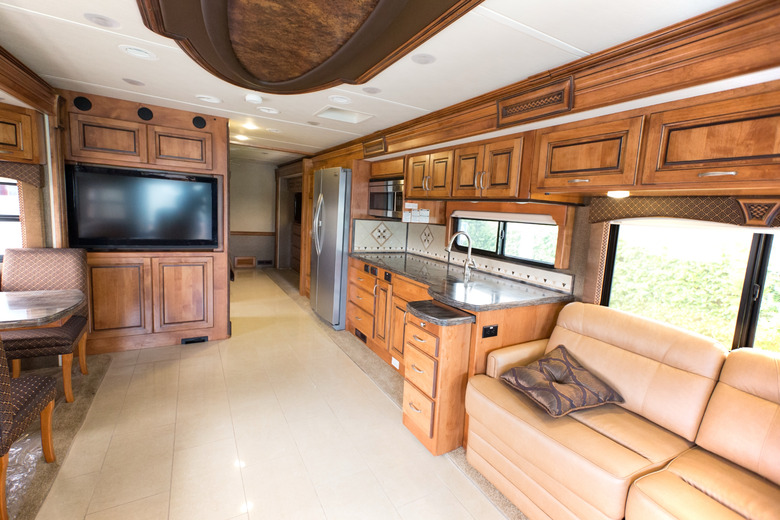 JodiJacobson/iStock/GettyImages
Finding Replacement RV Cabinets
Finding Replacement RV Cabinets
Wondering where to purchase RV cabinets? You can find replacement cabinets at RV dealerships or home improvement warehouses. Standard stock cabinetry may fit. If you have a curved ceiling in your RV, you can make a template to follow the curve and trim the backs of the cabinets to fit.
If you don't mind used cabinets, check on auction sites, swap groups or local sales pages to find cupboards that are still in good shape. Wrecking yards where damaged RVs are parted for spares sometimes have units that exactly match the preexisting ones, or you might find vintage units there that fit your space.
Specialty workshops can build custom units based on your space and specific needs. If you have experience in woodworking, you can build your own cabinets. Using pre-made doors from a home improvement store simplifies the process.
Remove the Old Cabinets
Remove the Old Cabinets
Removing the preexisting cabinets without damaging the surrounding area gives you a fresh canvas for installing the new units. Typically, this involves first removing the door. Unscrew the hinges from the cabinet. Remove any internal shelves, which is usually as simple as lifting them off buttons pressed into the sidewalls.
Locate the fasteners holding the cabinet to the walls or adjacent furniture, and retract them. Depending on the location of the cabinet, you may have to gently rock the cabinet back and forth to free it. Sometimes the cabinets get stuck to the wall after years of being in place.
Clean the area from which the preexisting cabinet has been removed. Use a degreasing solution designed not to damage or weaken the substrate. This removes any built-up gunk from the walls, so the new RV cupboards have a fresh start.
Find the Studs
Find the Studs
Attaching the new travel trailer cabinets to studs helps secure them correctly. The new cabinets cannot be hung from the paneling on the interior walls. Use a stud finder to locate the reinforcing braces inside the walls.
Mark the locations of the braces with a permanent marker pen, then use a tape measure to transfer those measurements to the back and sides of the new cabinet. Drill holes approximately 10 inches apart through the lines drawn on the cabinet, using a bit sized to the fasteners you're using.
Install the Cabinets
Install the Cabinets
Have an assistant hold the new cabinet in its desired location, then use the permanent marker pen to mark through the drilled holes in the back and sides onto the adjacent surfaces of the RV. Drop the cabinet away from the work area, and drill pilot holes in each mark. Use the appropriate drill bit for the type of brace you're drilling into, either wood or metal.
Return the new cabinet to its desired location, again with the help of an assistant, and align the holes in its sides and back with the pilot holes. Use wood screws for wooden braces and metal machine screws for metal braces. The screws should have rounded heads, not be countersunk, and be no longer than the ones removed from the preexisting cabinet. Have all the screws firmly in place before allowing your assistant to release the weight of the cabinet.
Add a Latch
Add a Latch
One key difference between an RV cabinet and one inside a home is the need for a secure latch. The latches on cabinets designed for stationary homes aren't up to the task of keeping them shut while the kitchen is in motion, as on an RV. New RV cabinets usually come complete with hardware, including the latch, but if not, you need to add one. Reuse the latch from the preexisting cabinet if it's still functioning and is of a size, shape and design you like.
Otherwise, choose a product that features a mechanical latch. Do not install a magnet-and-metal-plate closure as it may not be secure enough. Follow the manufacturer's detailed fitting instructions. Typically, the moving part of the latch should be attached to the door, and the piece into which it fits should be attached to the jamb.