How To Repot An Ivy Plant
Things Needed
-
Pot
-
Rocks, shard or coffee filter
-
Houseplant potting soil
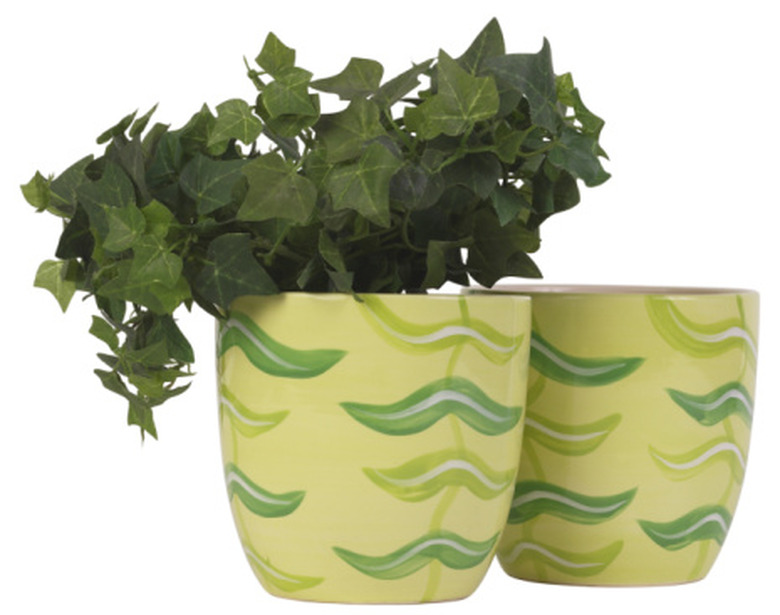
Ivies are native plants to southern Europe and northern Africa. They were brought to America by the early settlers and grown as a houseplant because they are tolerant of low humidity and cool temperatures. The variegated and solid green leaves comes in many shapes and sizes An ivy can outgrow the container and when that happens, they need to be repotted into a bigger container. If done correctly, the plant will suffer minimal shock.
Step 1
Clean a pot that is 2 inches bigger than the pot the ivy is currently growing in. The pot must have drainage holes at the bottom. Cover the drainage holes with rocks, shard, or a coffee filter to keep the soil from coming out of the pot each time it is watered.
Step 2
Fill the pot one-third full with houseplant potting soil. This potting soil is sold at garden supply stores.
Step 3
Turn the ivy pot upside down and bang the rim of the pot on the edge of the table. Move the plant away from the rim to avoid breaking the stems. Have a helper catch the root ball to prevent the plant from falling to the ground.
Step 4
Loosen the soil at the bottom of the root ball with your fingers and gently pull or tease the roots away from the sides of the root ball with your fingers.
Step 5
Insert the root ball into the center of the pot. Check the top of the root ball so it is 1/2 inch below the rim of the pot. Adjust the soil until the root ball is at the correct height.
Step 6
Fill in around the root ball with potting soil. Bang the bottom of the pot onto a flat surface to collapse air pockets in the soil. Don't bang the pot too hard, or the pot may break.
Step 7
Place the ivy pot into a drainage tray. Water the ivy slowly to prevent holes from forming in the soil by the running water. Continue to water until the water comes out the bottom drainage holes. Empty the drainage tray of excess water.
Tip
Feed the ivy with liquid houseplant fertilizer after the ivy shows new growth.
References
- Denver Plants: English Ivy House Plants
- "The Houseplant Expert"; Dr. D.G. Hessayon; 1980
- "Favorite Houseplants"; Don Dooley; 1976