How To Caulk A Kitchen Faucet
We may receive a commission on purchases made from links.
Caulking around a kitchen faucet can be an important step in reducing leaks that could lead to mold, mildew, damage to the wood or countertop and hospitable environments for insects. Your faucet may come with a rubber gasket to help prevent leaks, but if the gasket is absent or faulty, you should seal your faucet with caulk. Sealant comes in all kinds of materials and colors, including acrylic, silicone and copolymer bases. Not all sealants are caulks, but many are referred to casually as caulks.
Choose the Right Sealant
Choose the Right Sealant
First, pick the best sealant for the job. Take into account the color of your countertop, sink and faucet and the materials of each. Home Depot explains that silicone caulk is the default choice, and you can pick a formula that dries clear if you think a fair amount of caulk will show or you can't get a good color match. However, silicone caulk doesn't adhere well to acrylic surfaces, so if you'll be working with acrylics, use a copolymer-based rubber sealant.
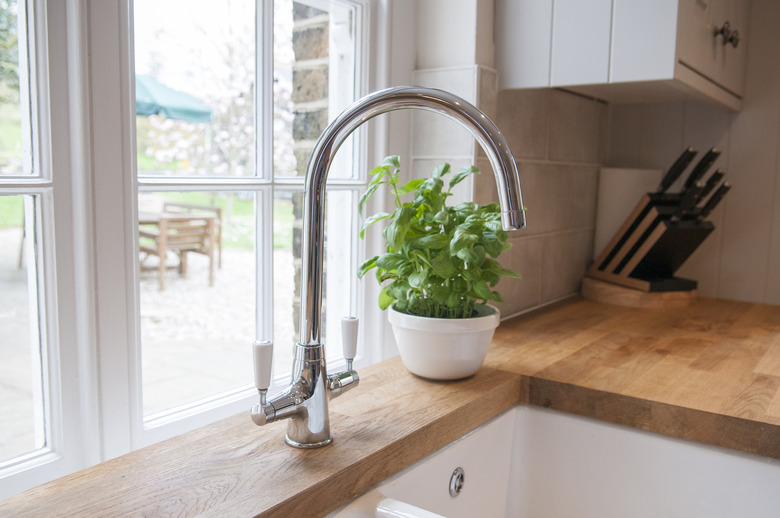
Prepare the Surface
Prepare the Surface
Prepare the surface to receive the caulk by making sure it's clean and dry. Your faucet may have old caulk around it, which will need to be removed. As Mr. Kitchen Faucets explains, caulk ages and doesn't last forever, so replacing old caulk is normal.
Use a scraper or caulk removal tool to remove the majority of the caulk, but be careful not to damage your sink or the surrounding countertop. Use rubbing alcohol to clean within the joints of the faucet and around the area that makes a seal.
Then, use mineral spirits to rub away any remaining caulk and clear the surfaces of any debris, oils (including those from your fingertips), dirt, grease, mold or mildew. Rinse the area with cold water and dry it with a clean, dry cloth. Leave it to dry fully while you move on to the next step.
Prepare the Caulk
Prepare the Caulk
Prepare your selected caulk for use per the manufacturer's instructions. Load the nozzle end into the open end of the caulking gun, then press the back of the tube into place by the plunger. Using the utility knife, cut the tip of the tube off at a 45-degree angle to make a one-quarter-inch opening.
Squeeze a small line of caulk onto a rag or spare bit of cardboard. Make sure the tube is expelling a line one-quarter of an inch thick. Testing the setup like this also primes the tube and removes any air bubbles. You're now ready to caulk your faucet.
How to Caulk a Faucet
How to Caulk a Faucet
Apply a uniform one-quarter-inch bead of caulk around the entire outer edge of the holes for the faucet set. If your set came with gaskets, align the holes on the gaskets and fit the lower end of each threaded stem through the gasket and down under the sink.
Position the faucet facing in the appropriate direction and press it firmly into place on the sink, sitting on your line of caulk. Some caulk may come out the sides and you can clean it up in a moment. Reach under the sink and install the washers and nuts that came with your faucet set, hand-tightening with pliers.
Clean Up the Sink
Clean Up the Sink
The last step is to clean up any excess caulk. Use a caulk-smoothing tool to ensure a clean, smooth look to any visible caulk. For small bits of out-of-place caulk, use mineral spirits to clean away the excess.
Let the caulk dry fully before exposing it to water. The caulk tube should specify the drying time for your chosen sealant. Your kitchen faucet is ready to use without having to worry about any issues from leaks or splashes.