How To Wire An RV Thermostat
Things Needed
-
Manufacturers' literature
-
Pen & paper
-
Screwdriver
-
Wire strippers
Coach thermostats in recreational vehicles, or RVs, fulfill the same purpose as thermostats in regular "sticks-and-bricks" houses. They control the output of environmental control devices, commonly the furnace and the air conditioners. Their function is to maintain a predetermined temperature, set at a digital or manual interface, by switching on and off heated or cooled and dehumidified air. RV thermostats are connected to the machines they control using the same color-coded wiring harness as is used in conventional homes.
Step 1
Confirm that the usual wiring color-codes apply to the thermostat to be wired and to the RV's preinstalled harness; although there is a conventional schematic, no strict industry standards are imposed upon either manufacturer. Consult the literature delivered with the thermostat and that relevant to the RV, then draw a wiring diagram noting the color codes, functions and terminal numbers. Match the terminals' numeric codes to their purposes, then the appropriate color-coded wire to each terminal number.
Step 2
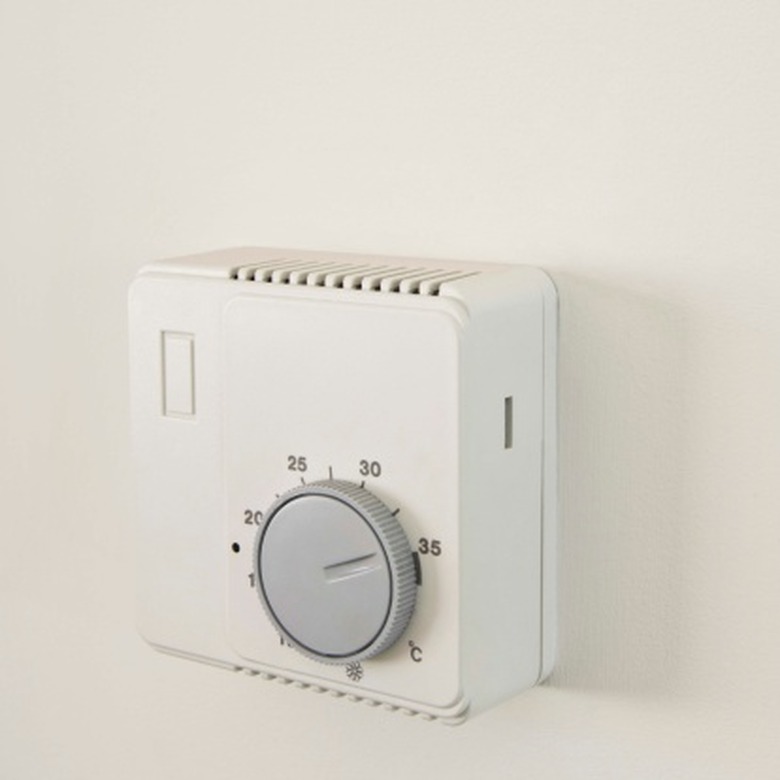
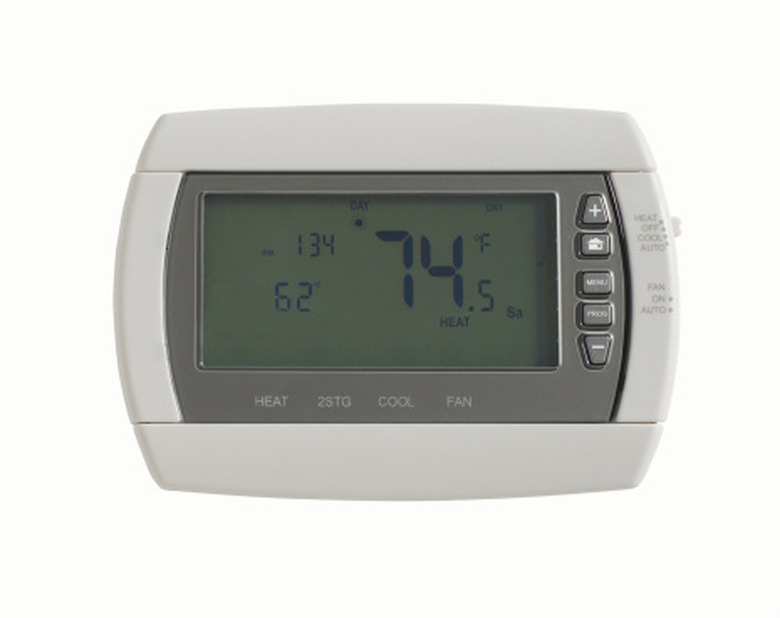
Remove the thermostat's outer case, customarily by retracting one securing screw from the bottom face of the case, then lifting the case outward and upward. Locate the wire connection terminals inside the thermostat body, and loosen all the retaining screws so that the terminal receivers are opened sufficiently to accept the harness wires. If exchanging an older-style "slider" unit with a digital upgrade, draw a schematic of the original wiring/terminal pairings before extracting the wires.
Step 3
Determine which — if any — wires in the harness are redundant; for instance, if your thermostat will not be operating an air conditioner, the wires coded for that purpose are redundant. Use wire strippers to remove 1/4-inch of insulation from the ends of all wires that are not redundant.
Step 4
Insert the stripped harness wires into the thermostat terminals according to your wiring diagram. Typically the connections are made as follows: Terminal 01 is usually ground, taking a black or blue wire to the camper's 12-volt neutral system. Terminal 03 is usually hot, taking a red wire from the RV's 12-volt coach system. Terminal 05 is usually the supply wire to the AC compressor, taking a yellow wire. Terminal 06 is usually the supply wire to AC high fan speed, taking one of two green wires — the orientation is unimportant. Terminal 07 is usually the supply wire to AC low fan speed, taking the other of two green wires. Terminal 08 is usually the supply wire to furnace, taking a white wire.
Step 5
Tighten down the appropriate terminal screw as each individual wire is inserted. When all the wires are secured in place, relocate the case and the case fastener.
Tip
Terminals 02 and 04 are typically unused.