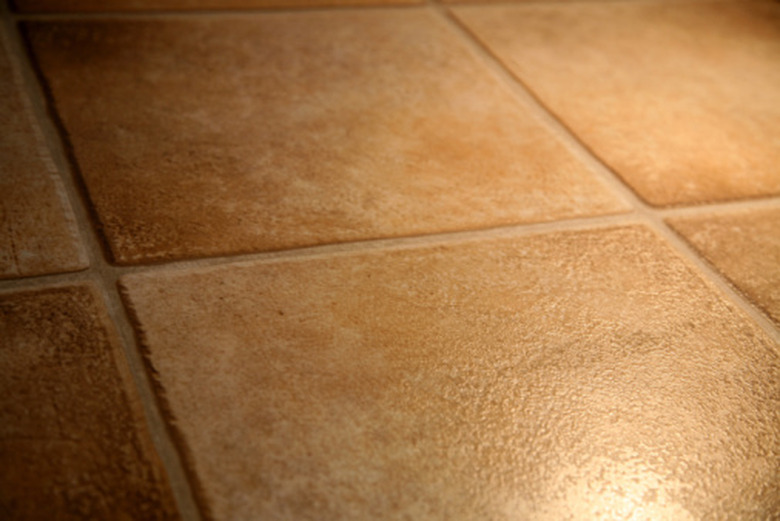
How To Install Tile On A Second Floor
Things Needed
-
Power drill
-
Paper clip
-
Permanent marker
-
Measuring tape
-
Cement backerboard
-
Nails
-
2-inch by 4-inch piece of wood
-
Carbide-tipped cement board knife
-
Thin-set mortar
-
Notched trowel
-
Backerboard screws
-
Fiberglass mesh tape
-
Taping trowel
-
Trowel
-
Chalk line
-
Yardstick
-
Tiles
-
Tile spacers
-
Snap cutter
-
Beater board
-
Rubber mallet
-
Grout
-
Grout float
-
Sponge
-
Silicone caulk
-
Eye protection
When you are installing tile on a second floor, you may be concerned that the floor isn't strong enough to support the weight of tiles and mortar. However, you can strengthen the subfloor with a layer of cement backerboard and then install tile on the floor as you would with any other tiling project. In fact, tiling on a second floor is the same as tiling on any wood subfloor, whether it's the first floor, third floor or second floor.
Prepare the Subfloor
Step 1
Locate a pipe that goes through the floor. If there is no pipe, drill a hole through the floor, using a power drill. Straighten a paper clip and form a hook at one end. Slip the paper clip through the hole surrounding the pipe, or the hole you drilled. Hook the paper clip on the floor's underside, and mark the paper clip with permanent marker at the top of the floor. Measure the paper clip from the top of the hook to the mark. If it is at least 1-1/4 inches, your subfloor is thick enough to support the weight of tiles as it is, and you can begin to install the tile.
Step 2
Purchase enough cement backerboard to make your floor at least 1-1/4-inch thick; this usually requires just one layer. Lay the cement backerboard on the floor with the rough side facing up. Place nails between the pieces of cement backerboard, creating an 1/8-inch gap between the boards.
Step 3
Cut cement backerboard to fit by scoring it with a carbide-tipped cement board knife, using a 2-inch by 4-inch piece of wood as a straightedge. Put the wood under the cement backerboard, and break it over the wood along the scored line.
Step 4
Lift each piece of cement backerboard, and spread thin-set mortar on the floor with a notched trowel. Draw the edge of the notched trowel along the mortar to create grooves. Place the cement backerboard on the mortar, and, using a power drill, drive screws through the backerboard and into the floor every 6 inches. Repeat for all the pieces of cement backerboard. Discard the nails.
Step 5
Place fiberglass mesh tape over the seams between pieces of cement backerboard. Spread thin-set mortar on the tape with a trowel. Let the thin-set mortar dry for 12 hours.
Install the Tiles
Step 1
Mark the floor at the midpoint of each wall. Snap chalk lines between opposite marks, dividing the floor into quadrants. Using a yardstick to keep your lines straight, trace the chalk lines with a permanent marker.
Step 2
Spread thin-set mortar on a section of one quadrant, near the intersection of the lines. Comb grooves into the mortar with the edge of a notched trowel. Place tiles on the mortar, lining them up with the lines on the floor and placing two tile spacers on each side of every tile. Continue in this manner until the floor is covered except for the spaces that won't hold a full tile.
Step 3
Place a beater board on the tiles, and tap it with a rubber mallet to bed the tiles into the mortar. Repeat this procedure, moving across the floor until you have tapped every tile.
Step 4
Mark the edge tiles for cutting by laying them on the floor next to the wall. Mark the tile where it overlaps the adjacent tile. Cut the tile at the marks, using a snap cutter. Install the edge tiles as you did the other tiles in Step 2 and Step 3. Let the mortar dry overnight.
Step 5
Remove the tile spacers. Spread grout over the tiles with a grout float, letting the grout work its way into the spaces between the tiles. Don't put grout between the tiles and the walls.
Step 6
Wipe the grout from the tiles with a wet sponge, rinsing frequently. Press the corner of a damp sponge along the grout lines, creating a consistent depth and finish. Let the grout dry overnight.
Step 7
Run a line of silicone caulk between the edge tiles and the walls. Let the caulk cure overnight.
Warning
Wear eye protection when cutting tiles.
References
- "Tiling"; Editors of Sunset Books; 2009
- Danny Lipford: Installing Tile Over a Wood Subfloor
