How To Replace Flywheel Magnets
Things Needed
-
Wrench set
-
Screwdriver
-
Masking tape
-
Flywheel magnets
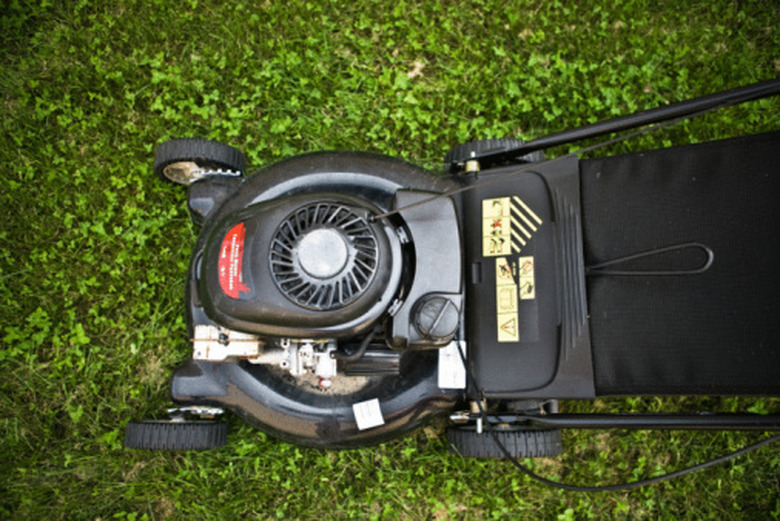
The flywheel magnet provides an electric charge to the ignition coil, in turn sparking the plug in a small engine. If the magnet has lost it's magnetic properties or comes loose, the small engine may not start or run properly. Removing and replacing the flywheel magnets takes a specific process to be sure they are replaced in the right configuration. If labeled carefully and close attention is paid to placing the magnets properly, they can be replaced without taking the engine to a mechanic.
Step 1
Remove the bolts on the top of the small engine that houses the pull start mechanism with the proper sized wrench. Set the bolts and housing aside so the parts do not get lost.
Step 2
Rotate the flywheel to test and mark the magnets. The magnet must be on the opposite side from where the magneto is located when tested. The magneto is also called a coil, because it is wrapped in wire. It is located to one side of the flywheel so that when it spins and the magnets pass it, a charge is generated, then passed to the spark plug. Be sure the magnet you are testing is rotated away from the magneto when testing takes place. Hold the screwdriver against the magnet, if the magnet pulls the screwdriver in, the magnet is fine. If it seems weak or does not pull the screwdriver in, the magnet needs to be replaced.
Step 3
Mark the magnets on the flywheel by labeling them in the position they sit with a small piece of masking tape on the flywheel. You can test the magnets for position by using another small ceramic magnet. If the magnet is repelled, label the flywheel magnet R, and if it is attracted, label the flywheel magnet A. This will differentiate for you which position the magnet should be replaced in. Just be sure to remember which designation is attract, which is repel.
Step 4
Remove the flywheel magnets by prying them off the flywheel or unscrewing the mounts, there are different configurations on different small engine flywheels. Clean the flywheel carefully to remove any residual adhesive or debris.
Step 5
Apply a two part epoxy or a heavy duty adhesive such as Gorilla Glue, according to the manufacturer's instructions, to the flywheel and/or the magnet surface. Install the replacement magnets. Let the adhesive cure.
Step 6
Replace the housing for the mower pull start assembly over the flywheel with the original bolts.