How To Repair Intercoms
Things Needed
-
Electrical tape
-
Screwdriver
-
Rubbing alcohol
-
Cloth
-
Voltage meter
If you have an intercom system that isn't working as it should, it can be frustrating as it will mean you may not be aware when you have visitors. Most intercom problems are straightforward to fix and you only need basic awareness of how they operate in order to repair them. If you live in an apartment block, you need to ensure that your intercom is working properly.
Step 1
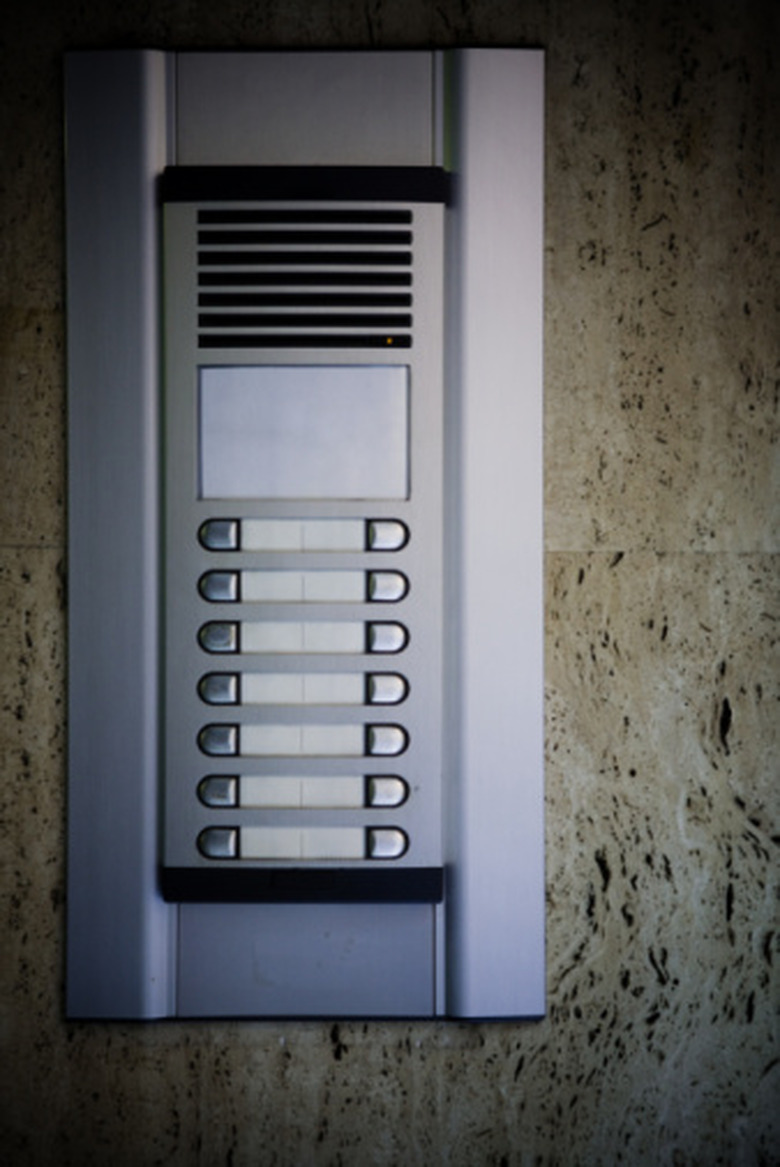
Look at your intercom buzzer and assess it for any signs of damage or general wear and tear. If they're doesn't appear to be any visible damage to the button itself, then move onto the next stage.
Step 2
Use the screwdriver to remove the intercom casing in order to assess the state of the wiring inside. Take a close look at the wiring and make sure that it has a good contact with the button of your intercom. If there is a large accumulation of dust or dirt, use your cloth and rubbing alcohol to remove it.
Step 3
Use the voltage meter to test the voltage of your intercom system because this could be a potential reason it isn't working. Now touch the wires together to see if you can hear the intercom buzzer noise when they make contact. If no noise results, then the transformer is at fault.
Step 4
Inspect the low-voltage wiring connected to the transformer. If this has become loose, tighten it up using your screwdriver.
Step 5
Inspect the intercom buzzer wiring. If you spot any loose wiring, use the screwdriver and electrical tape to tighten it up or repair any damage to the surface of the wiring. Now use the volt meter again to test the voltage. Your intercom will have a voltage reading of between 6 and 16 volts if it is working correctly.