How To Install A Pressure Gauge In Existing PVC
Things Needed
-
Water pressure gauge
-
Hack saw
-
PVC solvent cement
-
Utility knife
-
PVC tee
-
PVC nipple (2-inch)
-
Felt pen
-
Wrench
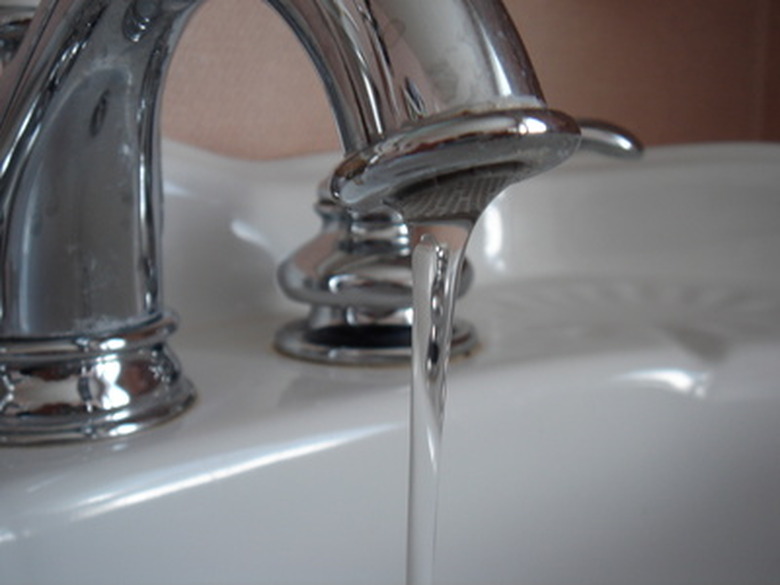
Water inside the water pipes in your home is constantly under pressure. Too little pressure will result in not enough water coming out of your faucets. Too much pressure can damage fittings and other devices attached to your water line. There is no means of telling the water pressure inside your pipes unless you install a water pressure gauge. Installing a pressure gauge inside an existing PVC pipe is a simple and straightforward task.
Step 1
Shut off the main water supply to the pipe where you plan to install the pressure gauge. Most main shut off valves are located just after the water meter, but different utility companies have different methods of shutting off the main water supply. Call your local utility company if you are unable to locate the main shutoff valve.
Step 2
Turn on the faucet that is closest to the ground to drain water inside the pipes. Locate the section of piping where you wish to install the pressure gauge. Cut the PVC water pipe to accept a PVC tee, using a hacksaw. Smooth the tip of each pipe with a utility knife.
Step 3
Insert the pipes into each end of the fitting, and align the tee with the opening pointing upwards. Draw a horizontal line across the PVC tee and the pipe with a felt pen so that the line will serve as your guide when assembling the pieces later.
Step 4
Remove the PVC tee, and clean it and the pipes with pipe cleaner. Apply PVC primer, according to manufacturer's instructions. Apply solvent cement to the tee and pipes and insert the pipes into each end of the tee.
Step 5
Distribute the solvent by twisting the tee slightly back and forth, and align the marks you made earlier. Hold the tee and the pipes together for two minutes to allow the solvent cement to set.
Step 6
Apply PVC cement on the end of a 2-inch PVC nipple, and plug the nipple into the opening on top of the PVC tee. Wait a few minutes to allow the cement to set, then weld a reducing female adapter to the nipple. Plug the water pressure gauge into the adapter, and twist the gauge clockwise with a wrench to tighten the connection.
Step 7
Read the PVC solvent cement manufacturer's instructions regarding the amount of time needed to allow the cement to completely cure. Turn on the main water valve after allowing enough time for the solvent cement to cure. Allow water to run from the faucet mentioned in Step 2 for about a minute to release trapped air. Turn off the faucet, and check the reading on your newly installed water pressure gauge.