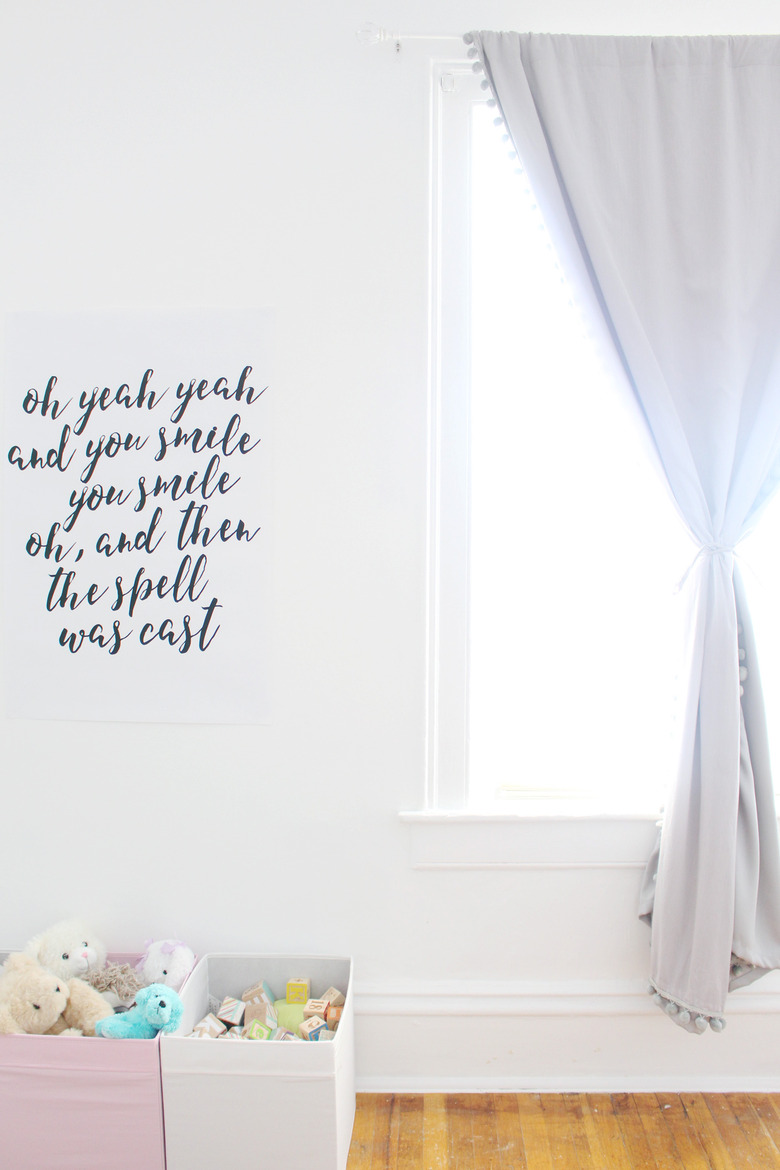
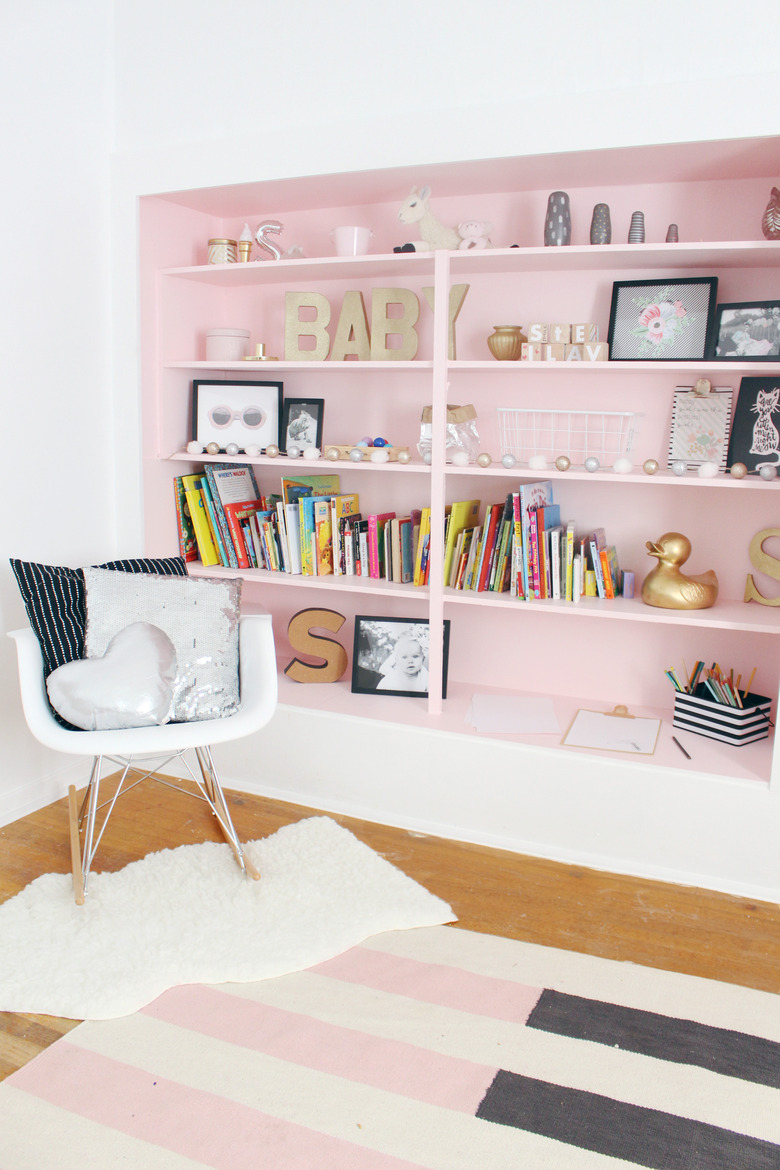
How To Easily Apply Paint Over Hard To Remove Wallpaper
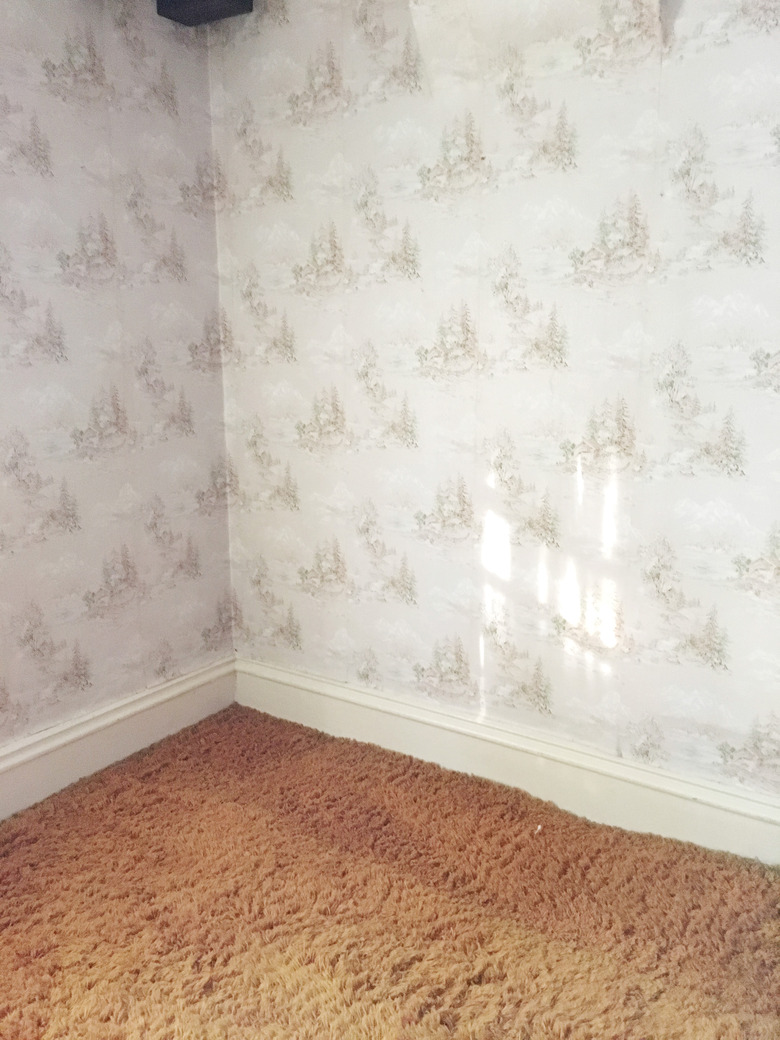
Removing old wallpaper can be extremely difficult and may even damage the surface of the wall. Avoid this potential headache, and the general hassle, by painting over existing wallpaper. This project masks unsightly designs and their pesky seams under a fresh finish that should take all but a weekend to complete. When you reveal a modern room, no one will be able to detect your secret!
 Machelle Vanderhoeven
Things You Need
Things You Need
- Oil-based primer
- Paint in desired finish
- 2 paintbrushes and rollers (one for primer, one for paint)
- Extra-fine sandpaper, 320 grit
- Spackling paste
- Spackling knife
 Machelle Vanderhoeven
 Machelle Vanderhoeven
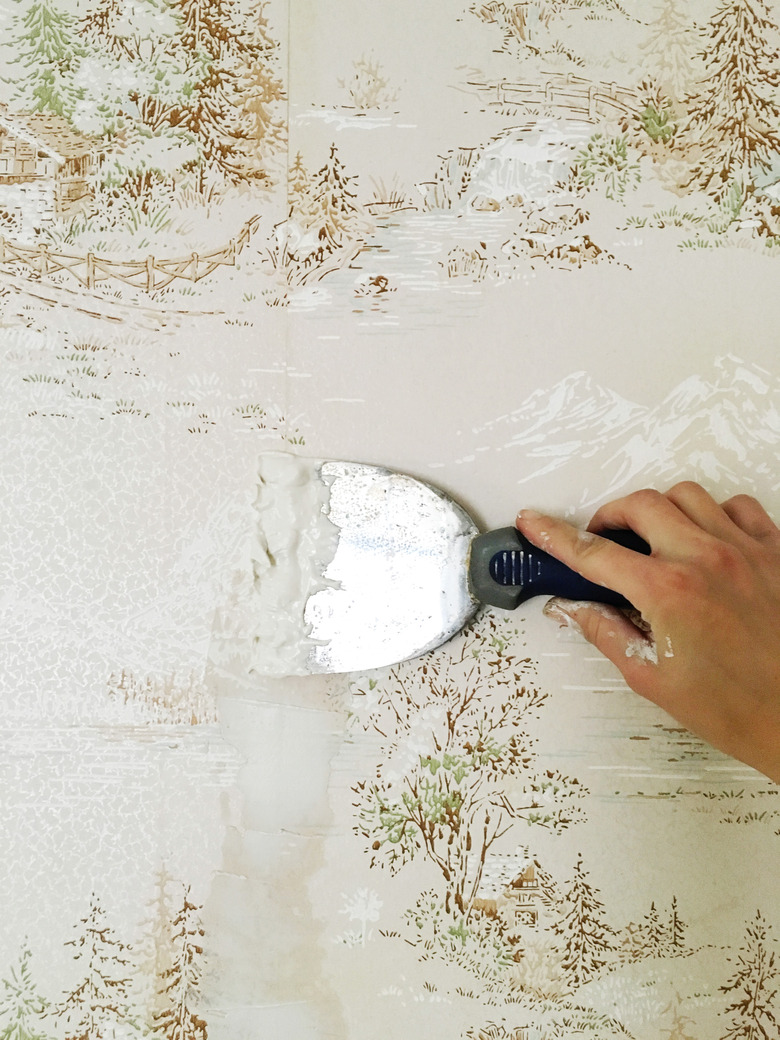
Step 1: Cover Each Seam With Spackling Paste
Step 1: Cover Each Seam With Spackling Paste
Gather a thick layer of spackling paste onto a spackling knife, and then spread the material over every seam in the wallpaper. Spread it out until the paste is thinly coating the seams. Allow the spackling paste to dry completely.
 Machelle Vanderhoeven
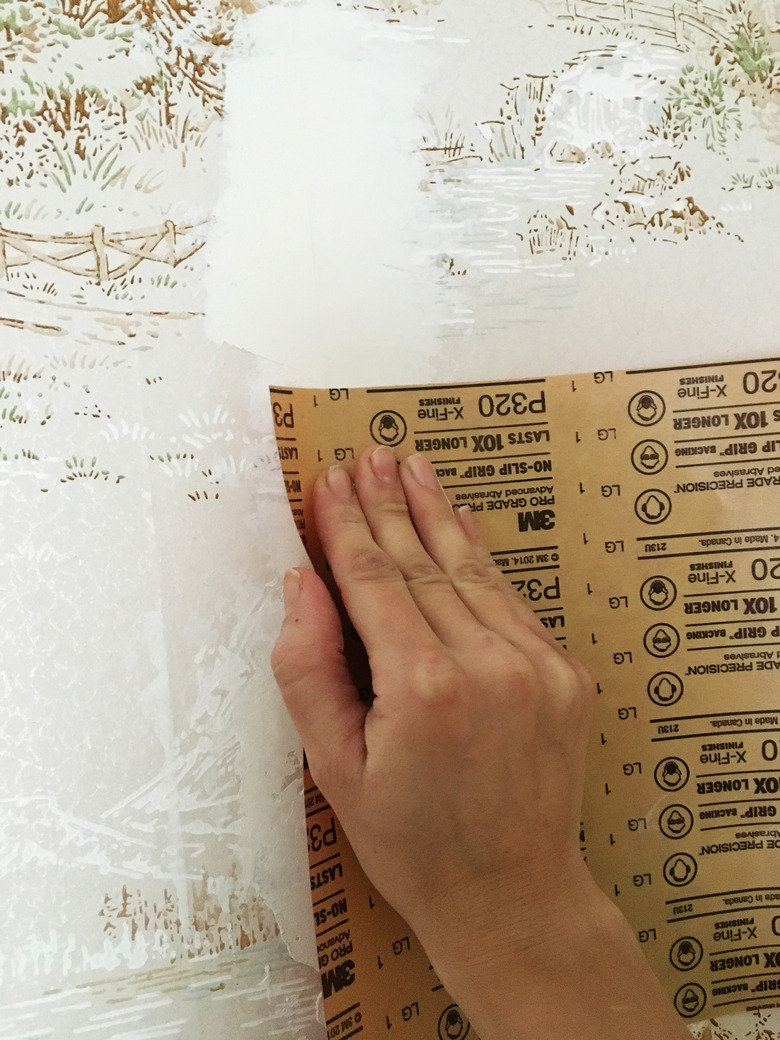
Step 2: Sand Over the Spackling to Make the Surface Smooth
Step 2: Sand Over the Spackling to Make the Surface Smooth
Take a very fine-grit sandpaper, such as 320 grit, and smooth out the spackling. But beware: Do not sand it so thin that the seam reappears. The spackle should be visible, but blended into the wall's surface. Give it a nice, gradual grade-out and run your hand over it to make sure it's smooth.
 Machelle Vanderhoeven
 Machelle Vanderhoeven
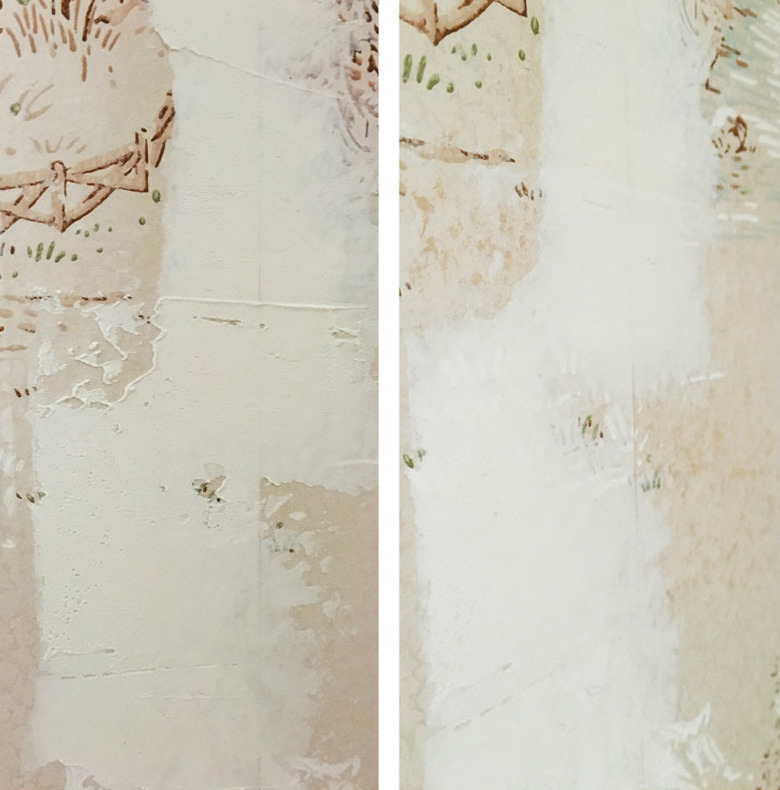
Step 3: Coat the Walls in an Oil-Based Primer
Step 3: Coat the Walls in an Oil-Based Primer
Once the spackle is smooth, prime the walls with an oil-based primer — it cannot be water-based. Because wallpaper is water-soluble, water-based primers can seep into the paper and disrupt its smooth finish. And that would not be good.
Open the windows and doors for proper ventilation, and then coat the whole area using a roller (and a paintbrush for the edges). Allow the primer to dry overnight, or for at least six hours.
Tip: Most states in the U.S. have current regulations on oil-based primers, so you may not be able to buy this in any size larger than a quart.
 Machelle Vanderhoeven
Step 4: Check Over Your Work and Add a Fresh Coat of Paint
Step 4: Check Over Your Work and Add a Fresh Coat of Paint
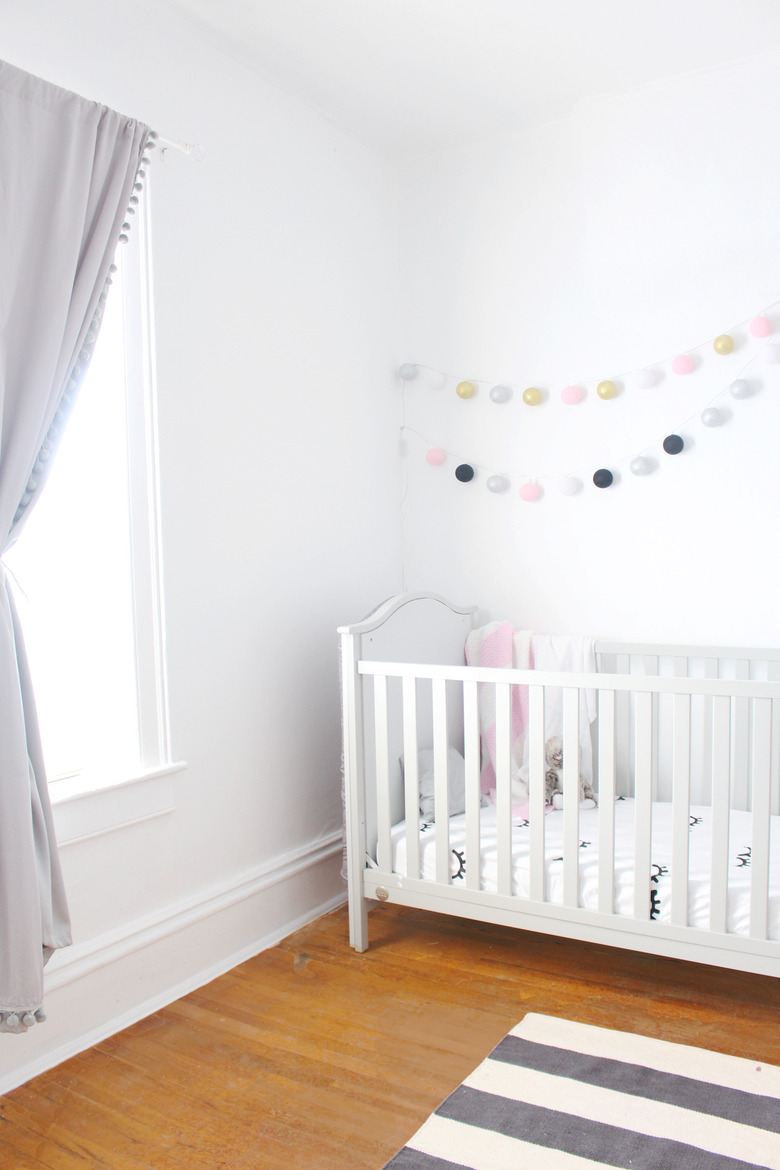
Once your primer coat is dry, look closely at your wall. Are the seams visible? If you can still see a faint line, then repeat the spackling and priming steps until the line disappears. But if there are no lines to be found, then you can begin to apply your fresh coats of paint. When you're finished, enjoy a wallpaper transformation that didn't require painstaking removal!
 Machelle Vanderhoeven
 Machelle Vanderhoeven
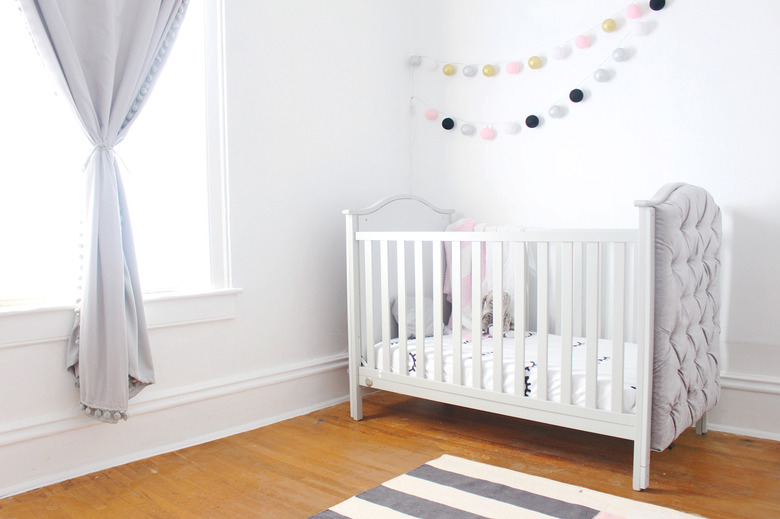
Tip: The room shown here was painted a base white in a flat finish, with no color added. It required two coats of paint to get the right amount of coverage.
 Machelle Vanderhoeven
 Machelle Vanderhoeven