How To Apply Metal Roofing Over Plywood
Things Needed
-
Hammer
-
Push broom
-
Waterproof felt material
-
Roofing knife
-
1/2-inch roofing nails
-
Tape measure
-
Metal snips
-
Metal flashing
-
Metal gutters
-
Chalk box
-
Drill
-
1-1/2-inch galvanized metal screws
-
Metal roof panels
-
Pencil
-
Ridge metal
-
Rubber pipe boot kits
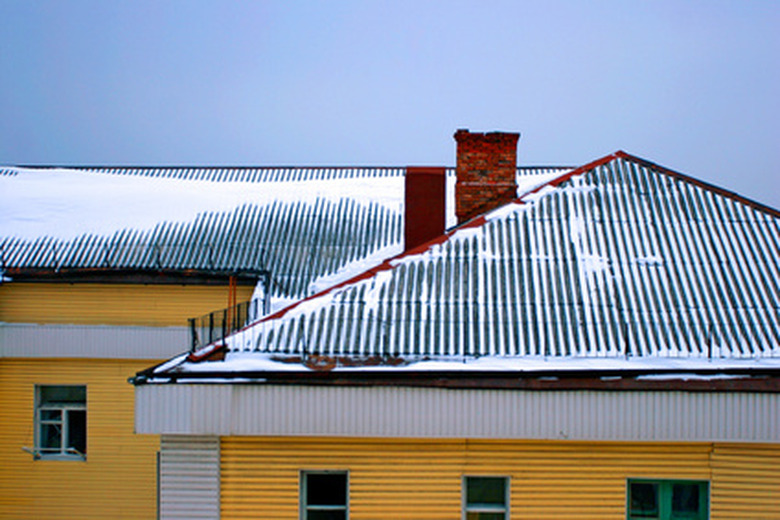
Rotted, sagging areas in your roof's plywood decking should be replaced prior to installing metal panels in order to prevent costly repairs in the future. Ensure that the plywood deck is strong enough to withstand the added weight of the metal panels. The plywood should be clean and free of raised nail heads to provide a uniform deck structure for the metal. Install waterproof felt over the plywood to add protection against moisture. Energy efficient and available in a variety of colors that will add value to your home, metal roofing is a wise choice for homeowners.
Step 1
Inspect the plywood for damaged areas. Repair any rotted sections of plywood before installing the metal panels. Hammer down all raised nails.
Step 2
Remove all unused vents, pipes and protrusions.
Step 3
Sweep the plywood clean of all dirt and debris with a push broom.
Step 4
Lay waterproof felt material on the flat area of the roof. Overlap each row by 2 inches. Cut the material to fit around the base of all protrusions using a roofing knife. Secure the felt to the plywood using a hammer and 1/2-inch roofing nails.
Step 5
Measure the length of the roof edge with a tape measure. Use metal snips to cut flashing material. Install metal flashing along the edge of the roof using a hammer and 1/2-inch roofing nails. Install gutters in valleys as needed. Cut the gutters to fit using metal snips. Secure the gutters using a hammer and 1/2-inch roofing nails.
Step 6
Snap a vertical chalk line 1/4 inch from the rake edge of the roof using a chalk box. Ensure that the line is square with the eave. Begin on the left side of the roof, working to the right. Install the first metal panel on the low end of the roof, square to the eave. Overlap the edge of the roof by 1 inch. Work toward the ridge. Secure the metal panel to the deck by drilling 1-1/2-inch galvanized metal screws through the peak of the rib in 12-inch to 16-inch intervals.
Step 7
Align the second panel straight above the first panel. Overlap the edge of the first panel by 12 inches. Secure the metal panel to the deck by drilling 1-1/2-inch galvanized metal screws through the peak of the rib in 12-inch to 16-inch intervals. Continue until you reach the peak of the roof. Measure the length needed for the final top panel, mark the measurement with a pencil and cut the panel with metal snips.
Step 8
Return to the low end of the roof and begin installing the next row of metal panels. Lay the first rib on the left side of the panels over the last rib on the right side of the previously installed panels. Repeat step 7 for each row until all panels have been installed.
Step 9
Install the ridge metal along the peak of the roof. Install rubber pipe boot kits around all vent pipes.
Tip
Metal panels can be precut to fit the length of the roof, eliminating the need for trimming at the peak.
Trim the metal panels around all protrusions with the metal snips.