How To Install An Electric Meter Box
We may receive a commission on purchases made from links.
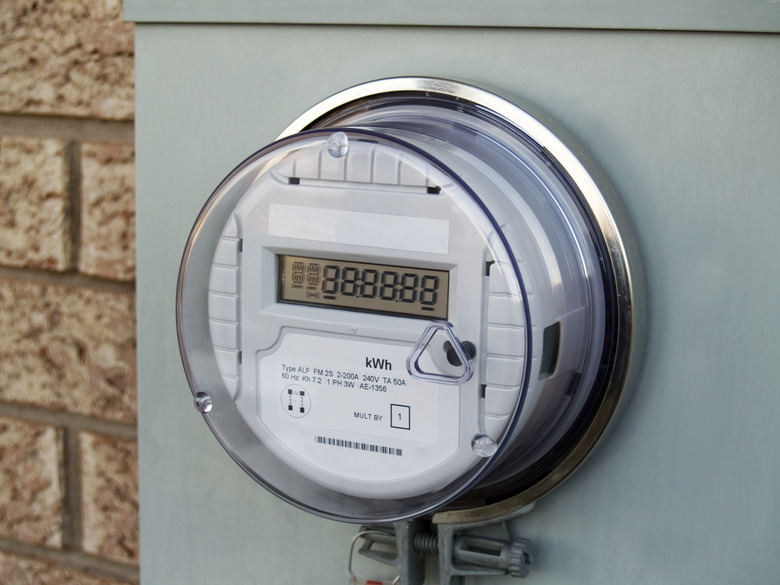
When your newly constructed or renovated home is ready for electric service, the power company will have to install an electric meter to monitor your electricity usage. The meter belongs to the power company, and it is responsible for installing it, but the electric meter box that contains it (also called the meter base) belongs to you, the homeowner, and it's your responsibility to install it.
Wiring the meter box is a job for a licensed electrician, but a DIY homeowner can install the box and save some money. The box should be mounted on the outside of the building, but in cases in which it's impossible to do this and meet all the code requirements, it can be mounted inside. All electrical connections should be completed by an electrician.
Meter Box Placement Requirements
Meter Box Placement Requirements
Most of the requirements for meter box installation are set by the National Electrical Code, but local jurisdictions often have their own requirements, so it's important to check with local authorities (or a licensed electrician). In general, the meter box must be 4 1/2 to 6 feet above the ground and have no obstructions that prevent access. This includes prickly plants and aggressive pets.
You can mount the meter box on the siding, but it can't be located under a carport, patio, porch, or any other area that could be enclosed. You can also mount it on a meter pedestal with approval from local authorities. If you mount the box indoors, it can only go in a room approved by the local authorities, the area around it must be free of obstructions, and it must face a door that opens to the outside.
Mounting an Electric Meter Box
Mounting an Electric Meter Box
The meter box itself is a rectangular metal box with a cover and knockout holes on the top, bottom, and back for incoming and outgoing cables. When you punch out one of the knockouts, you must install an approved threaded coupling with a plastic bushing on the inside that protects the cable from the sharp edges of the coupling.
Choose a location for the box, level it with a torpedo level, then mark the positions of the four screw holes in the back of the box on the siding. If you're feeding wire through the siding, drill a hole in the siding, install the bushing on the box, feed the cable through, and clamp it before mounting the box. If the out-feed cable is going up or down, you can feed it through the appropriate knockout after you mount the box. Set the box back in position and secure it by driving a 1/4-inch lag screw through each of the holes.
Making the Electrical Connections
Making the Electrical Connections
An electrician will be doing this part of the job, but it's good to know what's involved. After the box is mounted, the electrician will install conduit that connects to an underground in-feed conduit or an overhead weather head, depending on how the power is fed to the building. The next step is to feed cable into the box (usually 4/0 aluminum stranded cable) and connect it to the lugs in the box.
There are six connections to make. The in-feed cable includes two wires, one black and one red, that are attached to the in-feed lugs, and the same two wires of the out-feed cable are secured to the out-feed lugs. In addition, each cable includes either an uninsulated wire or a number of free strands that get twisted together to make a wire. These uninsulated wires get attached to central lugs between the ones holding the red and black wires to connect the meter to the panel and ground it. Once all these connections are complete, the box — along with the entire electrical installation in the building — must be inspected before the power company installs the meter and turns on the electricity.
