How To Install An Electric Ground Plate
Things Needed
-
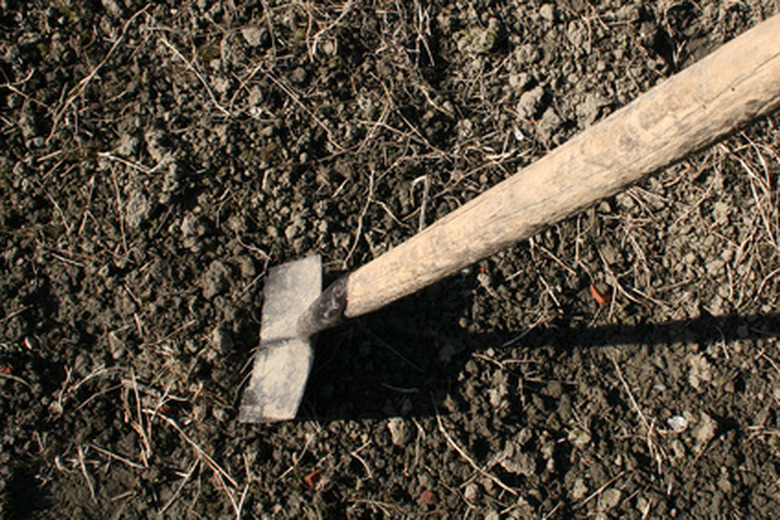
Shovel
-
Measuring tape
-
#6 copper ground wire
-
Grounding clamp rated for underground burial
-
Screwdriver
-
1-square foot ground plate (copper preferred, but 1/4-inch steel is permitted)
-
Electrical pliers
-
Drill
-
1/2-inch drill bit
-
Weatherproof caulk
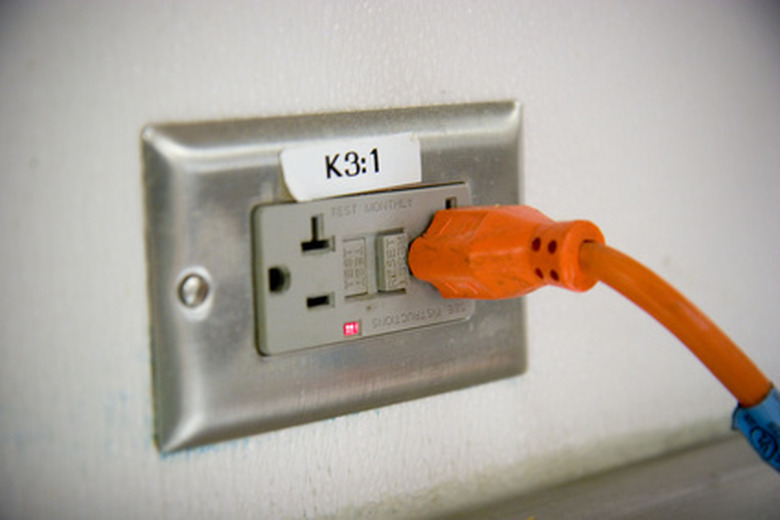
An electric ground plate is a plate of metal that is buried in the ground with a #6 copper ground cable attached. According to the National Electrical Code, an electric ground plate may be chosen over a ground rod if soil conditions do not permit the driving of an eight foot rod into the ground, or where rocky conditions exist. The electric ground plate may be used anywhere a ground rod may be needed, such as for grounding an electrical panel, a lightning rod system or an antenna.
Step 1
Call the electrical company and shut off the main power to the house. Find the location closest to the electrical service entrance. Dig a hole at least as wide as the plate — in this case, 1 square foot. The hole should be at least 30 inches deep to allow for the ground plate to be 30 inches below the finished grade. Measure the length of #6 ground wire required for the project using a measuring tape.
Step 2
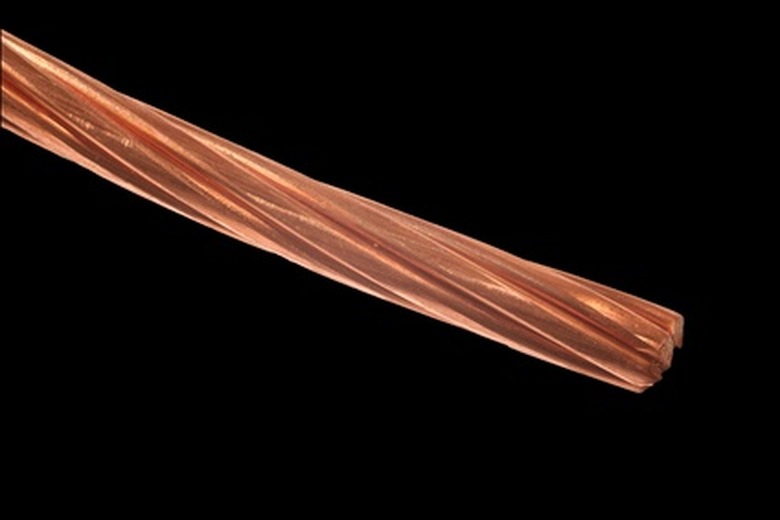
Cut the #6 ground wire to length using a pair of electrical pliers. Using the grounding clamp, fasten the #6 copper ground wire to the plate, turning the screws clockwise with a screwdriver until tight. Lower the plate and wire assembly to the bottom of the hole, making sure that the bottom of the plate is in firm contact with the soil. Keeping the copper wire to one side, fill the hole with soil, tamping the soil to make sure the soil is in firm contact with the ground plate. The copper wire coil should be on the ground surface.
Step 3
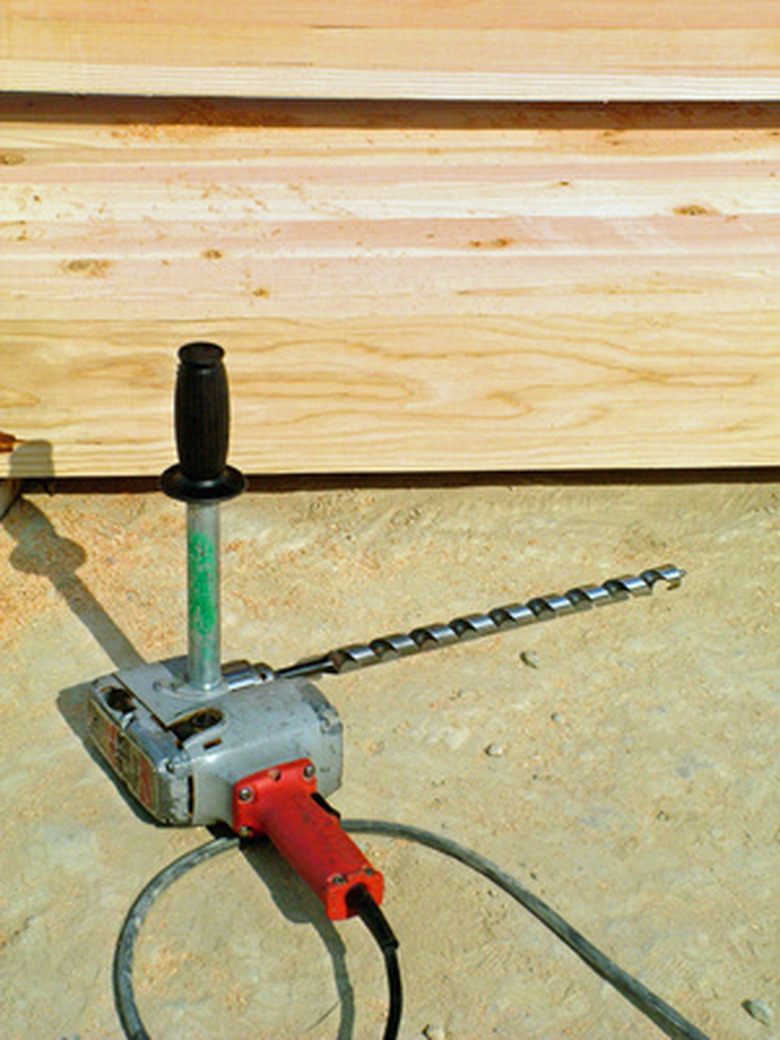
Drill a hole using the drill and 1/2-inch drill bit through the siding of the house, near the service entrance, watching for any plumbing or electrical wire. Feed the #6 copper ground wire through the hole and string the wire to the electrical panel. Caulk the hole with weatherproof caulk.
Step 4
Use a screwdriver to open the electrical service panel by turning the screws counterclockwise to loosen them. Attach the #6 ground wire to the bonding clamp for the grounding bar, turning the screw clockwise to tighten the connection. The grounding bar has the uninsulated copper wires attached to it. The neutral bar is the bar with the white wires attached to it. Reattach the the service panel cover. Call the electrical company to restore power to the system.
Tip
Check to make sure that there is moisture in the soil at the deepest part of the hole. Soil moisture helps provide a grounding connection to the soil. Check with your electrical inspector before starting the project, explaining why a ground plate is being used. Some inspectors want to see the ground plate and the hole before the project moves forward. Use a continuous length of copper wire for the ground for maximum efficiency.
Warning
If the electrical panel is energized or if the electrical company is not able to shut power off to the structure, call an electrician to finish connecting the ground wire to the panel. Parts of the electrical panel remain energized even if the main circuit breaker is shut off.
References
- "National Electrical Code Handbook, 25th Ed."; Brian J. McPartland, Joseph F. McPartland; 2005
- "Practical Guide to Electrical Grounding"; W. Keith Switzer; 1999