How To Replace An Outside Water Valve That Won't Shut Off
Things Needed
-
Two adjustable wrenches
-
Socket wrench
-
Flat head screw driver
-
Replacement washers
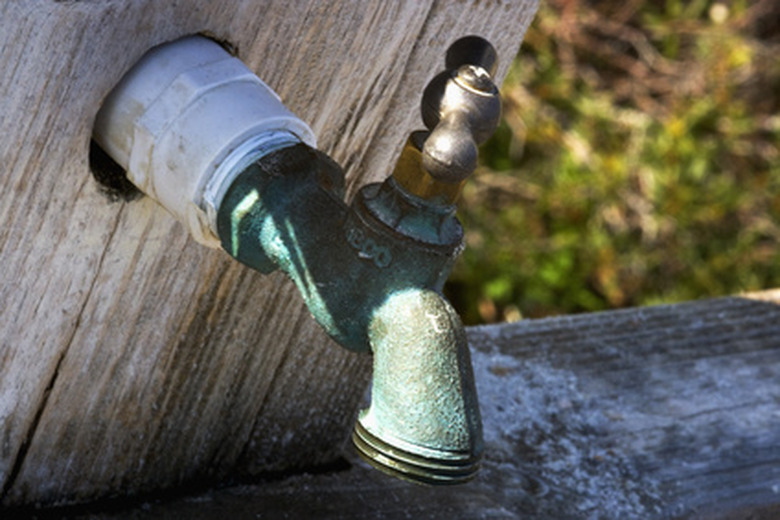
Water faucets on the outside of a building still use a valve assembly to regulate the flow of water in a similar way to how indoor faucets operate. Like indoor faucets, an outside faucet valve that has worn out can come to the point where faucet will not shut off completely. You can replace the worn parts on the faucet valve without any specialized plumbing knowledge or tools, and the whole project will not consume hours of your time.
Step 1
Turn the shutoff valve for the outside faucet to the closed position. Open the outside faucet all the way to relieve any pressure in the pipes and make sure the water flow has completely stopped.
Step 2
Use an adjustable wrench to loosen the section of the faucet, just behind the packing nut. Clamp a second adjustable wrench onto the connection between the faucet and the pipe that goes into the building, to keep the entire faucet assembly from spinning.
Step 3
Slide the valve assembly out of the water pipe, by pulling on the valve handle. Remove any nuts on the valve assembly, using either an adjustable or socket wrench.
Step 4
Remove the washer from the valve assembly, using the blade on a flat head screw driver. Unscrew the compression washer on the end of the valve assembly, and pry it away from the valve assembly, using the flat head screw driver.
Step 5
Replace the worn washers, and tighten the screws and nuts you removed from the valve assembly. Reinsert the valve assembly into the pipe, and tighten the valve assembly using the adjustable wrench.