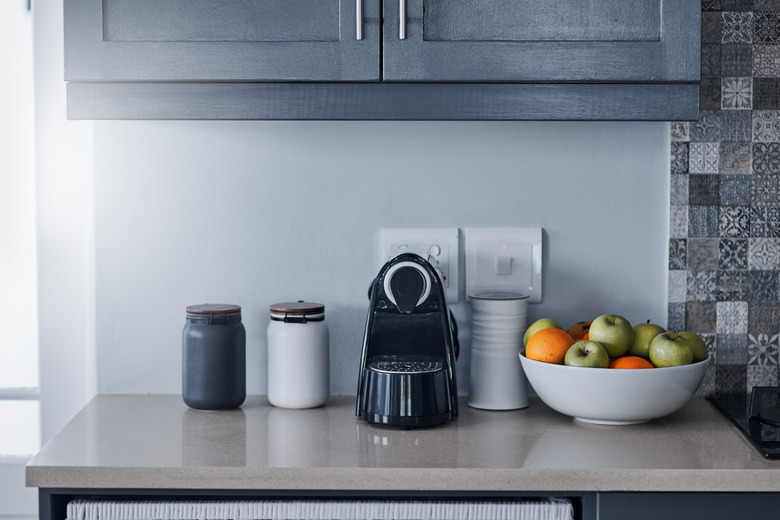
How To Program A Krups Coffee Machine
Krups entered the coffee market with the launch of the first electric coffee grinder in 1956 and released its first coffee maker in 1961. This simple drip machine is still in the catalog as model F468, but the more modern programmable models include the FM and KM series. To program a Krups coffee maker, find your machine's reference number on the bottom of the unit. Most follow one or two sets of basic steps, but if necessary you can also look up a manual for your specific unit on Krups' site.
FM Range Automatic Drip Machines
Step 1
Set the clock by pressing the "O/I" button to switch the machine off. Press and hold the "prog" button for three seconds until the hours start blinking. Press the "h/min" button in steps to set the hour and press the "prog" button again. When the minutes blink, press the "h/min" button to set the correct minutes and confirm by pressing the "prog" button.
Step 2
Program the Krups coffee maker auto on feature by pressing the "prog" button until the display reads "8888," then press the "prog" button again. Set the hours and minutes of the start time, using the method explained in Step 1. Confirm the final setting by pressing the "prog" button. The display will show the start time you programmed and a clock symbol to indicate "Auto On" is set.
Step 3
Set the number of hours that the heating plate will stay on to keep your coffee hot if your model has a glass carafe. Press the "prog" button and immediately press the "h/min" button. When the display shows the time setting, press the "h/min" button to set the number of hours, between one and five, that the heating plate will stay on after completing the brewing cycle. Press "prog" to confirm the setting. If you don't set a time, the plate will switch off automatically two hours after making the coffee.
Step 4
Turn off the audible beep signal that the coffee is ready by pressing the "prog" button followed by the "1 – 3 cup" button. The display will show "YES" to indicate the signal is on. Press "1 – 3 cup" again. The display will show "NO" to indicate the signal is now off. Press "prog" to confirm.
KM Series Specialty Machines
Step 1
Set the correct time when you first plug the machine in. Press the "H" and "Min" buttons to set the hours and minutes and press "Prog" to confirm. (See Reference 3 page 8)
Step 2
Program the machine to start brewing during the next 24 hours. Prepare the machine with coffee beans and water as for instant brewing. Press the "Prog" button briefly and while the green light is flashing, use the "H" and "Min" buttons to set the start time.
Step 3
Press "Auto-On" when the green light has stopped flashing. The light will come on and remain on to show that "Auto-On" is activated. The machine shuts off automatically two hours after brewing.
Machines with a thermal carafe switch off after 20 minutes. The "prog" button programs and saves your settings.
Tip
If you're using the machine to grind your beans, as opposed to using ready-ground coffee, you may wish to adjust the strength of your coffee (ie, the amount the machine grinds per pot). The Strength Control button will toggle you between Mild, Medium and Strong settings, and the machine's display will change accordingly.
