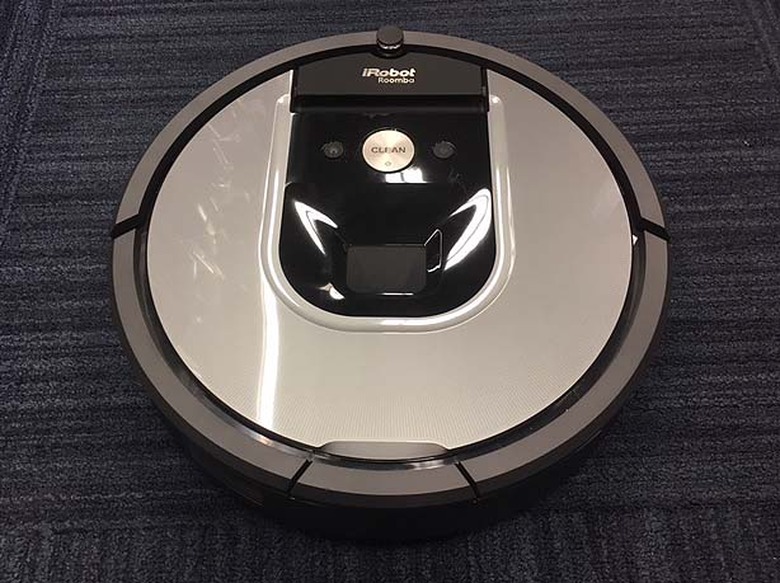
My Roomba Won't Charge On The Base
Roomba cleans pet hair, dirt and sundry debris from your floor while you're somewhere else doing something else. The flying-saucer shaped vacuum cleaner runs on a rechargeable battery, and you can purchase an optional charging station called the Home Base to keep it charged. When Roomba won't charge on the base, possible problems include dust on the contacts, the wrong kind of battery or problems with the power source. You'll get an error code telling you what's wrong, and you can usually resolve the problem without much trouble.
Make Sure the Base Has Power
Make Sure the Base Has Power
When the Home Base is plugged in and Roomba isn't charging, the power light should be on. If it isn't, check the outlet to make sure it has power. You may have plugged the charger into a GFCI outlet that has tripped. It's also possible that the breaker for the circuit tripped for some reason. If the outlet has power, make sure the plug is seated firmly in the outlet. You might have to plug the base into another outlet to verify that it's working.
If you can't seem to get power to the base station, call iRobot customer care at 1-877-855-8593 for advice. You can also contact iRobot via its website.
Know Your Error Code
Know Your Error Code
When the Roomba is properly charging, you won't see any lights on the device itself. These are purposely shut off to conserve energy. However, if a problem occurs, the device will say "uh-oh," and a troubleshooting light will blink. The number of times it blinks consecutively alerts you to the problem. The device will also speak the code. There are eight such error codes. You can get help resolving most of these by opening the iRobot app on your mobile device or PC.
Tip
Error codes can occur if you use a counterfeit battery, which is a battery not supplied by the manufacturer, or a battery intended for use with an older model. To ensure proper operation of Roomba, you should always order replacement batteries directly from iRobot.
Code 1: The Code 1 error occurs when the base station can't contact the battery. This may be simply because you forgot to remove the yellow pull tab prior to placing Roomba on the charger. It may also occur because the battery wasn't installed properly. Remove it, and reinstall it.
Codes 6 and 7: If the Roomba battery is too hot or too cold, it won't charge. You'll get a Code 6 warning if the battery is too warm and a Code 7 if it's too warm or too cold. Remove Roomba from the base and allow it to rest at room temperature for an hour before trying to charge it again.
Codes 2, 3, 5, 8 and 9: Five of the error codes indicate either a communication problem between the base and the battery or a problem with the battery itself. You may be able to resolve these errors by cleaning the contacts on the base and on the Roomba. Do this with a dry cloth or a cloth moistened with alcohol only after unplugging the Home Base.
Try a Hard Reboot
Try a Hard Reboot
Charging errors can occur because of corrupted memory in Roomba's processors, and you can clear the bugs by rebooting the device. To do this, hold the CLEAN button down for 10 seconds. Release it when all the indicator lights come on. The device will then restart. It won't save schedules and other settings, so you'll have to reprogram these.
Be Patient When Charging a New Battery
Be Patient When Charging a New Battery
A new lithium-ion battery won't work until you wake it up. To do this using the base station, set the station on a level surface; plug in the station, and verify that the indicator light comes on. Place Roomba on the base station and wait for several seconds until the battery wakes up. When it does, the light on the base station will go out, and the battery indicator on Roomba will begin flashing. It too will go out after a minute.
The CLEAN button indicates the status of the charge. Red means the battery is empty, flashing amber that the charge is in progress and green that charging is complete. A quickly pulsing amber light indicates that Roomba has entered the 16-hour charging mode, which it does periodically to lengthen the life of the battery.
