How To Change A Bulb In A Hunter Ceiling Fan
Things Needed
-
Step stool
-
Replacement bulbs
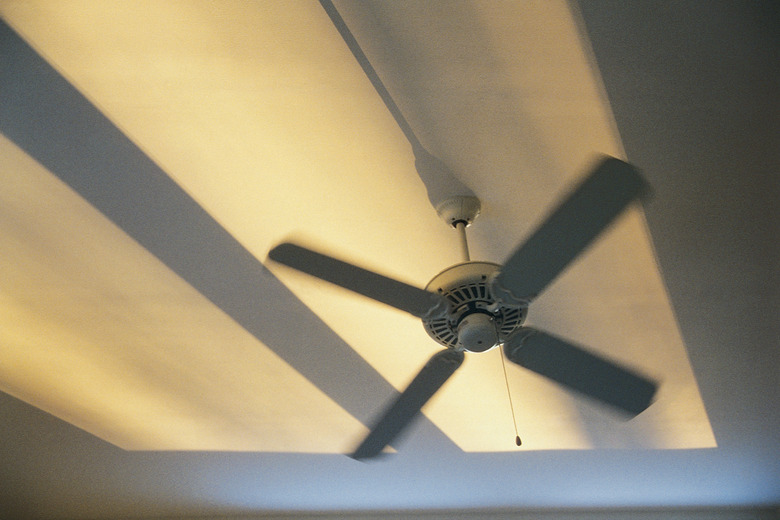
Ceiling fans with light fixtures can be quite frustrating when it comes time to change a burnt bulb. Changing a bulb in a Hunter ceiling fan is no different. Although there are several different varieties of fixtures, they still remove generally the same. The globes secure to the fixture either with screws or a center cover cap. Some screws are hidden behind a decorative ring, while others are in plain sight.
Sconce Light Kit
Step 1
Position a step stool under the Hunter ceiling fan so that you can reach the light kit comfortably.
Step 2
Locate the three screws securing each sconce to the fixture. The screw heads are round without any slots. Turn the screws counterclockwise with your fingers.
Step 3
Pull each sconce away from the Hunter ceiling fan. Turn each light bulb counterclockwise to remove the bulb from the socket.
Step 4
Thread a new bulb into the socket until it is snug. Place the sconce against the light fixture and tighten the three screws evenly to secure the sconce to the fixture.
Bowl Light Kit
Step 1
Place a step stool under the Hunter ceiling fan and hold the bottom of the bowl fixture cover with one hand.
Step 2
Turn the small decorative stem in the middle of the bowl counterclockwise with your fingers and remove it from the fixture.
Step 3
Lower the bottom center cover of the bowl and the bowl cover gently, allowing them to rest over the chain handles.
Step 4
Remove the bad light bulb and replace it with a new one.
Step 5
Raise the bowl cover and the center cover over the fixture's threaded stem and hold them steady with one hand. Thread the stem cover over the stem until it is tight to secure the bowl cover.
Dome Fixture
Step 1
Set up a step stool under the Hunter ceiling fan. Locate the upper edge of the decorative ring cover. The ring cover is the portion covering the top edge of the dome and bottom of the fixture.
Step 2
Grasp the top edge of the ring cover on two sides with your fingertips. Slowly pull straight down to remove the ring cover. The ring cover adheres to the fixture with a stick glue. Remove the ring cover completely and set it in a dust free spot to avoid getting dirt inside and on the glue.
Step 3
Turn the three screws securing the dome globe to the fixture counterclockwise with your fingers. Remove the dome globe from the fixture.
Step 4
Unthread the faulty light bulb and install a new bulb. Position the dome globe back onto the light fixture.
Step 5
Tighten the three securing screws evenly to secure the dome globe to the fixture. Position the ring cover evenly over the outer top edge of the globe, pressing it into place. The glue is tacky and holds onto the fixture.