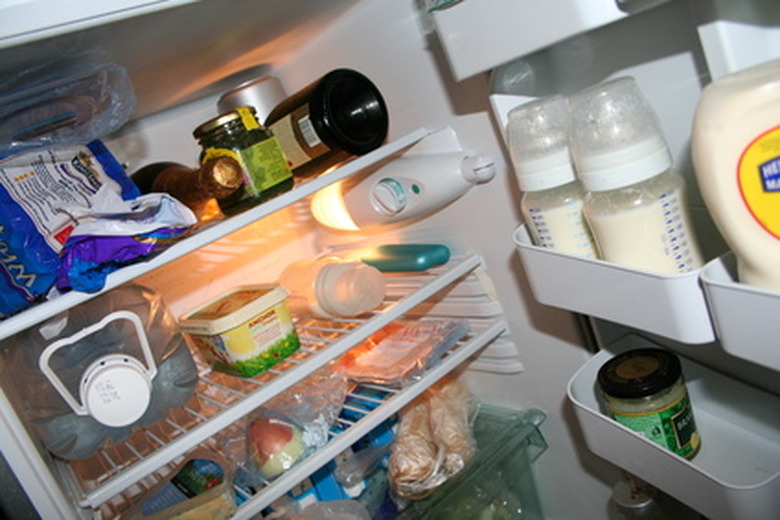
How To Repair A Freezer Puncture
Things Needed
-
One can expanding foam insulation
-
Watertight marine caulk
-
Two-step bonding glue
-
8-inch by 8-inch 20-gauge aluminum square
-
Tape measure
-
Hacksaw
-
Hacksaw blade insert
-
120 grit sandpaper
-
300 grit sandpaper
-
Color match spray paint
-
Masking tape
-
Rubbing alcohol
-
Paper towels
-
Metal file

Until recently, repairing a freezer puncture would be performed in one fell swoop of your credit card . . . by buying a new freezer. Since you have a hole in your freezer, you will notice that as much as 95 percent of the visible material between the inside and the outside of the unit is simply insulation. This is exactly what we are going to use to repair the hole, and when you're done you will be happy to know that instead of spending as much as $1,000 on a new freezer, you will have spent less than $50 to repair the one you have.
Clean and Prep
Step 1
Use the metal file and roughly sand down any sharp or unfinished edges. Be very meticulous in this step, because these edges will show in the finished product.
Step 2
Use the paper towels and rubbing alcohol to thoroughly clean the area to be repaired, on the inside of the unit as well as the outside of the unit.
Step 3
Measure the hole, both on the inside of the unit and on the outside of the unit.
Step 4

Using the hacksaw, cut the 8-inch by 8-inch aluminum square with at least 1 inch of extra aluminum overlap to properly cover the hole.
Step 5
Use the paper towels and the rubbing alcohol to completely clean the newly cut aluminum square.
Fix the Inside
Step 1
Take your cut-to-fit aluminum square and apply a generous bead of the watertight marine caulk 1/4 inch from the edge, all the way around.
Step 2
Mix the two-step bonding glue and apply a generous portion around the hole on the inside of the unit.
Step 3
Immediately press the aluminum square over the hole, allowing the bonding glue to adhere to the aluminum while also allowing the marine caulk to adhere to the inside of the unit. Hold this firmly in place for at least 5 minutes, or until it will not move under light lateral pressure.
Step 4
Allow to dry 24 hours.
Fix the Outside
Step 1
Take the can of expanding foam insulation and prime it. Shoot it into the hole from the outside, slowly pulling the tip out as the foam fills the hole. Allow to dry.
Step 2
Using the hacksaw blade insert, cut away any excess foam that may have expanded outside of the hole.
Step 3
Use the 120 grit sandpaper to grind down the surface until the foam is flush with the exterior of the unit. Use the 300 grit sandpaper to finish the surface for taping and paint.
Step 4
Use the rubbing alcohol and paper towels to clean the exterior of the unit where you have made the repair.
Step 5
Apply the masking tape in a square pattern, allowing for 1 1/2 inches all the way around the repaired hole. Using the paint color that matches the exterior, paint within the taped area. Allow the paint to dry and remove the tape, and you are finished.
Tip
If you take your time with this repair, and match the paint to the exterior color, you should end up with a cosmetically acceptable repair that will last for many years.
Warning
When using the insulating foam, make sure to keep it away from your skin and eyes, as it may cause minor to major irritation.