How To Repair An Electric Heating Pad That Isn't Heating
Things Needed
-
Electrical contact cleaner
-
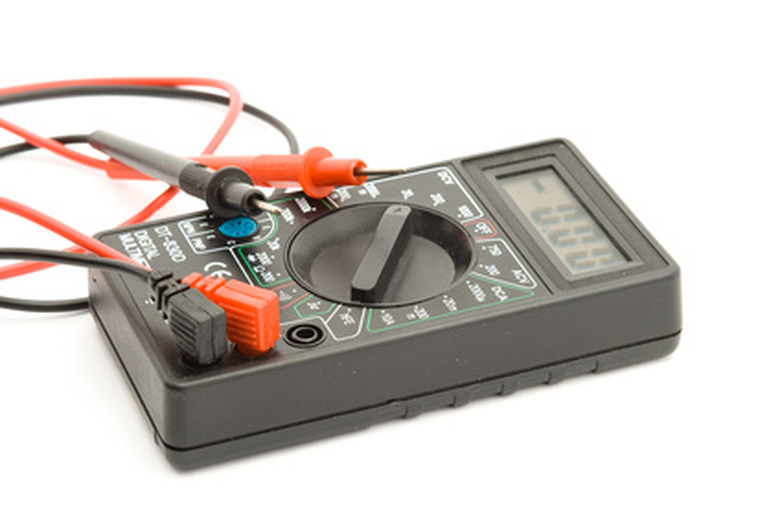
Multimeter
After a hard day of work, it can feel good having a heating pad over your body, allowing the heat to penetrate your aching muscles. You will usually find heating pads encased in a plastic pad and a removable fabric cover. However, things can go wrong with your heating pad. For example, wires can break inside, and the thermostat can go bad. Knowing how to repair your heating pad does not take much time or expense.
Step 1
Make certain you have the power cord plugged firmly into the wall outlet. If your heating pad unit keeps going on and off, there may be a broken wire inside. In this case, you will need to purchase another heating pad.
Step 2
Unplug the heating pad power cord from the outlet.
Step 3
Open the control unit using a screwdriver.
Step 4
Clean out the control unit on the cord. Cleaning is the most common fix for heating pads. Spray the switch contacts of the control unit with electrical contact cleaner.
Step 5
Tighten any loose part in the control unit with a screwdriver.
Step 6
Attach a multimeter to the electric cord prongs while you have the controller in the "Off" position. This device will test the current of electricity through your heating pad. A multimeter measures the AC and DC voltage and current resistance, combining the functions of an ammeter, ohmmeter and voltmeter. You should have an infinite resistance in ohms for the reading. When you have an infinite resistance in ohms, "ohms" meaning the measure of electrical resistance, then you have an open circuit or no connection. It means a break exists inside the wire in the electrical current, resulting in so many ohms your multimeter cannot register them. Zero ohms means you have a good flow of electrical current. Turn on the controller. You should see some resistance to electricity, but not an infinite resistance. (See Reference 1, Reference 3 and Reference 5 pg 194 & 199)
Step 7
Set your multimeter on the RX1 scale to check resistance. RX1 means "resistance times one," which means each number on the multimeter scale represents the actual resistance value of the heading pad thermostat, in this case. Place a multimeter probe on the output side and another probe on the input side of the thermostat. The thermostat is a switch which controls the temperature of the heating element in your heating pad. You should see a zero reading, meaning the switch works well. Replace your heating pad if you see a reading other than zero. This means you have an interruption or resistance in the circuit and the thermostat needs to be replaced. (See Reference 1 pg 2, Reference 2 pg 3 and Resources 1)
Warning
If you purchased a Homedic heating pad in 2001 and 2002 at Walgreens, and the date code on the hand control ends in "01," return the heating pad to any Walgreens store or call (800) 466-3342. You should see the Walgreens logo on the front of the hand control. Homedics Inc. has learned that some of the heating pads may have loose connections, resulting in short circuits and possibly burn injuries or fires. The US Food and Drug Administration has been notified of this recall. (See Reference 4)
References
- Fix-It Club: Small Appliances Heating Pad Repair
- Fix-It Club: Parts & Components Appliance Controls Repair
- Northwestern University Mechatronics Design Laboratory: Using a Multimeter
- Homedics: Important Recall Notice
- "Electronics For Dummies"; Gordon McComb and Earl Boysen; 2005