How To Troubleshoot An Orbit Watermaster Sprinkler Timer
Orbit Watermaster sprinkler timers vary in features and controls depending on the model. Problems that are common to Orbit Watermaster timers will be handled in a similar way for all models. When problems occur, performing troubleshooting steps can resolve the issue in many cases.
Step 1
Check the programming settings if one or more stations are not turning on. Adjust the settings on the control panel. The settings will vary depending on the model. Most models will have options that can be set that include "Cycle Start Times," "Watering Days," "Watering Interval," and "Station Duration."
Step 2
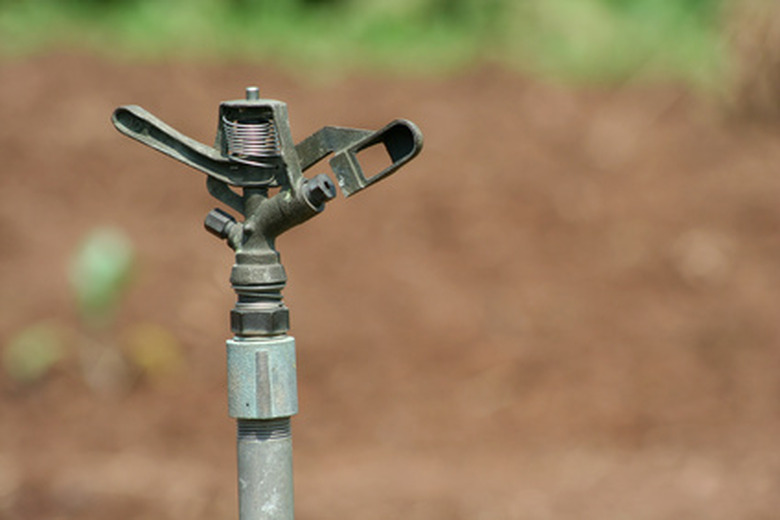
Check the valves in the ground sprinkler controls if some of the stations are not working. Make sure the valves are turned on.
Step 3
Make sure the timer dial is set to "Auto." If it is set to something other than "Auto," the sprinklers will not turn on at the programmed times.
Step 4
Check the Station Delay settings if sprinklers are not turning on when they are programmed to. Station Delay is commonly used for households that have a well or cistern that needs to re-supply the reservoir. To change Station Delay settings, turn the dial to "Station Delay." Press the plus or minus buttons to increase or decrease the station delay time. Set the delay to zero to have no delay between stations. Press "Enter" to save the settings.
Step 5
Press the "Reset" button if the LCD display is blank. If the display is still blank, replace the batteries in the unit. Slide the battery cover to remove it. Most Orbit Watermaster models use two AA batteries.
References
- "Watermaster Sprinkler Timer User's Manual"; Orbit Irrigation Products, Inc.; 2007