How To Fix A Leak On A Glacier Bay Kitchen Faucet
We may receive a commission on purchases made from links.
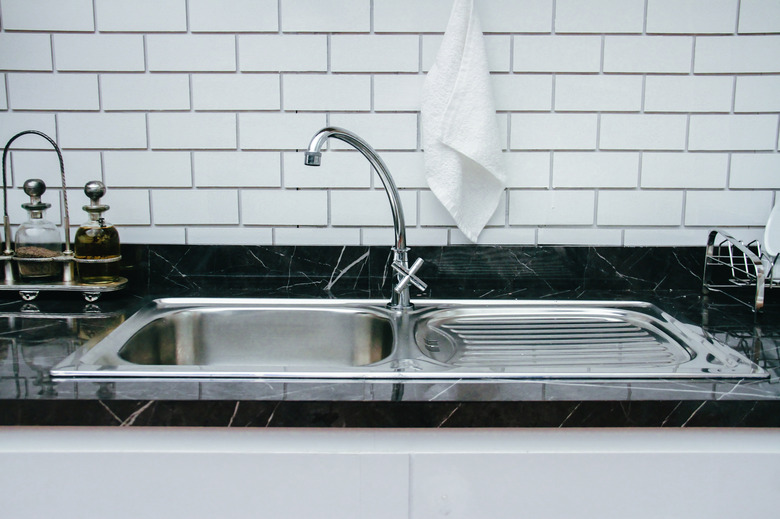
Leaking faucets typically need to have the cartridge replaced. On one side of the cartridge is fresh water waiting to be released into the spout, and on the other side is a nut that turns with the faucet handle to stop or open the water flow. Because the cartridge performs its job quite literally under pressure, over time, the fittings can weaken and begin to allow water to leak through, wasting up to 300 gallons a year according to Denver Water. Accessing the cartridge is easy to do, and you can fix a leak on a Glacier Bay kitchen faucet with just a few simple tools.
Accessing the Cartridge
Accessing the Cartridge
Before you remove the cartridge from your Glacier Bay kitchen faucet, it's imperative to turn off the water from the supply pipe under the kitchen sink. You can then open the faucet handle to allow any remaining water in the pipes to exit, which will reduce the amount of water that comes out of the faucet once the cartridge is removed.
Next, you'll need to remove the handle to expose the cartridge. A small Allen screw located underneath the handle holds it in place, and this screw is covered by a decorative tab. Using a small flat screwdriver, pop the tab off. Using an Allen wrench (a 2.5mm fits most Glacier Bay faucets), loosen the screw until the handle pulls off.
Now you can unscrew a decorative piece to expose more of the cartridge. This can typically be loosened and removed by hand. Use a rubber gripper (such as those intended for opening cans) to help you grasp it if it seems to be stuck. You can also use a wrench, but because the metal on faucets is quite soft and prone to scratching, wrap a thick towel around the wrench first.
Removing the Old Cartridge
Removing the Old Cartridge
Two more nuts hold the cartridge in place. Look for a notch in the outer nut and place a flat screwdriver in this notch to get some leverage. Tap the end of the screwdriver with a hammer until the nut starts to move counterclockwise and then finish removing the nut by hand. The final nut can be loosened with a wrench or pliers and removed by hand.
Finally, with the cartridge completely exposed, you can grasp it with your fingers or some pliers and pull it straight out. The best thing to do at this point is to take this cartridge to your local hardware or plumbing supply store and purchase the same model for a quick fix. Not all faucet cartridges look the same, so it's important to get one that will fit your Glacier Bay kitchen faucet model. If you know the model number (which is often found under the sink on a tag attached to the supply lines), you can also order a Glacier Bay cartridge online.
Replacing the Glacier Bay Cartridge
Replacing the Glacier Bay Cartridge
With the new cartridge in hand, you'll simply reverse all of the previous steps. Slide the new cartridge into place and screw on the smaller metal nut and tighten it with a wrench. Then, screw on the larger metal nut, followed by the decorative cap. Next, you'll place the handle into position and use the Allen wrench to tighten the screw. Finish up by clicking the small decorative tab into place over the Allen screw.
Now it's time to test the fruit of your labor. Turn on the water supply valve below the sink with the handle in the "off" position. The new cartridge should stop all water from leaking out. If you still experience leaks, the nuts holding the cartridge may not be tight enough.