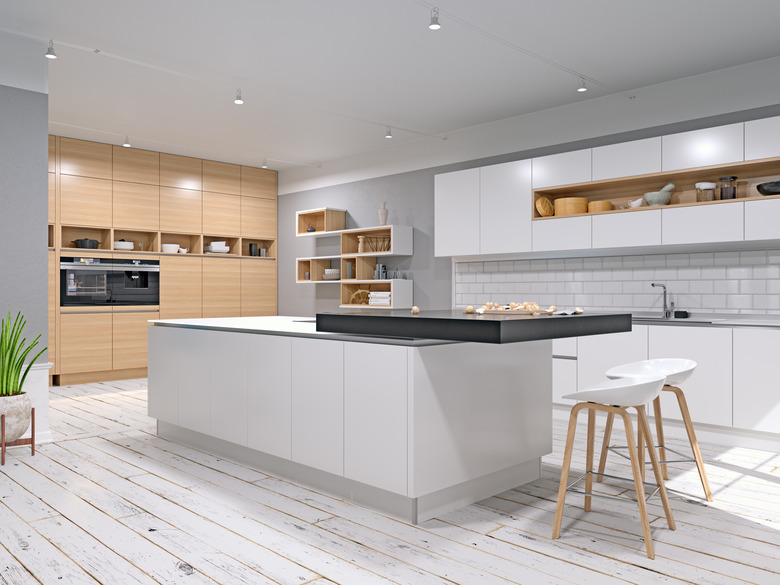
How To Paint Vinyl Kitchen Cabinets
A full kitchen remodel is an expensive and disruptive project that usually requires the participation of costly professionals. Painting vinyl laminate cabinets, in contrast, is a cheap-and-cheerful way to rejuvenate tired kitchen cabinets. Vinyl wrapped cabinets, with their sleek surface, are more challenging to paint than wood. Better Homes & Gardens notes that with the proper products, preparation and paint application, however, you can give your kitchen an updated look simply by repainting kitchen cabinets.
1. Vinyl Wrapped Cabinets Prep Tip
Before you begin your painting project, confirm that your cabinets are actually worth the trouble. If the vinyl is badly chipped or peeling you will likely be disappointed in the final results, since the same things will happen to your newly painted surface not long after the job is finished.
2. Purchasing the Paint
Purchase the primer and paint. Buy a stain-blocking, high-adhesion interior primer. Buy a semi-gloss or gloss paint for your topcoats because they can be scrubbed, which is a big plus for a kitchen.
When buying paint, quality counts, particularly in a room that works as hard as a kitchen. Opt for the best products you can afford. Latex paint cleans up with water, is low odor and is more resistant to mildew than oil-based paints.
3. Removing the Cabinet Components
Remove the cupboard doors, drawers and all hardware with a screwdriver. If you will be painting inside the cupboards, remove any movable shelving. Support the doors and shelves on saw horses or another support system that will allow you to access the edges of the surfaces you are painting.
4. Cleaning the Cabinets
Clean all the surfaces you plan to paint using a household cleaner. For particularly greasy or soiled surfaces, use trisodium phosphate (TSP) or an alternative. TSP is a harsh chemical; use gloves, eye protection and always follow the instructions carefully. Rinse all the surfaces with water and allow them to dry.
5. Protecting the Work Area
Prepare your work area. Lay newspapers or drop cloths over flooring and other furnishings. Use painter's tape to mask off areas such as walls and appliances that you want to protect from paint.
6. Applying Putty to Chips
Repair any chipped surfaces using non-shrinking putty and a putty knife. Allow the putty to dry, then sand it smooth with 180-grit sandpaper.
7. Sanding the Surfaces
Sand all surfaces you plan on painting using 180-grit sandpaper. Unless the surface is roughened, the primer and paint will not adhere properly. Remove all sanding dust with a damp rag or tack cloth.
8. Priming the Surfaces
Prime all the surfaces you plan on painting, using a high-quality paintbrush. Prime the edges of the cupboard doors and shelves first, followed by the flat surfaces. Use long, smooth strokes and do not apply the primer too thickly.
9. Priming the Insides
Prime the insides of cupboards by priming the back of the cupboard first, followed by the "ceiling," the sides, the bottom and then any fixed shelves. Allow the primer to dry overnight. If you are painting both sides of the cupboard doors, flip them over to prime the reverse side, then let them dry overnight.
10. Repainting Kitchen Cabinets
Apply your first coat of paint, using the same method as for the primer coat. Allow the paint to dry fully. Apply your second coat of paint. Allow it to dry completely.
11. Reassembling the Cabinets
Reassemble your cupboards and drawers and reattach all hardware once the paint has fully cured. For latex paints, this could take 14 to 30 days. The more curing time you can give your newly painted kitchen cupboards, the better they will be able to resist the wear and tear of everyday use.
