How To Use Locking Pliers
Locking pliers, sometimes referred to as vise-grips depending on the style of locking mechanism they incorporate, are great tools to keep handy. Typically, locking pliers are used where more torque is needed to pry or remove objects or where added grip is needed for holding objects in place. Most uses includes loosening tight connection points such as pipe-joints, seized nuts and washers and removing broken nails. Using locking pliers will greatly reduce the amount of strain you have to apply when trying to loosen connection points or remove stuck metal objects.
Step 1
Open the pliers up completely. Do this by pulling the handles away from each other.
Step 2
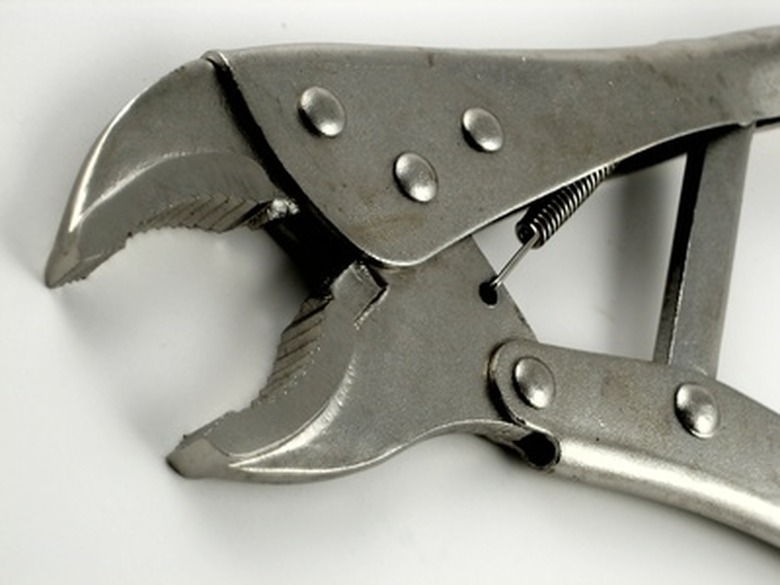
Locate the plier mouth adjustment bolt. This is a round screw-head at the bottom of one handle. Unscrew the bolt counterclockwise to widen the gripping mouth for large objects, or screw clockwise to adjust to smaller objects.
Step 3
Place the gripping mouth on the object to size for adjustment. If you place the pliers onto the object and squeeze the handles together and the pliers don't lock, then you need to adjust the mouth wider.
Step 4
Squeeze the handles together until you hear a click. The locking plate should no longer be flush with the pliers handle. This is a piece of metal that will pop out in between the handles when locked properly.
Step 5
Push the locking plate down flush with the handle to unlock the pliers.