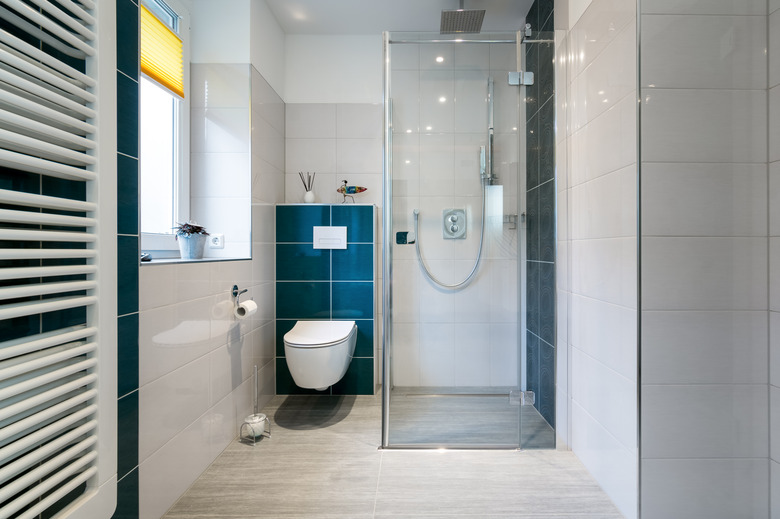
How To Install A Glacier Bay Shower
We may receive a commission on purchases made from links.
If you simply want to trade out your Glacier Bay shower fixtures for a similar model, you can easily accomplish this within an hour — even if you're a beginner. However, if you want to install a shower where there's currently no plumbing for one, it's best to call a professional plumber. You'll also want to call a pro to switch from a two-handle configuration to a single shower handle.
Remove Old Shower Fixtures
Remove Old Shower Fixtures
Before you can install new Glacier Bay shower fixtures, you need to remove the old ones. Start by turning off the water leading to the shower. Sometimes these shut-off valves are inconveniently located right behind the shower wall encased in drywall. If you don't have an access panel leading to these shower shut-off valves, turn off the main water line to the entire house.
Removing a Glacier Bay shower handle requires a 2.5-millimeter hex wrench. Locate the small screw under the handle, insert the hex wrench and turn it counterclockwise until the handle can be pulled forward and off. Use a screwdriver to remove the escutcheon and expose the water valve or plaster guard. Next, use a 3.97-millimeter hex wrench on a Glacier Bay tub spout to remove the screw on the underside of the spout, and pull the spout away from the wall.
The showerhead should unscrew by hand when you twist it counterclockwise. The flange or escutcheon isn't typically glued in place in a shower and should just slide right off the shower arm. The shower arm is threaded to the copper pipe behind the wall and must be removed with an adjustable wrench.
Install Appropriate Valve If Needed
Install Appropriate Valve If Needed
If your current setup isn't the Glacier Bay brand, removing the existing features might require slightly different tactics like twisting the tub spout counterclockwise instead of loosening a screw with a hex wrench. The other major difference between shower brands is the valve. The shower valve connects directly to the supply pipes and mixes hot and cold water in single-handle tub faucets. The valve also diverts water up to the showerhead when the tub spout is blocked.
Glacier Bay shower fixtures will only work with valves meant for the Glacier Bay brand. Because replacing the valve requires soldering pipes or the careful installation of SharkBite brand connections, it's best to call a professional plumber if this step is necessary.
Install Glacier Bay Shower Fixtures
Install Glacier Bay Shower Fixtures
To install the showerhead, start by placing a thin layer of Teflon tape on the shower arm's threads and twist it on to the supply pipe. Hand-tighten only and position the arm so that the other end is centered and pointing downward. Slide the flange over the shower arm and push it flush against the wall. Twist the showerhead onto the other end of the shower arm.
For the tub spout, the installation screw should already be in place inside the spout. Push the spout over the supply pipe until it's flush against the wall, and use a 3.97-millimeter hex wrench to tighten the screw until the tub spout is secure.
Because the valve is already in place, all you need to do to finish installing the Glacier Bay shower handle is to screw on the escutcheon plate. Then, slide the handle over the valve and use a 2.75-millimeter hex wrench to tighten it in place. Turn the water back on, test the function of both the spout and the showerhead, and monitor all connections for leaks.