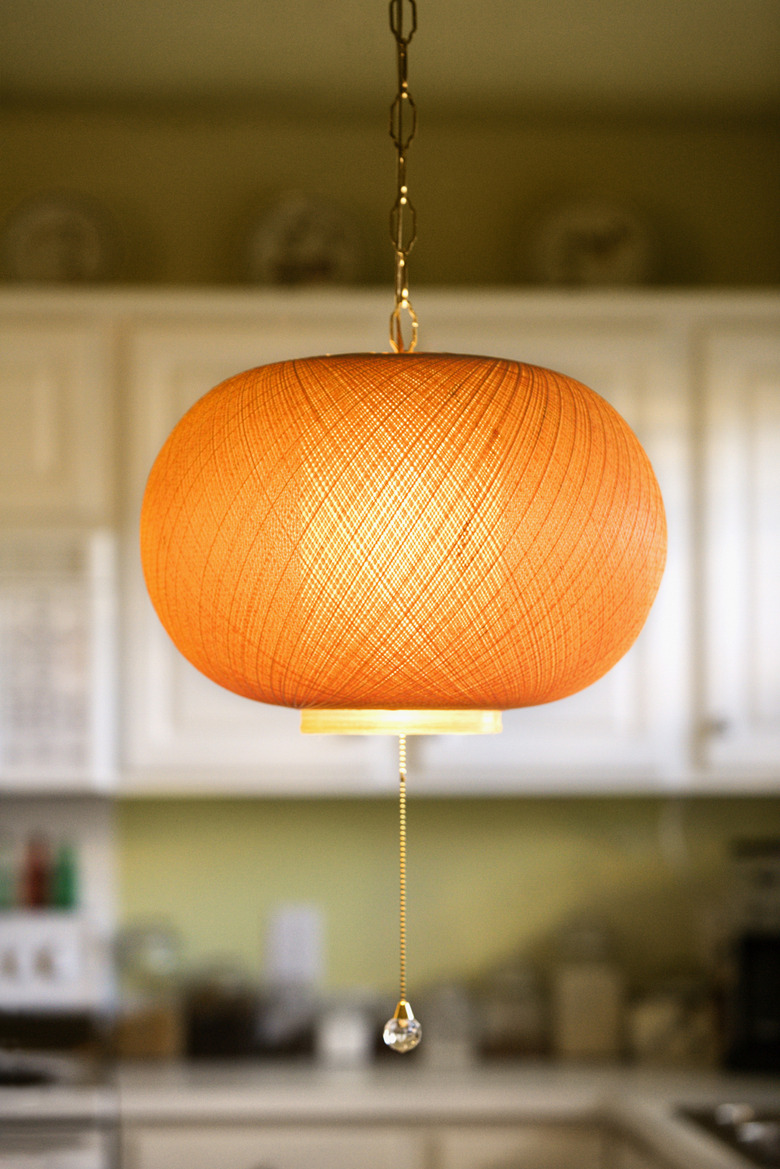
How To Shorten A Cord On A Pendant Light
Things Needed
-
Stepladder
-
Screwdriver
-
Wire snippers
-
Wire strippers or utility knife
Pendant lights give many of the lighting benefits of chandeliers without the bulk. Because they hang from the ceiling on chains, the light they provide is more accessible and focused than that from a dome light, which is mounted directly to the ceiling. The wire that supplies power weaves through the pendant light's chain to the electric box in the ceiling, where it connects to power. If the light is too close to a table or chair, you can raise it by shortening the chain. You must shorten the wire as part of the procedure, and that's a simple task.
Step 1
Turn off the circuit breaker controlling the light circuit. It isn't enough to simply turn off the wall switch, because someone could inadvertently turn it on while you're working, and you could be shocked.
Step 2
Position a stepladder under the fixture, climb up and support the light on the ladder while you unscrew the canopy from the electrical box in the ceiling. Depending on the types of screws, you may need a screwdriver or you may be able to unscrew them by hand.
Step 3
Lower the canopy to expose the wires in the electrical box. Unscrew the wire caps and untwist the wires; save the caps. Take the light fixture down and set it on a table.
Step 4
Unhook the chain and remove links to make it short enough for your purposes. Pull the wire through the canopy until it winds tightly through the shorter chain and there is no slack. Cut the excess off the end with wire snippers, leaving 6-inch lengths on each of the wire strands. You'll find three strands: black for hot, white for neutral and green or bare for ground.
Step 5
Strip a half-inch of plastic insulation off the end of each wire strand with wire strippers or a utility knife. You're now ready to reinstall the fixture.
Step 6
Set the light back on the ladder and twist the wires back together in the electric box, using pliers. Connect the black wire to the black circuit wire, the white wire to the white circuit wire and the green or bare wire to the bare circuit wire. Cap the black and white pairs by screwing on the wire connectors you removed when you disconnected the fixture.
Step 7
Fit the canopy back on the electric box and attach it with the screws you removed when you took the light down. Give the chain a little tug to make sure it's secure before you allow the light to hang freely.
Step 8
Turn on the breaker and test the light switch.
Tip
If you aren't sure which breaker controls the light fixture, turn on the light and try each breaker in turn until the light goes off. Leave that breaker off.
If the wires aren't color coded, there should be two insulated wires and a bare one. One of the insulated wires is ribbed — that's the neutral wire. The smooth insulated wire is hot and the bare wire is the ground wire.
Warning
Do not uncover the wires without first turning off the power. If you get a shock while standing on a ladder, you could fall and seriously injure yourself.
