How To Measure A Blueprint
Things Needed
-
Blueprint
-
Flat table top
-
Architectural or engineering rulers
-
Calculator
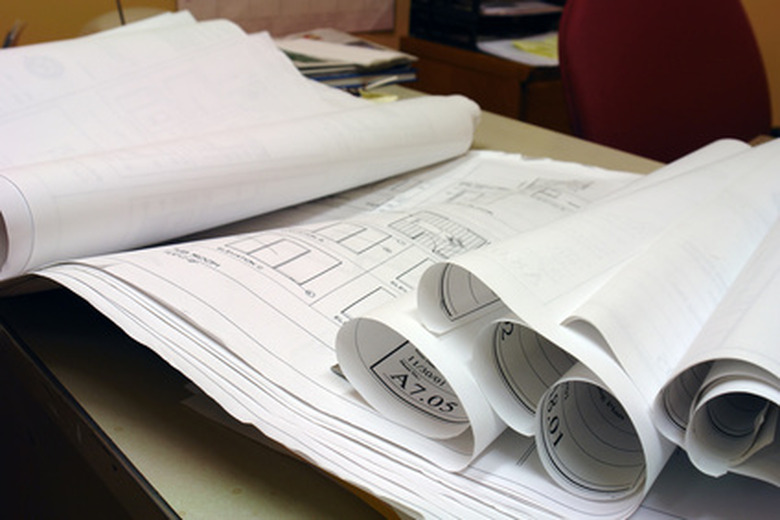
Blueprints offer a way to communicate complex visual information about the dimensions of objects, buildings, or plots of land. They are prepared from drawings that are scaled to represent inches, feet or even miles (or the metric equivalents) so that all can be fitted on a sheet or sheets of paper. Measuring blueprints requires a basic understanding of how they were drawn as well as an appreciation of what level of measurement accuracy is needed, which can be garnered from the plans. This understanding and appreciation will allow the selection of appropriate tools for measuring blueprints. The most important thing is to match the scale of the ruler used for measurement to the drawing.
Step 1
Unroll the blueprint onto a flat surface. Tape or weight the edge so it does not roll up when measuring.
Step 2
Find the scale of the drawing. Blueprints will have a block of information, usually in one corner or along one side of each page, that shows the name of the firm or person who drew them, the date and revision information, the name of the project, the title of the page, the page number and the total number of pages in the drawing set. Here is where you will find the scale for the drawings on the page.
Step 3
Choose a scaled ruler that accurately matches the scale of the drawing. Triangular architectural or engineering rulers offer many scales on their surfaces and are very accurate. Highly accurate longer flat rulers with the most popular scales are also available. Scale fans include rulers with all the most popular scales but are relatively short and hard to work with for detailed measurements. Retractable rules come with the most popular scales for U.S. architectural drawings and are easy to carry around in a pocket or tool belt. Rolling scales that trace over drawings, accumulate dimensions, and make calculations may be okay for estimators but are not suitable for detail work.
Step 4
Lay the proper scale next to the item on the drawing and take the measurement. The scale will translate for you. As an example, a 1/4 inch = 1 foot architect scale will have markings that increase by 1 foot every 1/4 inch; a 4 foot wall is represented by a 1-inch length, if measured with a conventional ruler. The same wall at a 1/8 inch = 1 foot scale would be represented by a 1/2-inch length.
Step 5
Enter your scaled measurements into a calculator to determine length or circumference; area in square inches, feet or yards; or volume of objects, property plots, or rooms. The formulas are simple but inexpensive calculators are available with them preprogrammed. Some rolling scales have software for all kinds of conversions.
Tip
Remember, blueprints are just graphic representations. If dimensions are shown on drawings they should always be given precedence over measurements taken with a scale.
Always measure the actual object, room and plot plan when possible. Changes, especially in building a house, building, landscape or complex piece of machinery, tend to get made on the spot and are not always represented in changes or "as built" drawings.
Warning
Never use a scaled ruler as a straight edge.