How To Rewire A 110V Motor To 220V
Though you may not notice them, you can find electric motors in all kinds of appliances and machines inside your home, garage, shed or basement. Vacuum cleaners, washers and driers, central heaters and standing power tools like lathes and table saws all use electric motors to power their operation. Many of these appliances and power tools use dual-voltage alternating current, or AC, electric motors, which can be set to run on either a low or high voltage of electricity.
When you purchase and install a new appliance or machine with a dual-voltage motor, it has already been wired to use either 110 or 220 volts, but by design, this setting can be switched from low-voltage to high-voltage mode, or vice-versa. Whether you're trying to increase the output of a 110V air compressor or looking to convert a 220V motor to 110V mode so you can use a band saw in your basement, you can switch a dual-voltage electric motor's settings with a few household tools and a wiring diagram.
110/220V Motor Basics
110/220V Motor
Basics
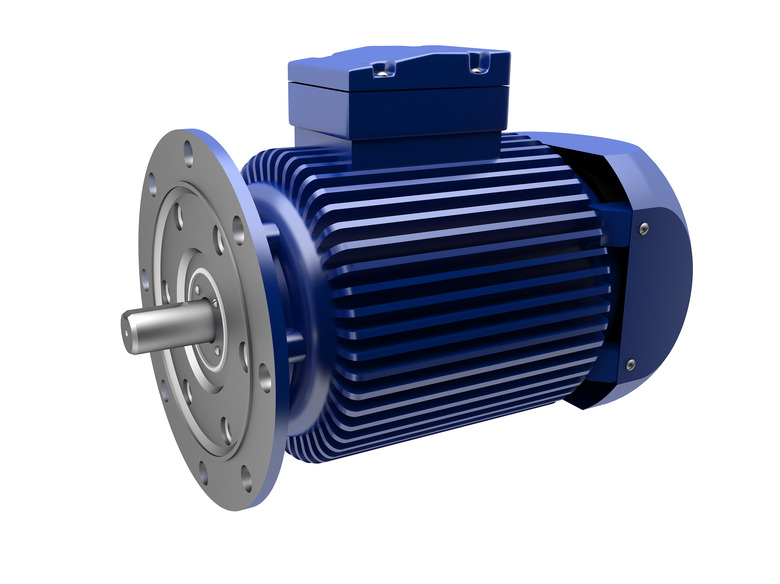
Dual-voltage AC motors, commonly labeled in stores as 110V/220V electric motors, convert electricity into mechanical energy through the use of electromagnets and variable electric currents. This allows these kinds of motors to run on either a low or high voltage of electricity. Whether a machine is preset to high or low voltage mode should be listed on either an informational sticker or in the owner's manual that came with the machine.
The amount of power used by a motor can sometimes affect the performance of the machine to which it's attached, often expressed as a low- or high-output mode of operation, particularly in power tools. For this reason, you may find yourself wanting to switch your motor to its high voltage setting, which is easy enough, given that all residential and most commercial buildings in the United States can safely deliver either 120V or 240V to a device by default. You can change from 110V to 220V mode by adjusting the configuration of the motor's wires using a screwdriver and a pair of needle-nose pliers. The wires you need to configure reside inside the terminal plate.
Safety, Terminal Access, and Wiring Diagrams
Safety, Terminal
Access, and Wiring Diagrams
Before you locate and access the terminal plate of your machine's motor and begin the process of rewiring it, you will need to take appropriate safety precautions. Due to the risk of exposure to high-voltage electric current, it is critical to disconnect the machine from its power source before doing anything else by unplugging it from a power outlet or by turning off power to the area using the building's breaker box. If you suspect your machine may still be getting power, test with a multimeter to ensure it's safe.
Once power to the machine has been cut, locate the terminal plate cover, which is a plastic or metal casing located on either the side of the external motor or behind a panel on the side or rear of a machine's casing. Using a screwdriver, remove the plate cover and then stop. Examine the back of the plate cover along with the owner's manual to find the motor wiring diagram. This diagram will note how each wire, labeled by color, should be connected to set the motor to its low- or high-voltage mode. Study this diagram, taking a photo of the current configuration of wires for reference.
Change From 110 to 220 Volt Mode
Change From 110 to
220 Volt Mode
Once you've studied the motor wiring diagram, you may begin the process of rewiring your motor to your desired voltage setting. While the specifics of the wiring process will depend on the make and model of your electric motor, generally you will need to use either a screwdriver or your hands to disconnect specific wires from the power terminal or from wire nuts. You can then use needle-nose pliers to disconnect and reconnect wires to one another in accordance with the wiring diagram. Be patient and careful while doing this work to minimize the risk of a short, and call a professional if you fear something may have gone wrong.
Once you've changed the wires to the proper configuration, replace the terminal plate cover and double check the owner's manual to determine if the machine's plug needs to be changed to adjust to the new voltage. If it does, use a pair of wire cutters to cut off the existing plug and strip off some of the wire at the end of the cable. Then, connect a high-voltage plug. Restore power to the machine. It should now operate at the desired voltage setting.
