How To Install A 240V Circuit Breaker
Things Needed
-
240V double-pole breaker
-
No. 12 gauge four-strand home cabling
-
Wire cutters
-
Screwdriver
-
Lamp or flashlight
In household wiring, several appliances run on 240V power feeds from the breaker box. This voltage is double that of standard household wiring, and thus requires a special double-pole breaker. This breaker looks like two standard breakers stacked on top of each other, and therefore requires that two breaker positions be open. While the breaker provides this higher voltage, it operates as two linked 120V circuits. Each 240V circuit has two hot wires as opposed to only one. The installation follows the same basic steps as a single-pole breaker.
Step 1
Run the cabling from your 240V circuit to the location of your breaker box. Use a 4-strand cable of a gauge designed to operate with the power rating of your breaker. A 15 amp breaker requires at least number 14 gauge wire, while a 20 amp breaker requires at least number 12 gauge wire.
Step 2
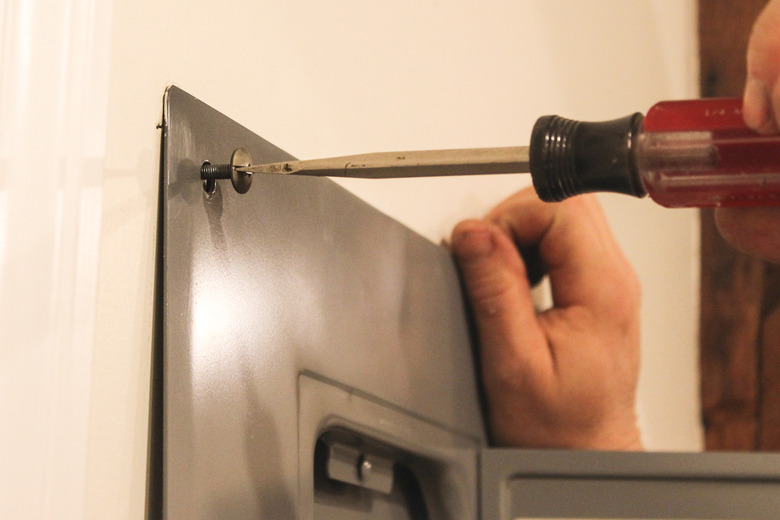
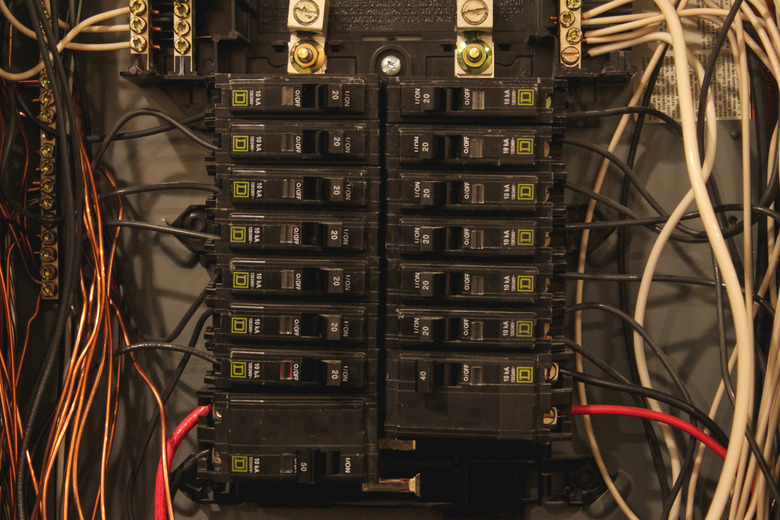
Shut off all power going into the breaker box. This is accomplished by first shutting off all breakers located in the subpanels and then shutting off the main breaker. Remove the cover of the breaker box to access the panel's wiring. Since power will be shut down throughout your home, use a battery-powered lamp or flashlight for visibility.
Step 3
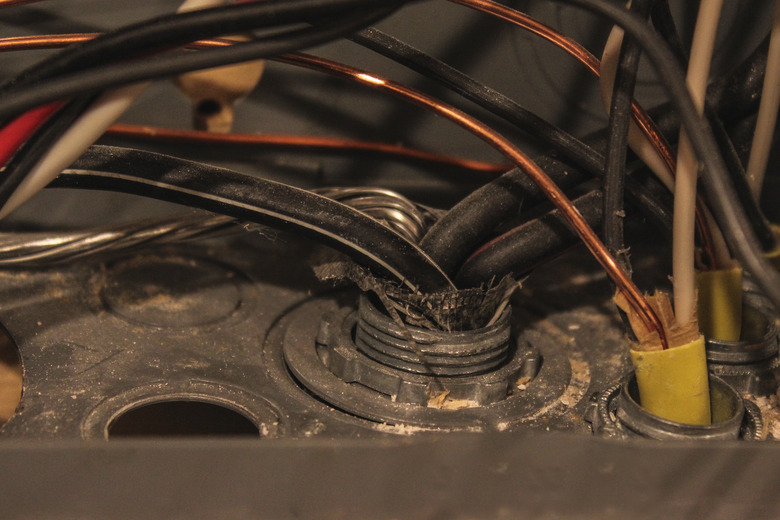
Route the cabling from the 240V circuit into the breaker box. Punch out one of the knock-outs on the top of the box and install a cable clamp, threading the cable through the clamp and into the box. Secure the cable in the clamp.
Step 4
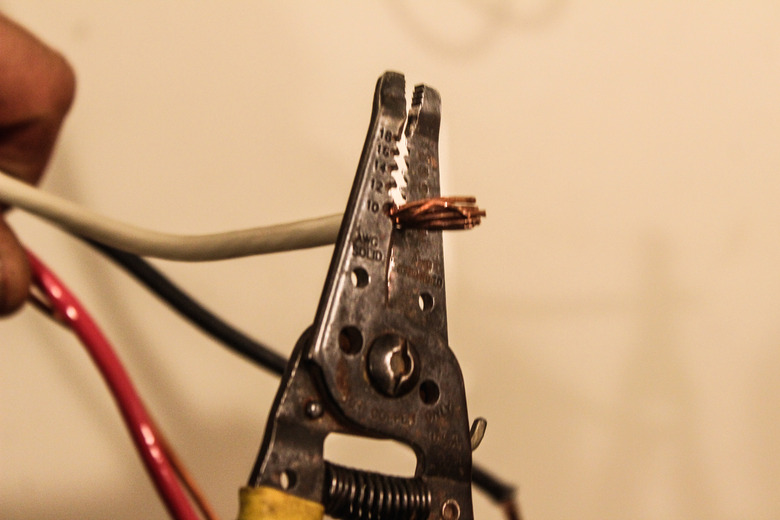
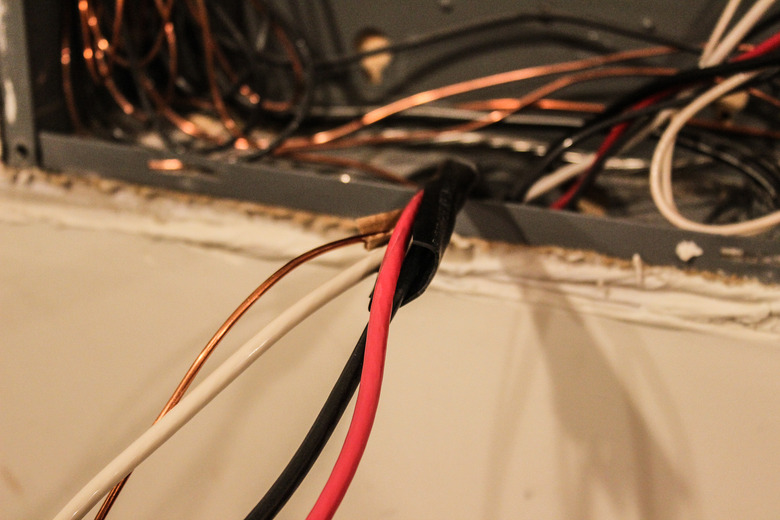
Cut off the outer sheath of your 4-strand cable to reveal its inner wires. You will see a bare ground, a white common wire, a black hot wire, and a red hot wire.
Step 5
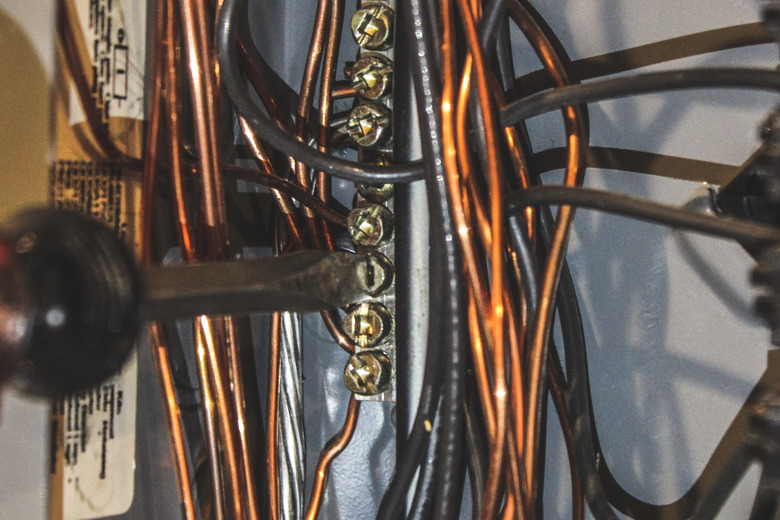
Run the ground wire to the ground bus bar. You will see the ground bus off to the side of the main panel with other bare ground wires from the other circuits attached. Loosen one of the free screws and insert the end of the wire under it, tightening it firmly.
Step 6
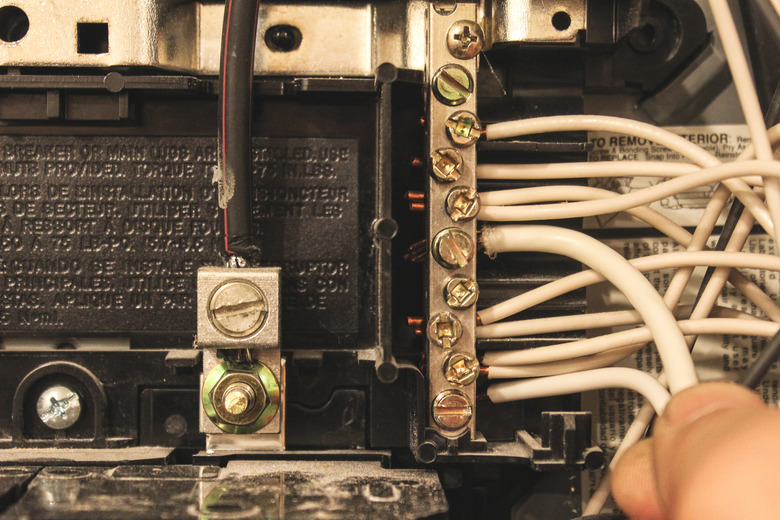
Run the common, or neutral, wire to the common wire bus bar. This bar will be located similarly to the ground bar, off to the side with several other neutral wires attached. Strip off the end of the wire and secure it in the same fashion as the ground wire.
Step 7
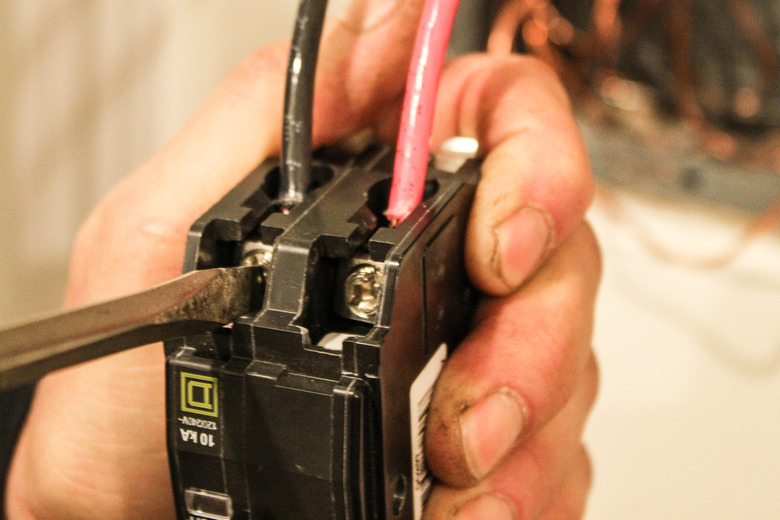
Connect the hot wires to your 240V double-pole breaker. On each half of the breaker there will be a terminal for connecting the end of one of the hot wires and a screw to secure it. Strip the ends of the red and black wires and insert each into one of the two terminals. Secure them by tightening the screws.
Step 8
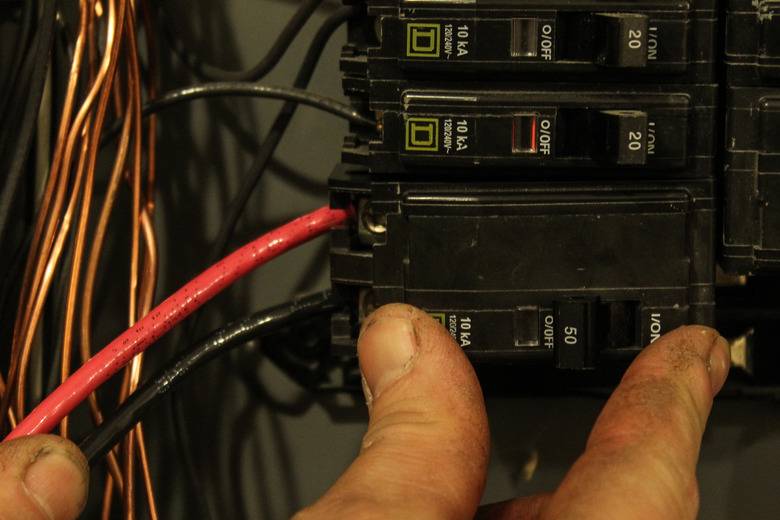
Install the new breaker into the panel by first snapping it to the plastic retaining bar and then pushing both halves firmly onto their respective hot bus bars. Punch out two new knock-outs on your panel cover where the new breaker will be.
Step 9

Restore power to the breaker sub-panels, then to the main breaker.
Tip
If more work is to be done on the circuit you are installing, wait to power on the new breaker until all other connections are complete.
Warning
Always test for live power in your breaker box before beginning any work. Do so by using a multimeter to test the two main black power cables leading to the breaker panel.
Failing to shut off all power could result in death, as the currents and voltages present in a live breaker box are lethal.