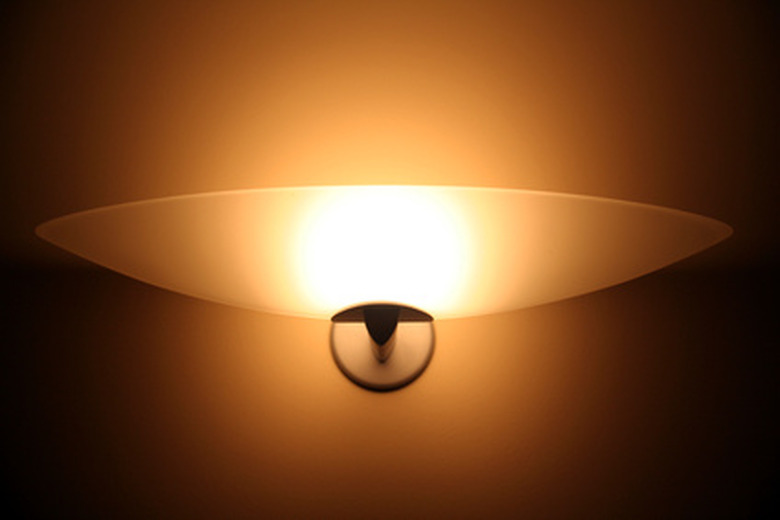
How To Make A Hardwire Light Fixture Into A Plug In
Things Needed
-
Light fixture
-
Extension cord
-
Splicing tool
-
Utility knife
-
Pliers
-
Screwdriver
-
Wire nuts
-
Electrical tape
-
Fixture adaptor plate
-
Drill
-
Drywall anchors
-
1-1/2-inch screws
-
Machine screws
Got a lamp you love but no pre-wired light box in the wall or ceiling where you'd like to hang it? You don't have to do a major wiring job. You can simply re-wire the lamp with an extension cord and plug it into an available wall outlet.
Wiring the Fixture
Step 1
Check whether the fixture has a grounding wire. This will be a bare wire or one coated with green plastic. If it does, then you will need a three-wire extension cord with a grounding pin. Otherwise, you can use a two-wire cord.
Step 2
Cut the female plug off of the extension cord, then cut about 4 inches of sheathing from the cord with the utility knife. Use the splicing tool to expose about 1/2 inch at the ends of the white and black wires. Some two-wire extension cords have only a plastic coating and no sheathing. In this case, use the utility knife to separate about 6 inches of wire and the splicing tool to expose about 1/2-inch of the ends.
Step 3
Hold the ends of the white wires of the cord and light fixture together so they are parallel and twist them clockwise with the pliers. When they are secure, screw on a wire nut, being sure that all exposed wire is covered by the nut. For extra safety and security, wrap electrical tape around the connection. Repeat with the black wires.
Step 4
If the fixture has a ground wire, twist it together with the ground wire on the cord.
Mounting the Fixture
Step 1
Check to see if there is a stud or rafter in the wall behind the new location of the light. If so, screw the adaptor plate to the wooden piece, using the outermost holes of the plate. If there is no stud, drill small holes into the drywall for screw anchors, pound them in and screw the fixture into the anchors.
Step 2
Using machine screws, affix the fixture to the plate.
Step 3
Make a small notch in the wall or the fixture for the cord to exit. Run the cord as inconspicuously as possible to the nearest outlet, plug it in and test the light.
Tip
It is very easy to add a switch to your extension cord. You can buy switches that simply clip onto smaller two-wire cords.
Different fixtures need different adaptor plates and machine screws, so to find the corrects ones, it is best to take the whole fixture to the hardware store
Warning
If a fixture has a ground wire, ground it or it could become energized and give you a shock. This means that you must attach the ground wires and you must plug into a three-prong outlet.
If you don't make a notch for the extension cord, the fixture could cut through the wire when you tighten it to the wall or ceiling, creating a hazardous situation.
