How To Paint An Acrylic Tub And Shower
We may receive a commission on purchases made from links.
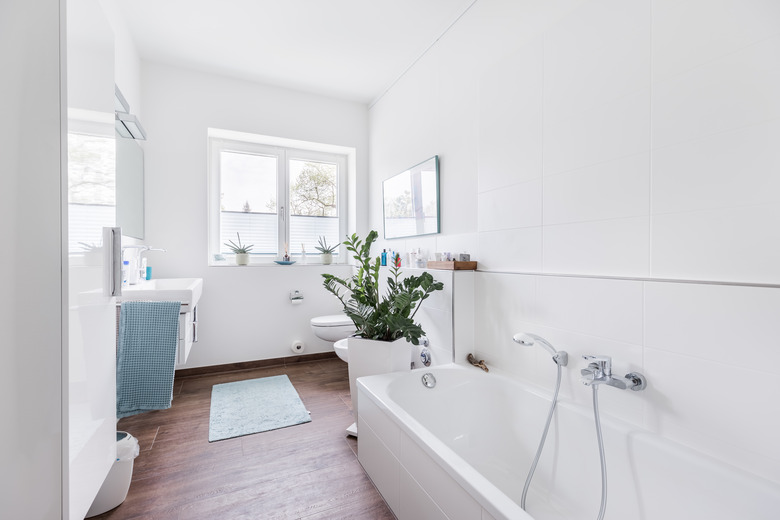
With new bathroom paints on the market, everything from backsplash tiles to toilet bowls can be painted and refinished these days. Acrylic tubs and showers are no exception. With a tub refinishing kit, you can change the color of your tub and shower or just freshen up your existing color. Refinishing and painting an acrylic tub and shower involves working with chemicals and can take some time for an even finish, but it can be done in about a weekend.
Preparing for Painting
Preparing for Painting
According to the Bathtub Refinishing Referral Network, begin by removing any old caulk and shower residue inside and around the bathtub or shower. A putty knife can be used to remove the caulk. Some manufacturers recommend using acetone to wipe off any soap buildup and surface residue. Always follow the cleaning and preparation directions that come with your refinishing kit.
Next, make any minor repairs to the surface. Use a bathtub repair kit to fill in any nicks and scratches in the acrylic surface, if needed. This will create a smoother finish to your tub and shower.
To prevent an unnecessary mess, cover and tape off the fixtures, the surrounding walls and the floor. Use paper to cover fixtures and walls, then secure with tape. You'll be spraying bonding agent and/or paint onto the tub and shower. Cover anything you don't want sprayed.
Painting Acrylic Tubs and Showers
Painting Acrylic Tubs and Showers
Once you've selected your chosen acrylic tub or shower painting kit, read the manufacturer's directions several times before you start. You'll be working with toxic materials and you may need to work quickly depending on how fast the paint dries, so you'll want to be completely familiar with the process before you begin. Also be aware that some of these chemicals produce highly toxic fumes. Make sure there's good ventilation in the bathroom at all times, and don't use these products if people in the house have asthma or breathing difficulties.
Apply the bonding agent to the entire surface of the tub or shower. This will help the paint adhere to the acrylic. It usually comes in a spray can and should be applied in light, even strokes. For tubs, it's common to start with the bottom, then do the sides, then the top, then the front.
Spray or brush on the paint. Depending on your refinishing kit, you could spray paint or paint with a roller or brush. You may need to apply several coats, depending on the application method. Follow the instructions with your kit.
Using Your Tub and Shower
Using Your Tub and Shower
Remove the tape from the walls and fixtures before the paint dries completely. If the paint dries over the tape, it will be difficult to remove and could damage the finish.
Let the paint cure at least 24 to 48 hours. Add silicone caulk where the bathtub or shower meets the wall to provide a watertight seal. Now your tub is ready to use. Be careful not to use abrasive cleansers on your newly painted shower and tub, as they could damage the surface.