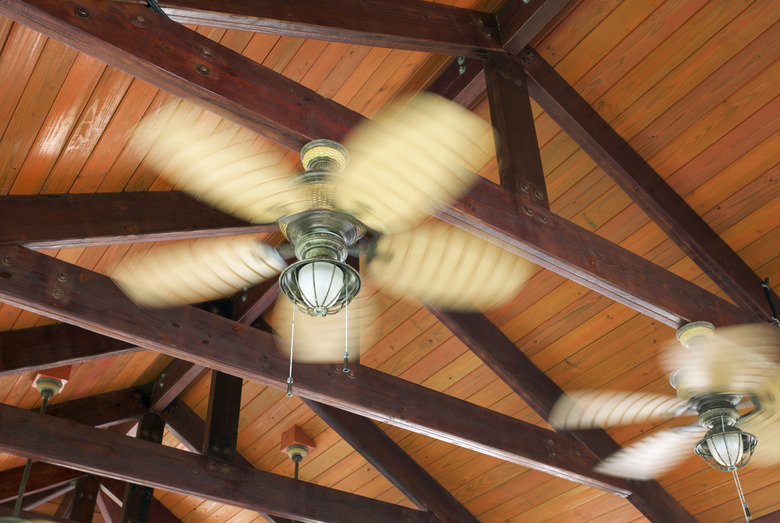
How To Refinish Old Exposed Wood Beams
Things Needed
-
Plastic dropcloth or tarp
-
Painter's tape
-
Ladder
-
Protective mask
-
Latex gloves
-
Paint stripper
-
Natural bristle paintbrush
-
Putty knife
-
Steel wool
-
Denatured alcohol
-
100-, 120-, 150-, 180- and 220-grit sandpaper
-
Orbital sander
-
Goggles
-
Shop vacuum
-
Clean rags
-
Gel stain
-
Gel topcoat wipe-on urethane
Wood beams, whether on the ceiling or attached to the walls, are an architectural detail or structural support that adds character to a space. Sometimes purely ornamental, the additional organic element of the beams subtly amps up the interest of the room without being intrusive or obnoxious. But tired-looking beams can detract from the space and value of your home. Even though refinishing wooden beams is labor intensive work, the process is no different than refinishing a piece of wooden furniture, which makes it a manageable home improvement project for anyone with minimal do-it-yourself expertise.
Step 1
Prepare the room by removing as much furniture and decor from the space as possible. Cover the remaining area with a plastic dropcloth, adhering the plastic sheathing with painter's tape to baseboards to ensure a secure, protective closure wherever needed.
Step 2
Put on an approved breathing mask and protective gloves rated for the products being used and brush a thick coat of paint stripper along the beam in small manageable areas. Allow the stripper to sit 10 to 15 minutes. Once the color begins to bubble and peel, or the finish turns from glossy to dull, begin scraping it away with a putty knife. For a stubborn finish, repeat the process a few times, but use steel wool and denatured alcohol to wipe away the paint stripper or dissolve any remaining shellac on your last attempt.
Step 3
Start with 100-grit sandpaper and sand the beam with an orbital hand sander to remove any last paint remnants. The home-improvement experts at "This Old House Magazine" recommend moving up the sandpaper grit scale to 120, 150, 180, and then finishing with 220-grit to ensure the wood is properly prepared. Hand sanding is recommended for hard-to-reach spots.
Step 4
Use a vacuum dedicated to the shop or the wand extension on a regular vacuum cleaner to remove sanding dust from the wood beams. Wipe any remaining residue from the wood with a clean, damp rag. Wait 24 hours for all dust to settle before staining.
Step 5
Protect the walls or ceilings from stain by applying 2-inch wide painter's tape along the sides and ends of the exposed beams.
Step 6
Wipe a thick layer of gel stain — the best option for working on high-up vertical surfaces — on the wood with a clean rag. Allow the stain to sit for a minute or two before wiping it lightly with another clean rag. The more the stain is wiped away, the lighter the final color.
Step 7
Apply a wipe-on gel topcoat to the beam with a clean rag in a swirling motion. In the direction of the wood grain, wipe away the excess finish with a rag and allow to dry.
Tip
Keep windows open while working with paint stripper and gel stain.
Use an old toothbrush to remove paint stripper from hard to reach corners and crevices.
Test stain on a piece of similar scrap wood until a desirable color is achieved before applying it to the wooden beams.
Apply a wood sealer to pine beams before adding the stain to avoid a blotchy, uneven stain.
Warning
Avoid using too much pressure when scraping away the paint stripper and original finish so as not to gouge or scratch the wood.
Do not over-apply gel stain to corners or crevices in the wood since its thick consistency makes it difficult to remove.
