How To Skim Coat Concrete
Skim-coating or resurfacing concrete patios, walkways, driveways, walls and stairs not only renews their appearance, but it extends their lifespan by improving drainage and waterproofing. A number of tools and materials are available to do-it-yourselfers that, in most cases, make skim coating preferable to demolishing and replacing old, damaged concrete. Start with proper surface preparation and move on to creating a durable, attractive, evenly colored topcoat.
Remove Paint and Dirt
Remove Paint and Dirt
Remove any chipping or peeling paint on the surface. Scrape away loose paint with a putty knife. Apply chemical paint stripper that has been designed to remove the type of paint on your concrete, be it water-based or oil-based. When in doubt, choose oil-based remover. Allow the product to work as long as its directions require. Scrub the area with a wire brush or paint scraper or wash away the stripper and paint with a power washer. When removing any paint that may have been applied prior to 1978, assume that it contains hazardous lead dust and have the paint removed by professionals. Whether or not the concrete has been painted, a thorough cleaning with a pressure washer to remove dirt and debris is recommended.
Address Drainage
Address Drainage
Fix any drainage problems before skim coating. Most exterior concrete surfaces are sloped to cause water to flow off of them in one direction. If areas have sunken over time, however, puddles or ponding may occur when it rains. This will only lead to further damage if it is not repaired. Choose a concrete mix that can be troweled to a feathered edge, mix it with water according to the manufacturer's instructions and spread it over the sunken area. Run a straightedge over the newly poured mix to level it with the surrounding area.
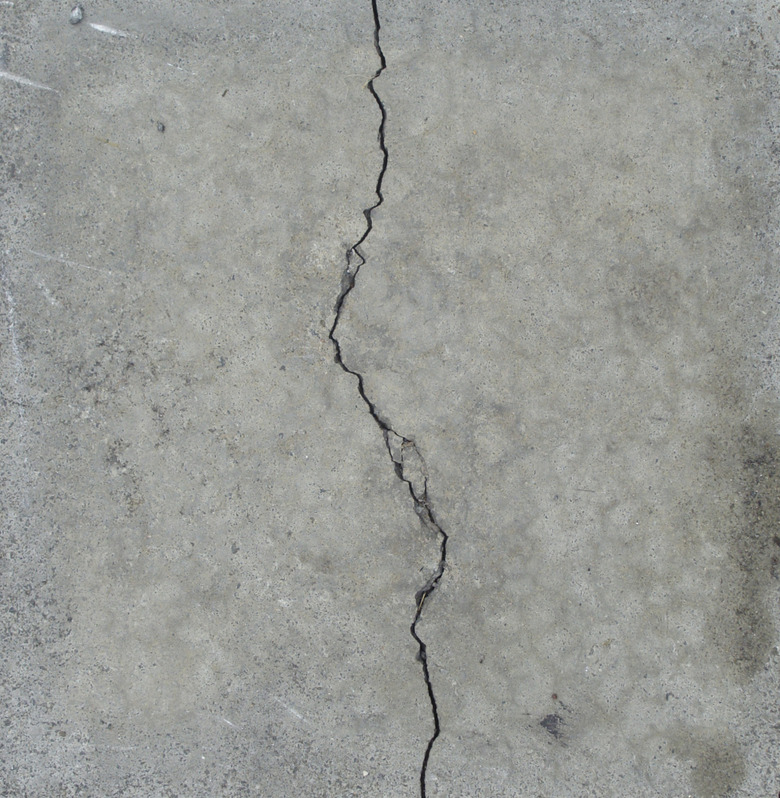
Improve Waterproofing
Improve Waterproofing
Repair cracks in the concrete surface with different products depending on the width of the cracks. Fill cracks up to 1/8 inch wide with concrete dressing. Force the mix into the crack with a putty knife and a trowel over the area to create a level surface. Apply concrete-repair caulk to cracks up to ½ inch wide with a caulk gun and smooth the surface with a putty knife.
Prepare the Surface and Mix Concrete
Prepare the Surface and Mix Concrete
Allow the products you used to make repairs to cure fully. Once you have a level, clean surface, mask off any areas you want to keep clean with duct tape. This should include expansion joints as you do not want to fill them in during the process. Combine the concrete mix with the recommended amount of water and mix using a drill and paddle extension. The topcoat should be mixed to a slightly thinner consistency than the repair products.
Topcoat Horizontal Surfaces
Topcoat Horizontal Surfaces
For horizontal surfaces, pour your topcoat onto the surface and spread it with either a trowel or a long-handled squeegee. Press down to force the topcoat into any remaining imperfections in the surface. Most products can be applied at a thickness up to 1/2 inch and down to a feathered edge of 20 mils. After the topcoat has cured for approximately five minutes, drag a push broom across it to add texture. This will prevent the surface from becoming slippery when wet. Curing times may vary by product and air temperature; however, general guidelines call for waiting six hours for foot traffic and 24 hours for automobile traffic. Protect the surface from rain for at least six hours.
Topcoat Vertical Surfaces
Topcoat Vertical Surfaces
For vertical surfaces, select a concrete mix specially designed for this purpose. These typically contain additives that aid the bonding process. Mix with a drill and paddle extension. Apply to the surface with a hand trowel, maintaining an even depth as you work your way across the surface. Recommended depths vary by products, but normally range from 1/2 inch to 2 inches.
References
- This Old House: Stop Ponding on Concrete
- A Concord Carpenter: Making Old Concrete Look New
- Today's Homeowner: How to Repair Cracks and Resurface a Concrete Driveway
- Fine Homebuilding: How to Fix Cracked or Uneven Concrete with Sakrete Top 'n Bond Concrete Patcher
- Concrete Network: Microtoppings and Skim Coats
- Concrete Network: Wall Mixes for Vertical Resurfacing