Grab Bar Removal Instructions
We may receive a commission on purchases made from links.
Grab bars are for safety, not convenience, and they must be able to support the full weight of a grown adult who might fall if the grab bar is not attached securely. Consequently, grab bars are never attached to the wall with glue (at least they shouldn't be), so if you want to remove one as part of a bathroom remodel, you'll need to unscrew it. But wait, you might say, I don't see any screws. That's because the screws are hidden behind an escutcheon that you have to remove first.
Removal Is Opposite of Installation
Removal Is Opposite of Installation
If you want to get the full picture of what you have to do to remove a grab bar, the best way is to look at some installation instructions, such as the ones provided by Grab Bar Specialists. Most instructions direct you to secure the grab bar to the studs behind the wall, since they are the most stable part of the wall. In some cases, the installers may have driven screws into wall anchors, which is common practice when installing on a tiled wall.
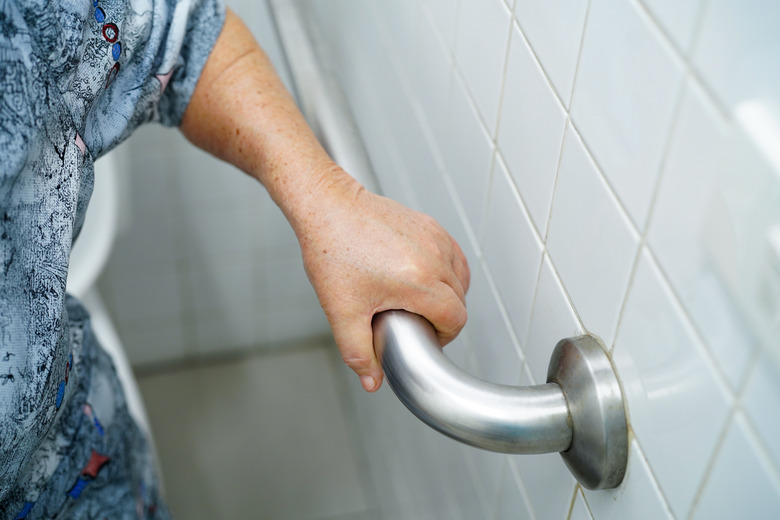
Removing grab bars is obviously easier than installing them, because there are no measurements to make, but the way forward can be confusing if you can't see any screws. Instead, you might see nothing but a round steel plate against the wall at each end of the grab bar. That hollow plate is called an escutcheon, and it's there specifically to hide the screws. Banish the notion that it's a solid plate glued to the wall with epoxy.
Remove Escutcheons and Grab Bar
Remove Escutcheons and Grab Bar
The escutcheons are usually caulked to the wall, and after cutting the caulk with a utility knife, you can pry them up by tapping a flat-head screwdriver behind them and levering them forward. Before you do that, though, check the entire perimeter of the escutcheon, especially the underside, for a set screw, and if you find one, remove it before you pry. You may need a Phillips screwdriver or an Allen wrench to do this.
Once the escutcheon is free from the wall, slide it forward on the grab bar to reveal the screws holding the grab bar to the wall. These may be heavy-duty Phillips screws or lag screws with a hex head. Once you see the screws, you'll know which tool you need to remove them. It could be a #2 or #3 Phillips screwdriver or a socket wrench with a 1/4-inch or larger socket.
If you have to remove Phillips screws, it's best to do it with a drill and an appropriate screw bit, since the drill can develop more torque than you can by manually using a screwdriver. Once you have the screws out, the grab bar will fall from the wall. Now you have some holes to patch.
Patch the Holes After Removal
Patch the Holes After Removal
You'll typically be patching holes in fiberglass, tile or drywall, since these are the wall coverings most common in bathrooms. Drywall holes are the easiest to patch, because all you have to do is trowel in some joint or spackling compound, wait for it to dry, and touch up the paint. Tile holes, on the other hand, are almost impossible to camouflage completely, and the best you may be able to do is fill them with epoxy glue and touch up with enamel that matches the tile color.
Patching holes in fiberglass calls for special materials, which are available in a kit, such as the Devcon Bath Tub Repair Kit. Everyday Home Repairs demonstrates on YouTube how to do this repair, but you can also simply follow the instructions in the kit. The process involves filling the holes with two-part epoxy and sanding the epoxy flat with a progression of sandpaper grits from 100-grit to grits as fine as 600, depending on how professional you want the repair to look.